crwdns2915892:0crwdne2915892:0
This guide will allow the user to entirely remove the wheel from the device.
crwdns2942213:0crwdne2942213:0
-
-
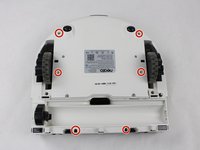
Place the vacuum on its back so the brushes are visible.
-
-
-
Remove the four 10 mm screws with a Torx T10 screwdriver.
-
-
-
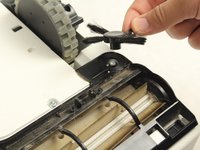
Remove the rotary brush simply by grabbing it firmly and pulling it off.
-
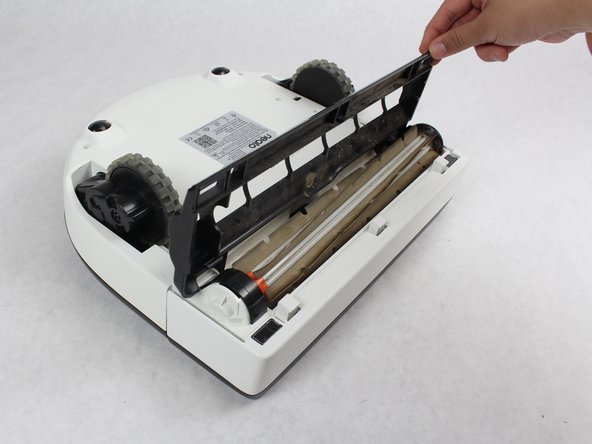
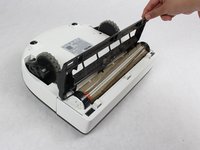
Once you have removed your rotary brush and 4 bolts, you can easy remove the brush guard.
-
-
-
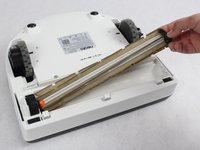
Remove the brush by simply pulling it out.
-
From there you can clean it or replace the brush with a new one.
-
-
-
Grab the rear bumper with both hands on either side.
-
-
-
-
Firmly pull the bumper forward at a steady pace.
-
-
-
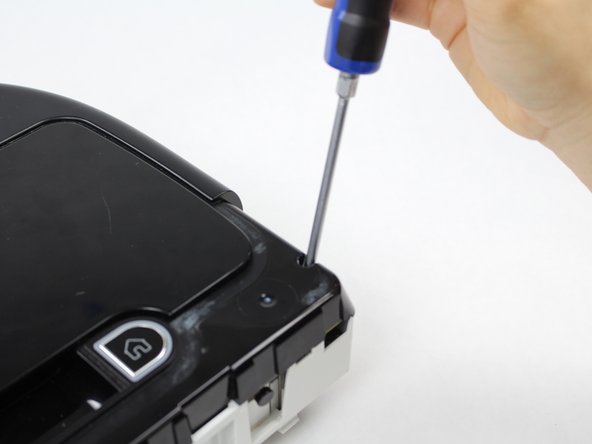
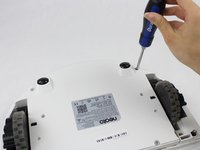
Looking from above, remove the two 11mm screws with a Torx T10 screwdriver.
-
-
-
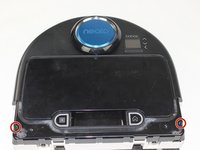
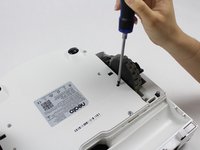
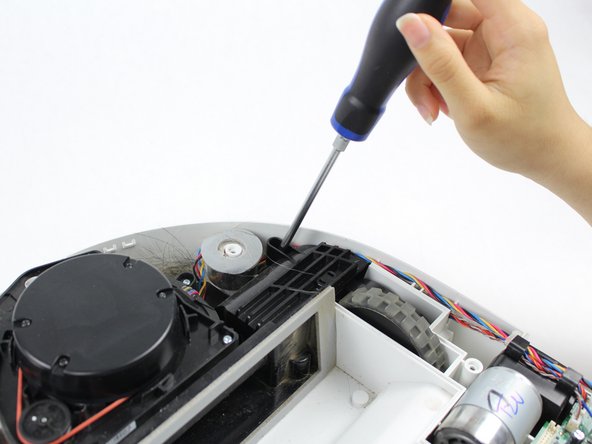
Place the robot on its back and remove the six 11mm screws using a Torx T10 screwdriver.
-
-
-
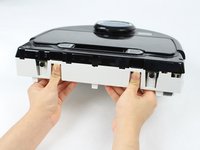
Push the clips, located in the back side, inward.
-
Gently lift up the top cover until you can see the wires. Then gently un-clip all the wires.
-
-
-
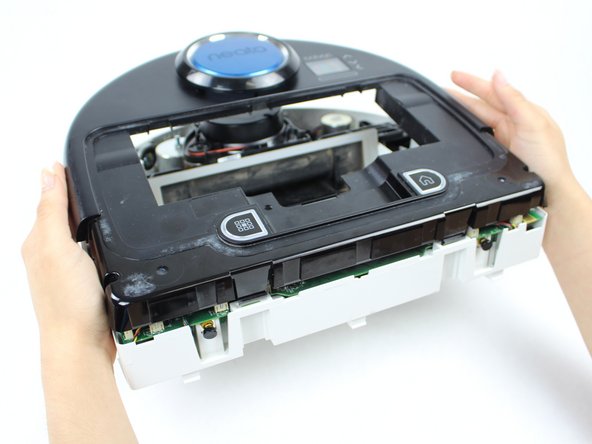
Once you have carefully removed the wire clip; you can fully remove the top cover.
-
-
-
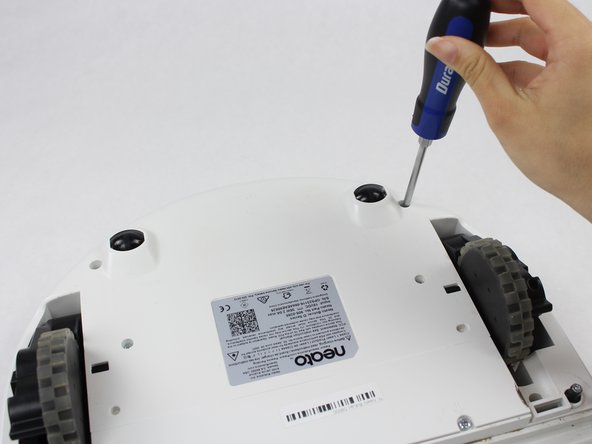
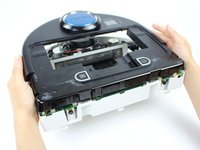
Locate the screws that mount the wheel extension to the Robot.
-
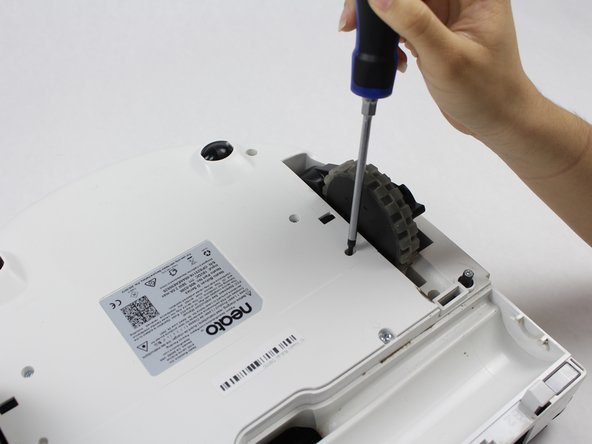
Unscrew the four 11mm screws indicated with a Torx T10 screwdriver to remove the frame.
-
-
-
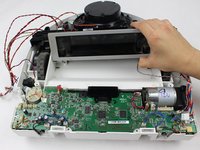
Delicately lift up the frame holding the laser. This will access the wheels.
-
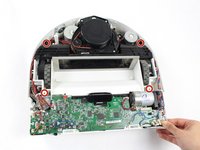
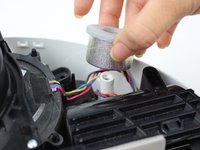
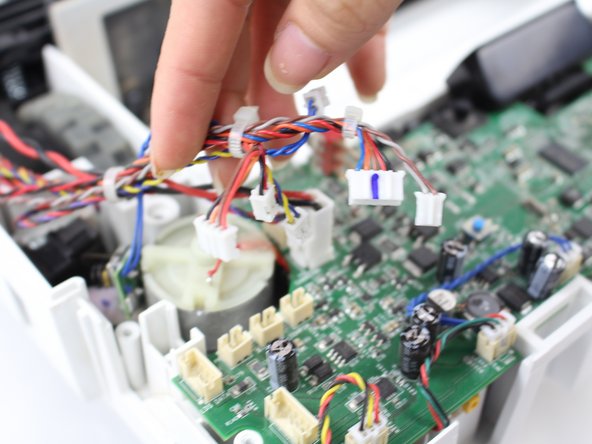
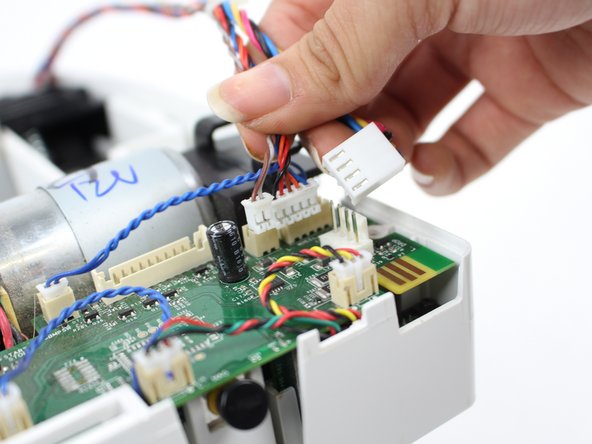
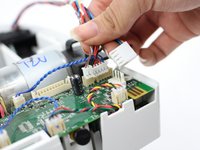
Detach the wheel wires that are connected to the motherboard.
-
Once the wires are detached, the wheel are free from their casing.
-
-
-
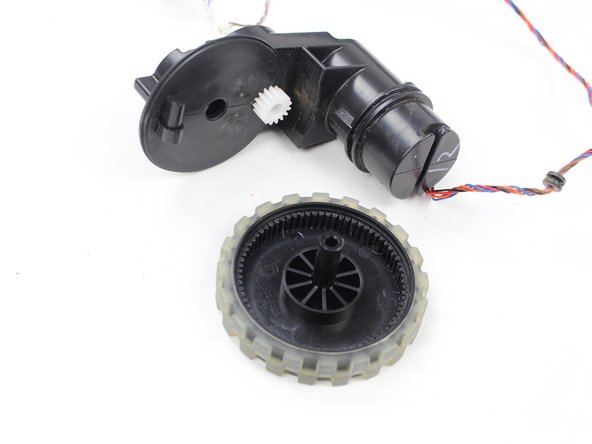
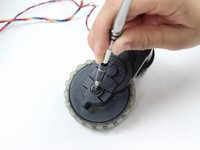
Use a Torx T15 screwdriver to remove the 32.5mm screw.
-
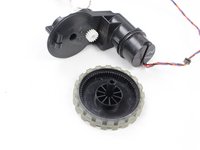
Finally, just hold and separate the wheel from its axle.
-


To reassemble your device, follow these instructions in reverse order.
crwdns2935221:0crwdne2935221:0
crwdns2935227:0crwdne2935227:0
crwdns2935287:0crwdne2935287:0

Sam Houston State, Team S17-G6, Blackburne Spring 2018 crwdns2935289:0Sam Houston State, Team S17-G6, Blackburne Spring 2018crwdne2935289:0
SHSU-BLACKBURNE-S18S17G6
crwdns2931471:04crwdne2931471:0
crwdns2935297:010crwdne2935297:0