crwdns2915892:0crwdne2915892:0
In this guide you will be able to replace the side wheel of the Neato Botvac Connected. This wheel will need to be replaced if it is not moving the vacuum properly. The wheel will also need to be replaced if the vacuum decides to stop moving at all. Using this guide comes after having to remove the battery as a precaution.
crwdns2942213:0crwdne2942213:0
-
-
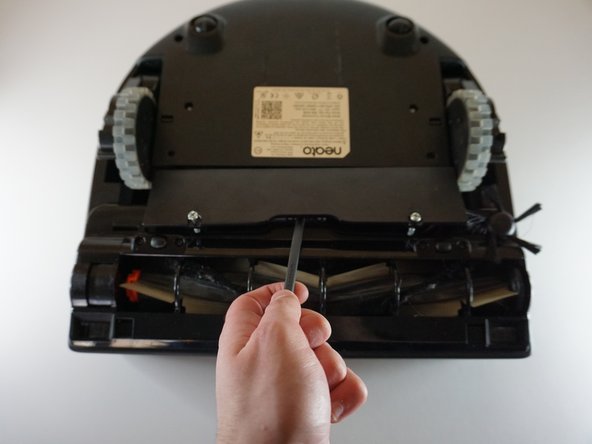
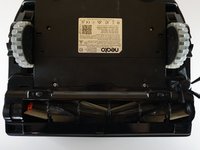
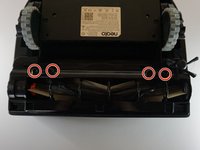
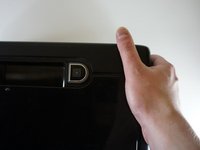
Place the top of the Neato Botvac Connected against a flat surface.
-
-
-
Remove the two 5.5 mm screws with a Phillips #2 screwdriver.
-
-
-
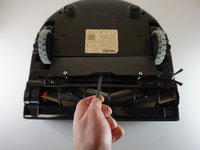
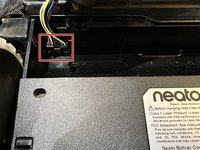
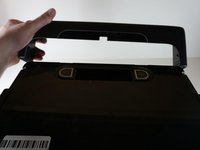
Using the spudger, remove the panel covering the battery.
-
-
-
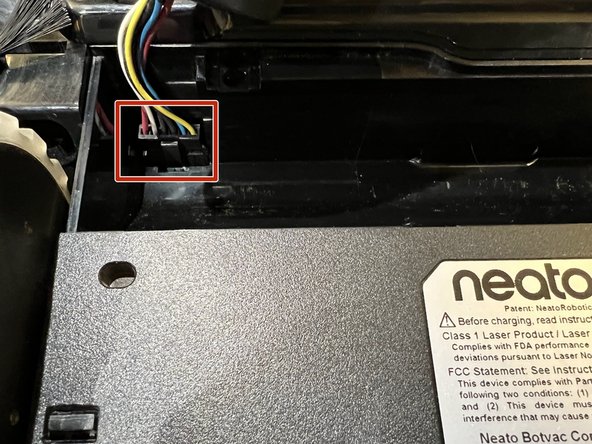
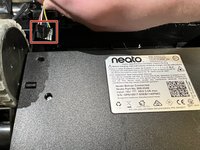
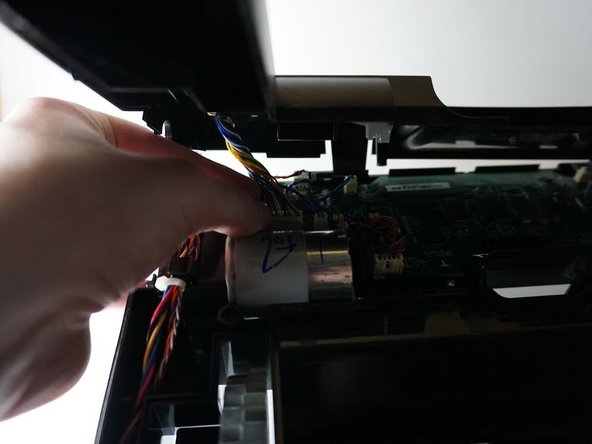
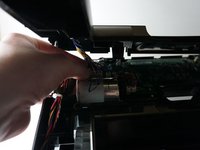
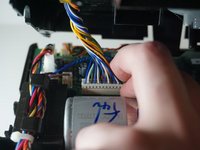
Gently remove the connecting wires attached to the battery.
-
-
-
Using the spudger, gently remove the battery from the device.
-
-
-
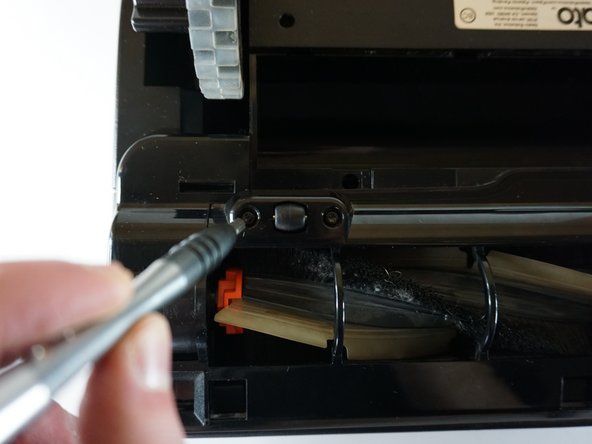
Remove the following screws with a Torx screwdriver:
-
Four 2.3 mm screws.
-
-
-
Gently remove the thin panel held by the four screws with a spudger.
-
-
-
Gently remove the two small wheels, and the axles attached to them.
-
-
-
-
Gently remove the panel that is on top of the front roller with the spudger.
-
-
-
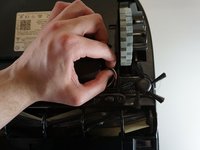
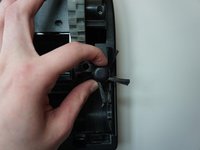
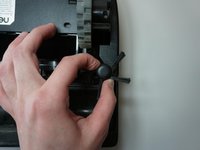
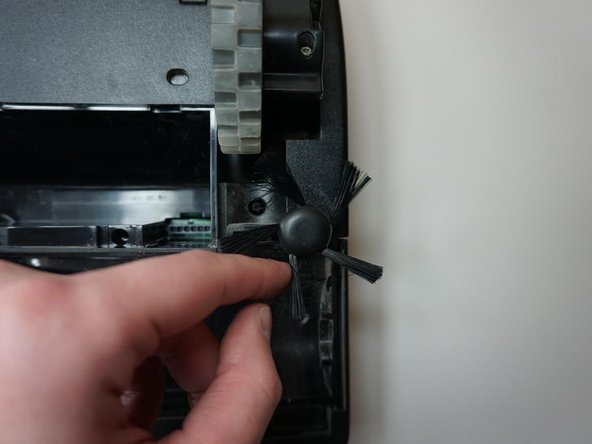
Gently twist the side brush back and forth.
-
-
-
Spin the side brush counter counterclockwise.
-
-
-
Use the spudger to gently pry up and remove the side brush.
-
-
-
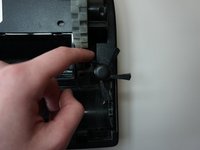
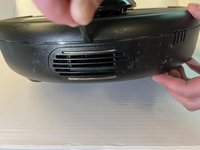
Flip the cleaner around and locate the front panel.
-
-
-
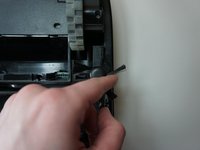
Gently remove the front panel by opening it with a spudger.
-
-
-
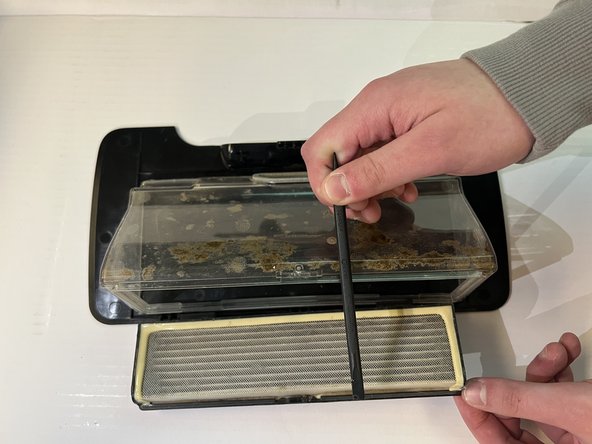
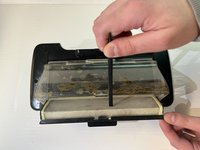
Use the spudger to gently remove the paper filter.
-
-
-
Remove the following screws with a TR10 Torx screwdriver:
-
Six 2.3 mm screws.
-
-
-
Remove the front bumper by pulling it horizontally on each side.
-
-
-
Remove the screw that is directly attached to the wheel on the side using a Phillips #2 screwdriver.
-
-
-
Remove the two 2.3 mm screws on the front of the vacuum with a TR10 Torx screwdriver.
-
-
-
Remove the layer below the front bumper by pressing firmly on the two levers located nearby.
-
-
-
Gently take out the top panel, and take out the connecting wires.
-
-
-
Remove the following screws with a TR10 Torx screwdriver:
-
Two 2.3 mm screws.
-
-
-
Flip around the vacuum and remove the wheel with the spudger.
-


To reassemble your device, follow these instructions in reverse order.
To reassemble your device, follow these instructions in reverse order.
crwdns2935221:0crwdne2935221:0
crwdns2935227:0crwdne2935227:0

crwdns2915084:0crwdne2915084:0

UMass Dartmouth, Team 6-3, Botvin Spring 2023 crwdns2935289:0UMass Dartmouth, Team 6-3, Botvin Spring 2023crwdne2935289:0
UMASSD-BOTVIN-S23S6G3
crwdns2931471:04crwdne2931471:0
crwdns2935297:05crwdne2935297:0