crwdns2915892:0crwdne2915892:0
Prerequisite-Only
crwdns2942213:0crwdne2942213:0
-
-
Locate the four red rubber stops at the corners.
-
-
-
Use your fingers to carefully peel them off the device to reveal the screws underneath.
-
-
-
Use a Phillips #1 screwdriver to remove the 9.5 mm screw in each of the four corners.
-
-
-
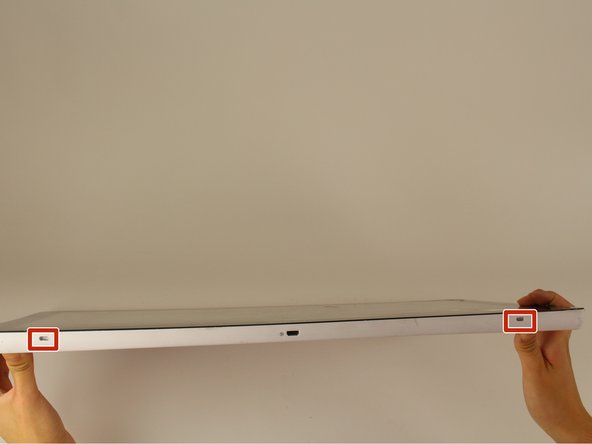
Locate the the 4 small openings on the sides of the tablet.
-
-
-
-
Insert a metal spudger into one of the openings and carefully pop the device open by applying a steady downward force.
-
Repeat for the other three openings.
-
-
-
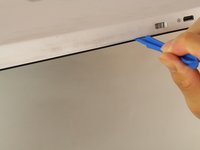
Use a plastic opening tool to carefully pry open the device from its hinges.
-
-
-
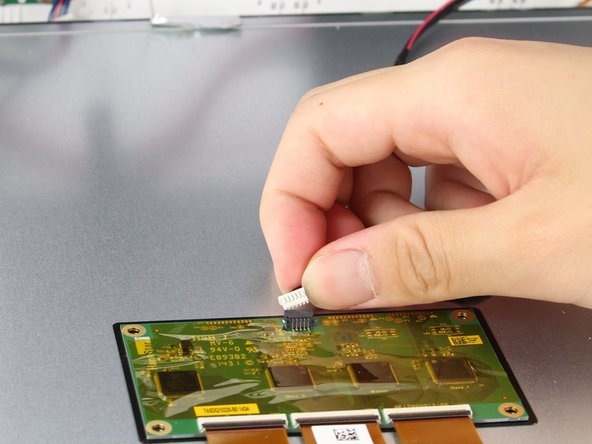
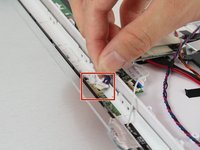
Locate the white port that connects the back panel to the circuit board on the back of the display.
-
Carefully pull the plastic connector straight out.
-
-
-
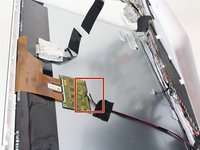
Carefully lift up the aluminum foil tape with your fingers so that the ribbon connector reveals itself.
-
-
-
Firmly press the two switches located on the sides of the connector and disconnect the connector from its connections.
-
-
-
Use a plastic opening tool and carefully push it underneath the grey plastic case surrounding the ribbon cable.
-
Apply a downward force to carefully peel the grey plastic off of the metal display.
-
-
-
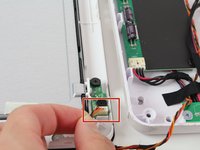
Locate the two cables running on both sides of the device found at the bottom side of the screen.
-
-
-
Carefully grab both sides of the white plastic piece with your fingers and gently pull directly upward.
-


To reassemble your device, follow these instructions in reverse order.
To reassemble your device, follow these instructions in reverse order.
crwdns2915084:0crwdne2915084:0

Cal Poly, Team 4-1, Livingston Fall 2016 crwdns2935289:0Cal Poly, Team 4-1, Livingston Fall 2016crwdne2935289:0
CPSU-LIVINGSTON-F16S4G1
crwdns2931471:04crwdne2931471:0
crwdns2935297:014crwdne2935297:0