crwdns2915892:0crwdne2915892:0
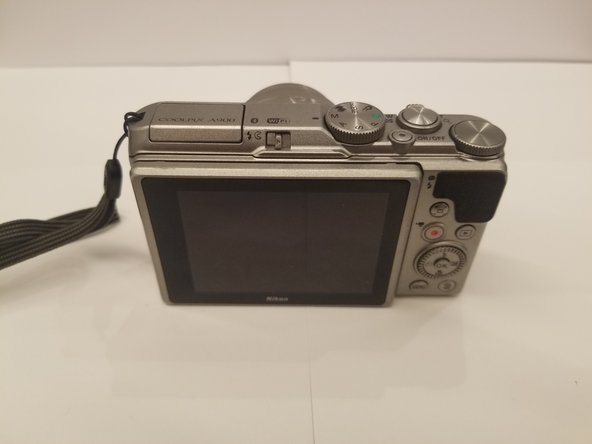
This guide will show you how to replace the lens on the Nikon Coolpix A900.
You may need to replace the lens of the camera if it suffers a hard drop or water damage. A good indicator that you should replace the lens is if the lens has any kind of damage like a crack or scratches.
To help with this guide, make sure that you have a way to organize the components that you will be removing.
crwdns2942213:0crwdne2942213:0
-
-
Orient the camera so that it is upside down, with the lens facing towards you.
-
-
-
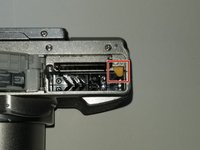
Slide the battery door lock left to unlock it.
-
The battery door will automatically open.
-
-
-
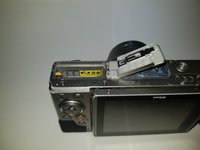
Slide the yellow tab up to release the battery.
-
-
-
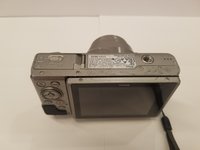
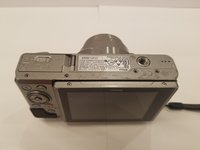
Orient the camera upside down, with the lens facing away from you.
-
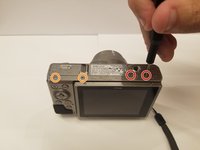
Remove the two 3mm Phillips #00 screws from the right.
-
Remove the two 3.4mm Phillips #00 screws from the left.
-
-
-
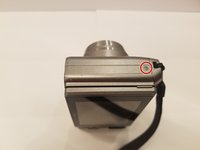
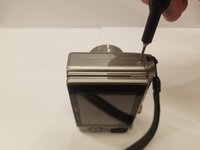
Turn the camera on its side, with the lens facing away from you.
-
Remove the 3.4mm Phillips #00 screw. Repeat this for the opposite side of the camera.
-
-
-
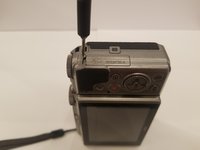
Place the camera upright with the lens facing away from you.
-
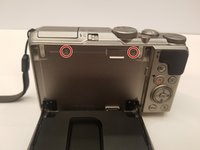
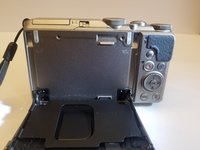
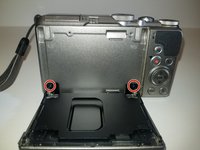
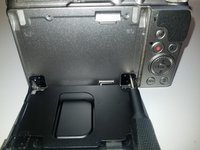
Move the monitor down, and remove two 4.4 mm screws.
-
-
-
-
Remove the two black 2.5 mm screws from the monitor bracket.
-
-
-
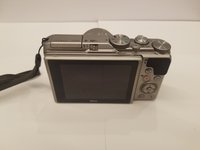
Return the monitor to the closed position.
-
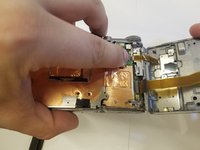
Gently open the rear case.
-
-
-
Place the camera lens down, while supporting the rear case.
-
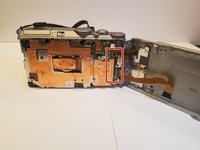
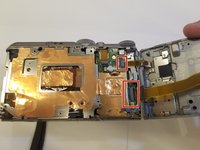
Unlock the two ribbons by using your finger to lift the plastic hinge on the ribbon connector.
-
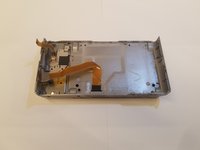
With the ribbons disconnected, you can now remove the rear case.
-
-
-
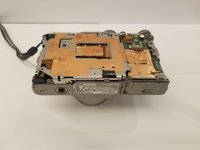
Place the camera in front of you with the lens facing down.
-
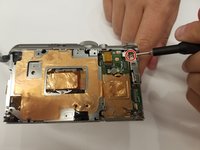
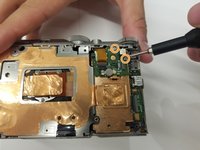
On the top right, remove the 4.5 mm Phillips #00 screw holding the input shield.
-
-
-
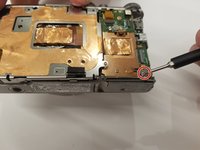
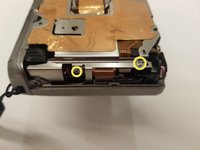
Remove the 4.5 mm Phillips #00 screw holding the bracket in the bottom right.
-
Remove the 2.5 mm Phillips #00 rear brace screw.
-
-
-
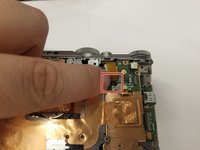
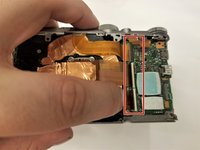
Use your finger to undo the ribbon connector on the top right of the camera.
-
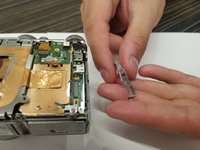
Remove the two 2.5mm Phillips #00 screws holding the small chip in place. Remove the small chip.
-
Remove the final two 4.5 mm Phillips #00 screws from the left side of the brace.
-
-
-
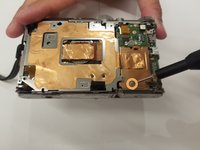
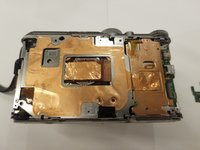
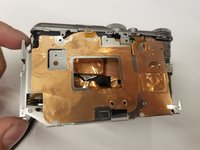
Gently lift the rear brace off of the camera.
-
-
-
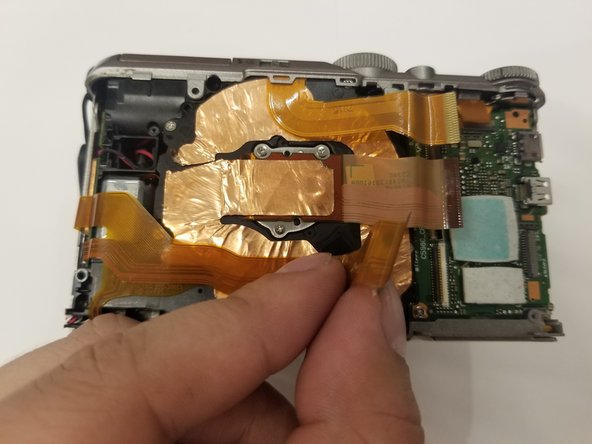
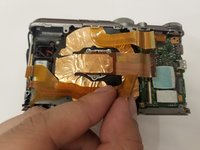
Use your finger to undo the three ribbon connectors.
-
-
-
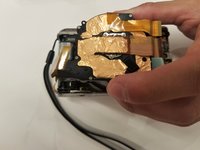
Carefully lift the lens out of the camera.
-
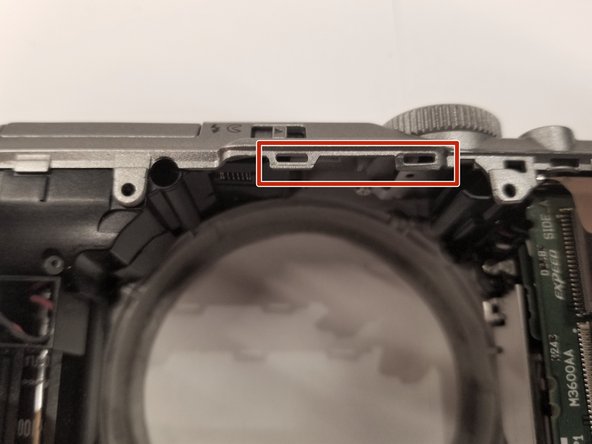
It may be necessary to gently pry these tabs out of the way to release the lens.
-
-
-
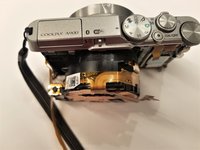
Separate the lens from the body of the camera.
-
To reassemble your device, follow these instructions in reverse order.
To reassemble your device, follow these instructions in reverse order.
crwdns2935221:0crwdne2935221:0
crwdns2935229:07crwdne2935229:0
crwdns2947412:02crwdne2947412:0
How to replace the front-lens of the zoom-lens, when it’s scratched!?!
Ok I removed the defective one, but my question now is: what model of lens can I replace it with? Is it compatible with any lens from Nikon, or from other manufacturers?


