crwdns2933423:0crwdne2933423:0
crwdns2947577:0crwdnd2947577:0crwdne2947577:0

NEC LCD1770NX Screen Replacement

crwdns2942213:0crwdne2942213:0

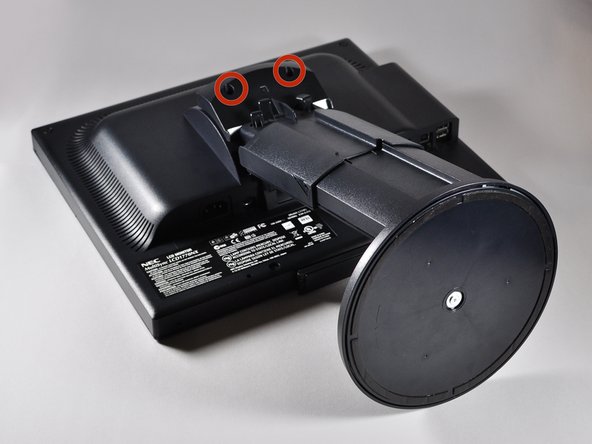
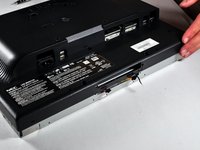
    1. NEC LCD1770NX Screen Replacement, Stand: crwdns2935265:01crwdnd2935265:01crwdnd2935265:02crwdne2935265:0 NEC LCD1770NX Screen Replacement, Stand: crwdns2935265:01crwdnd2935265:02crwdnd2935265:02crwdne2935265:0
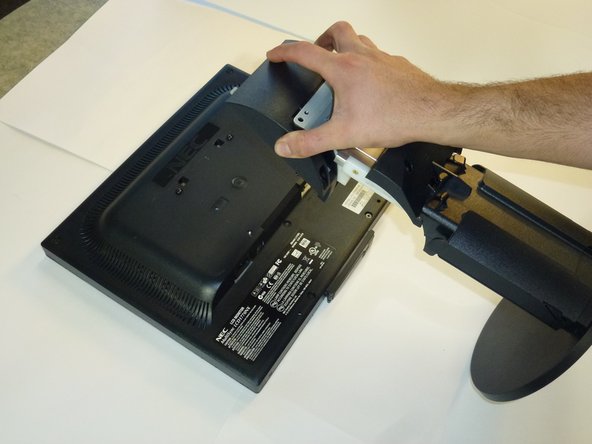
      • Place the monitor face down on a clean, flat surface.

      crwdns2952109:0crwdne2952109:0

      crwdns2917038:0crwdne2917038:0

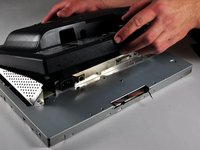
    2. NEC LCD1770NX Screen Replacement: crwdns2935265:02crwdnd2935265:01crwdnd2935265:02crwdne2935265:0 NEC LCD1770NX Screen Replacement: crwdns2935265:02crwdnd2935265:02crwdnd2935265:02crwdne2935265:0
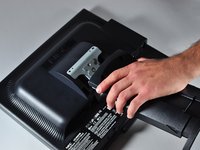
      • Firmly remove the back panel of the stand by pulling it up and away from the monitor.

      crwdns2952109:0crwdne2952109:0

      crwdns2917038:0crwdne2917038:0

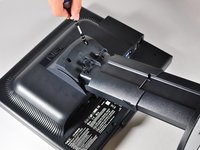
    3. NEC LCD1770NX Screen Replacement: crwdns2935265:03crwdnd2935265:01crwdnd2935265:02crwdne2935265:0 NEC LCD1770NX Screen Replacement: crwdns2935265:03crwdnd2935265:02crwdnd2935265:02crwdne2935265:0
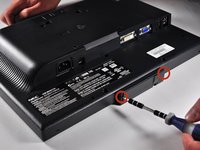
      • Unscrew the two 6mm Phillips PH2 screws to detach the stand enclosure from the stand.

      crwdns2952109:0crwdne2952109:0

      crwdns2917038:0crwdne2917038:0

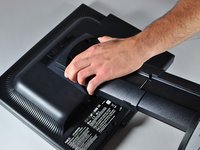
    4. NEC LCD1770NX Screen Replacement: crwdns2935265:04crwdnd2935265:01crwdnd2935265:02crwdne2935265:0 NEC LCD1770NX Screen Replacement: crwdns2935265:04crwdnd2935265:02crwdnd2935265:02crwdne2935265:0
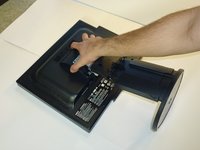
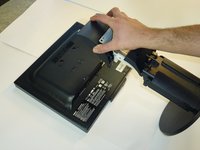
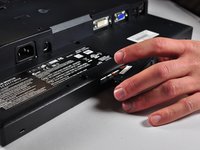
      • Firmly grasp the stand enclosure with your hand and slide it to base of stand.

      crwdns2952109:0crwdne2952109:0

      crwdns2917038:0crwdne2917038:0

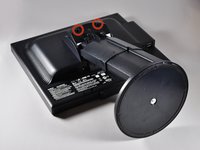
    5. NEC LCD1770NX Screen Replacement: crwdns2935265:05crwdnd2935265:01crwdnd2935265:01crwdne2935265:0
      • Unscrew the two 14.5mm Phillips PH2 screws holding the stand to the monitor.

      crwdns2952109:0crwdne2952109:0

      crwdns2917038:0crwdne2917038:0

    6. NEC LCD1770NX Screen Replacement: crwdns2935265:06crwdnd2935265:01crwdnd2935265:02crwdne2935265:0 NEC LCD1770NX Screen Replacement: crwdns2935265:06crwdnd2935265:02crwdnd2935265:02crwdne2935265:0
      • Lift the the stand straight up to remove it.

      crwdns2952109:0crwdne2952109:0

      crwdns2917038:0crwdne2917038:0

    1. NEC LCD1770NX Screen Replacement, Monitor Enclosure: crwdns2935265:07crwdnd2935265:01crwdnd2935265:03crwdne2935265:0 NEC LCD1770NX Screen Replacement, Monitor Enclosure: crwdns2935265:07crwdnd2935265:02crwdnd2935265:03crwdne2935265:0 NEC LCD1770NX Screen Replacement, Monitor Enclosure: crwdns2935265:07crwdnd2935265:03crwdnd2935265:03crwdne2935265:0
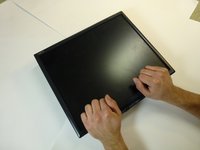
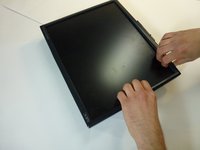
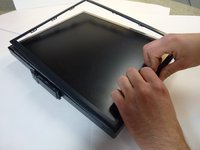
      • Place the monitor screen face up.

      • Pull the frame off by placing your fingers on the inside of the frame and pulling out and up, the frame should snap off.

      • Continue your way around the screen.

      crwdns2952109:0crwdne2952109:0

      crwdns2917038:0crwdne2917038:0

    2. NEC LCD1770NX Screen Replacement: crwdns2935265:08crwdnd2935265:01crwdnd2935265:03crwdne2935265:0 NEC LCD1770NX Screen Replacement: crwdns2935265:08crwdnd2935265:02crwdnd2935265:03crwdne2935265:0 NEC LCD1770NX Screen Replacement: crwdns2935265:08crwdnd2935265:03crwdnd2935265:03crwdne2935265:0
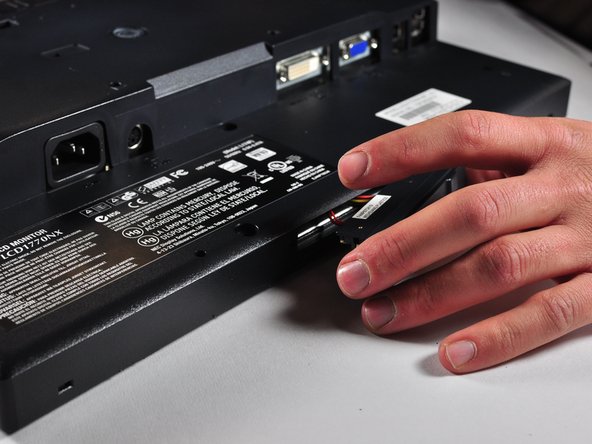
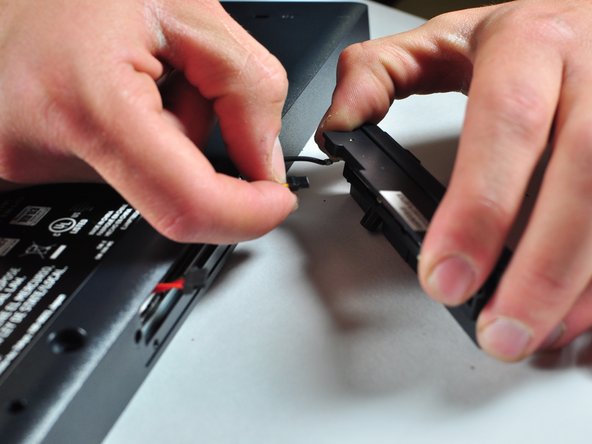
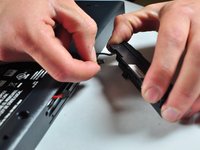
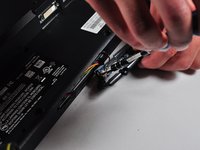
      • Unscrew the two 7mm screws from the bottom of the button assembly.

      • Do not pull the button assembly out too quickly or with too much force! Damage to the wires can occur.

      • Pull the button assembly out a few inches and unplug the colored cables.

      crwdns2952109:0crwdne2952109:0

      crwdns2917038:0crwdne2917038:0

    3. NEC LCD1770NX Screen Replacement: crwdns2935265:09crwdnd2935265:01crwdnd2935265:02crwdne2935265:0 NEC LCD1770NX Screen Replacement: crwdns2935265:09crwdnd2935265:02crwdnd2935265:02crwdne2935265:0
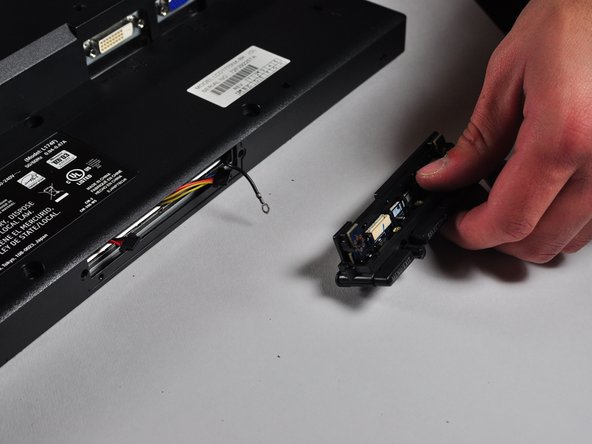
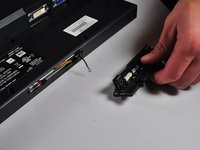
      • Unscrew the gold colored 7mm Phillips PH000 screw holding the button assembly to the monitor.

      • Remove the button assembly from the monitor.

      crwdns2952109:0crwdne2952109:0

      crwdns2917038:0crwdne2917038:0

    4. NEC LCD1770NX Screen Replacement: crwdns2935265:010crwdnd2935265:01crwdnd2935265:01crwdne2935265:0
      • With the monitor face-down, unscrew the 5 7mm Phillips PH2 screws around the outside of the enclosure.

      crwdns2952109:0crwdne2952109:0

      crwdns2917038:0crwdne2917038:0

    5. NEC LCD1770NX Screen Replacement: crwdns2935265:011crwdnd2935265:01crwdnd2935265:03crwdne2935265:0 NEC LCD1770NX Screen Replacement: crwdns2935265:011crwdnd2935265:02crwdnd2935265:03crwdne2935265:0 NEC LCD1770NX Screen Replacement: crwdns2935265:011crwdnd2935265:03crwdnd2935265:03crwdne2935265:0
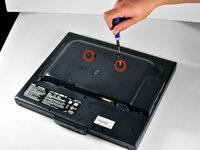
      • Unscrew the 2 14.5mm Phillips PH2 screws located on the raised center of the enclosure.

      • Carefully pull the enclosure off the monitor.

      crwdns2952109:0crwdne2952109:0

      crwdns2917038:0crwdne2917038:0

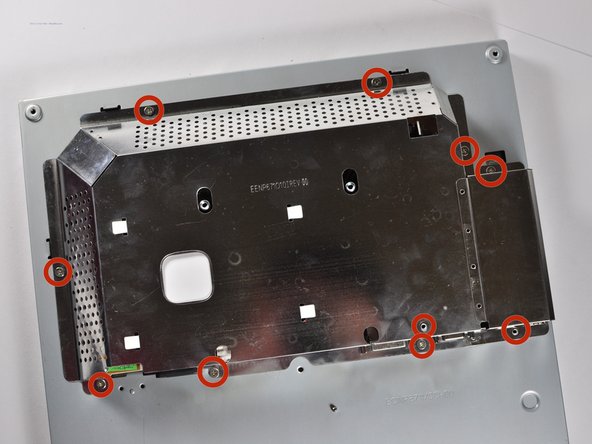
    6. NEC LCD1770NX Screen Replacement: crwdns2935265:012crwdnd2935265:01crwdnd2935265:02crwdne2935265:0 NEC LCD1770NX Screen Replacement: crwdns2935265:012crwdnd2935265:02crwdnd2935265:02crwdne2935265:0
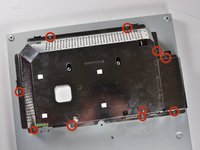
      • Unscrew the 10 5mm Philips PH2 screws holding the metal casing to the monitor.

      crwdns2952109:0crwdne2952109:0

      crwdns2917038:0crwdne2917038:0

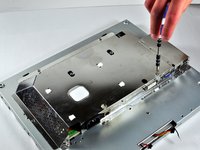
    7. NEC LCD1770NX Screen Replacement: crwdns2935265:013crwdnd2935265:01crwdnd2935265:02crwdne2935265:0 NEC LCD1770NX Screen Replacement: crwdns2935265:013crwdnd2935265:02crwdnd2935265:02crwdne2935265:0
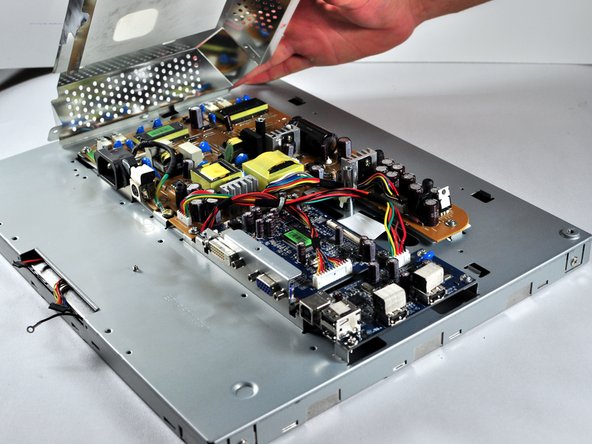
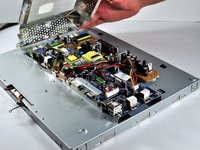
      • Pull the the metal casing off of the monitor to reveal the motherboards.

      crwdns2952109:0crwdne2952109:0

      crwdns2917038:0crwdne2917038:0

    1. NEC LCD1770NX Screen Replacement, Screen: crwdns2935265:014crwdnd2935265:01crwdnd2935265:02crwdne2935265:0 NEC LCD1770NX Screen Replacement, Screen: crwdns2935265:014crwdnd2935265:02crwdnd2935265:02crwdne2935265:0
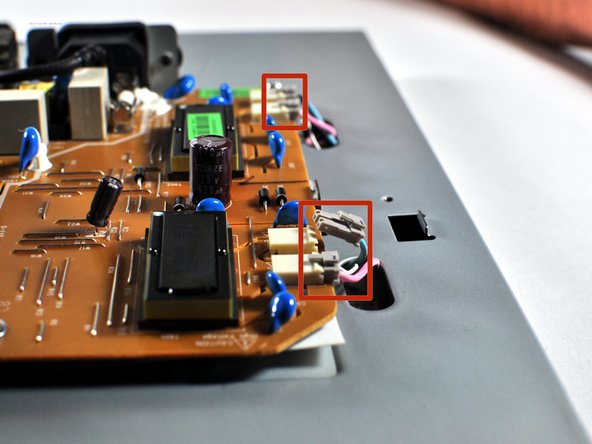
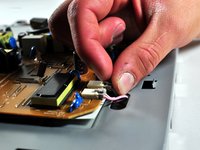
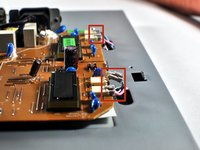
      • Unplug the pink and light blue attachments from the side of the brown board by pulling up on the tabs and gently pulling the cord out.

      • Label where the plugs go.

      crwdns2952109:0crwdne2952109:0

      crwdns2917038:0crwdne2917038:0

    2. NEC LCD1770NX Screen Replacement: crwdns2935265:015crwdnd2935265:01crwdnd2935265:02crwdne2935265:0 NEC LCD1770NX Screen Replacement: crwdns2935265:015crwdnd2935265:02crwdnd2935265:02crwdne2935265:0
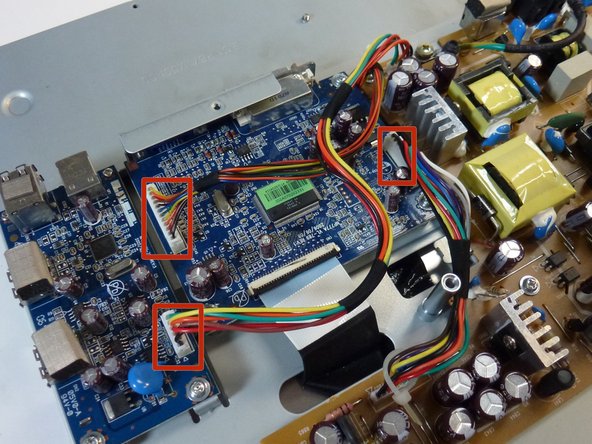
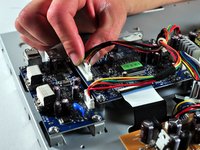
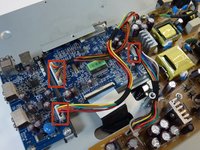
      • Unplug the 3 multicolored cables from the blue board by gently wiggling them back and forth while pulling up.

      crwdns2952109:0crwdne2952109:0

      crwdns2917038:0crwdne2917038:0

    3. NEC LCD1770NX Screen Replacement: crwdns2935265:016crwdnd2935265:01crwdnd2935265:02crwdne2935265:0 NEC LCD1770NX Screen Replacement: crwdns2935265:016crwdnd2935265:02crwdnd2935265:02crwdne2935265:0
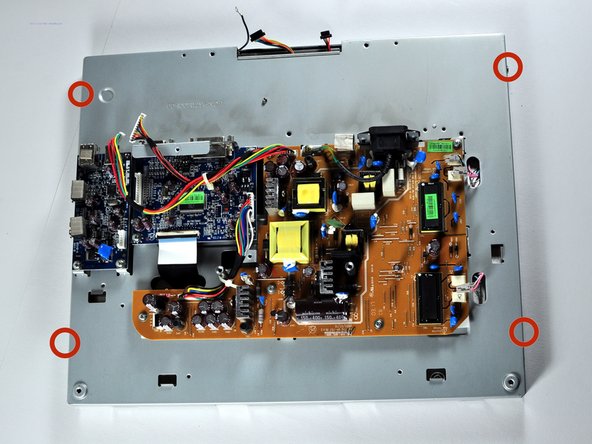
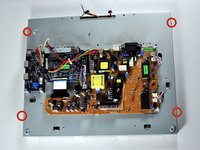
      • Unscrew the 4 5mm Phillips PH2 screws on the sides of the monitor.

      crwdns2952109:0crwdne2952109:0

      crwdns2917038:0crwdne2917038:0

    4. NEC LCD1770NX Screen Replacement: crwdns2935265:017crwdnd2935265:01crwdnd2935265:03crwdne2935265:0 NEC LCD1770NX Screen Replacement: crwdns2935265:017crwdnd2935265:02crwdnd2935265:03crwdne2935265:0 NEC LCD1770NX Screen Replacement: crwdns2935265:017crwdnd2935265:03crwdnd2935265:03crwdne2935265:0
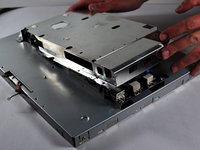
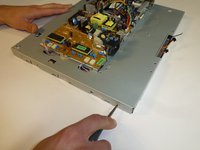
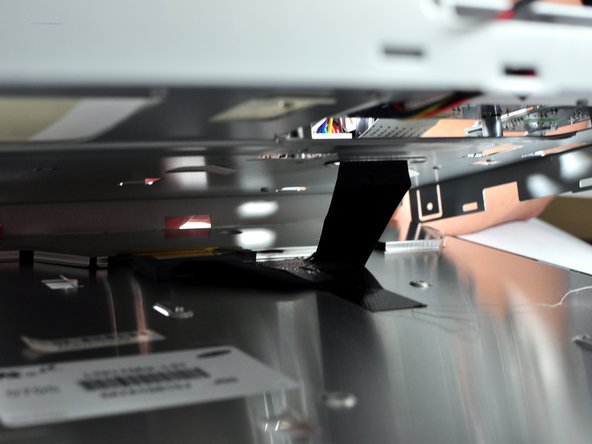
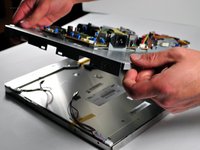
      • Begin opening the enclosure by slowing pulling up on back panel of the monitor.

      • The enclosure should still be attached by a cable; this cable is held down by tape. Remove this tape.

      crwdns2952109:0crwdne2952109:0

      crwdns2917038:0crwdne2917038:0

    5. NEC LCD1770NX Screen Replacement: crwdns2935265:018crwdnd2935265:01crwdnd2935265:03crwdne2935265:0 NEC LCD1770NX Screen Replacement: crwdns2935265:018crwdnd2935265:02crwdnd2935265:03crwdne2935265:0 NEC LCD1770NX Screen Replacement: crwdns2935265:018crwdnd2935265:03crwdnd2935265:03crwdne2935265:0
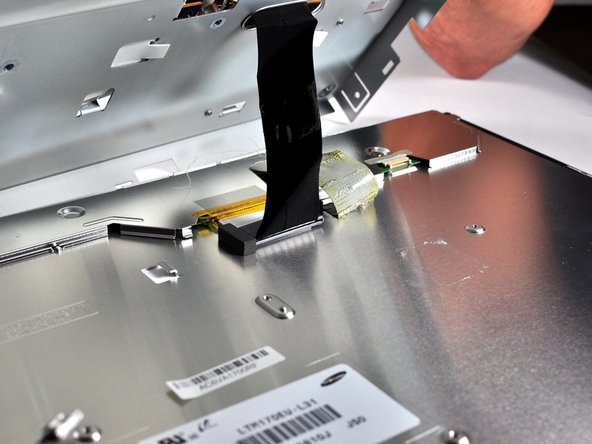
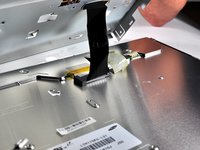
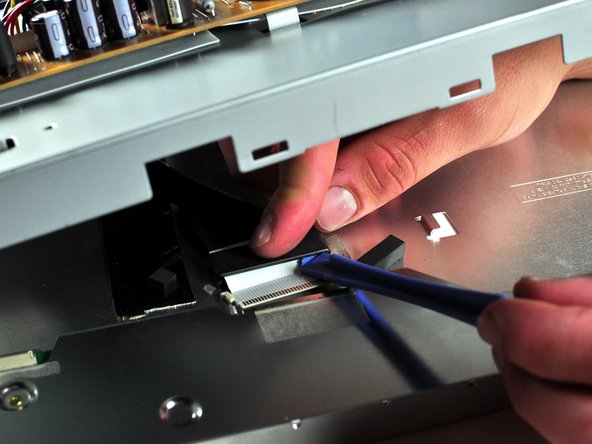
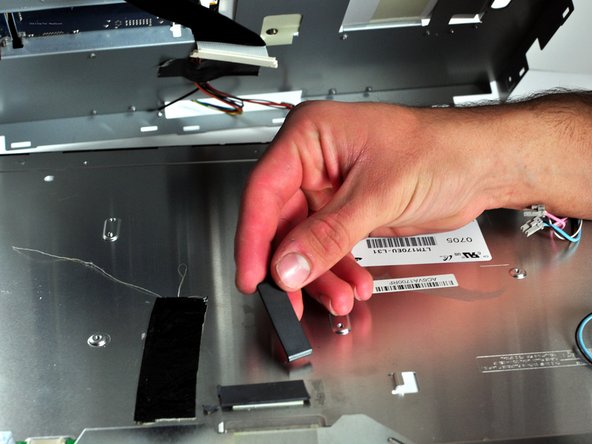
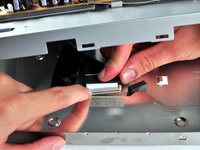
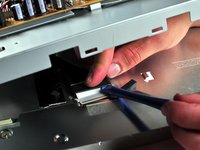
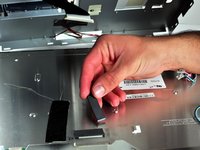
      • Unplug the cable from the screen. It is still attached by a fragile black belt.

      • Use a spudger to break the black ceramic belt to free the screen from the rest, allowing it to be replaced.

      crwdns2952109:0crwdne2952109:0

      crwdns2917038:0crwdne2917038:0

crwdns2915888:0crwdne2915888:0

To reassemble your device, follow these instructions in reverse order.

crwdns2935221:0crwdne2935221:0

John Patterson

crwdns2935283:010/19/13crwdne2935283:0

271 crwdns2915208:0crwdne2915208:0

crwdns2935297:02crwdne2935297:0

crwdns2935287:0crwdne2935287:0

Cal Poly, Team 11-36, Amido Fall 2013 crwdns2935289:0Cal Poly, Team 11-36, Amido Fall 2013crwdne2935289:0

CPSU-AMIDO-F13S11G36

crwdns2931471:05crwdne2931471:0

crwdns2935297:084crwdne2935297:0

crwdns2947410:01crwdne2947410:0

Thank you very much for this tutorial. The steps are very specific and detailed. I bought a new NEC LCD1770NX LCD Display Screen online and installed it according to the steps in the article. Finally, the machine worked normally again. Thank you very much.

sean - crwdns2934203:0crwdne2934203:0 crwdns2950251:0crwdne2950251:0

crwdns2917038:0crwdne2917038:0

crwdns2936625:0crwdne2936625:0:

crwdns2936751:024crwdne2936751:0 3

crwdns2936753:07crwdne2936753:0 9

crwdns2936753:030crwdne2936753:0 24

crwdns2942667:0crwdne2942667:0 2,364