crwdns2933423:0crwdne2933423:0
crwdns2947577:0crwdnd2947577:0crwdne2947577:0

Munchkinz LCD Assembly

crwdns2942213:0crwdne2942213:0

    1. Munchkinz LCD Assembly, Opening Device: crwdns2935265:01crwdnd2935265:01crwdnd2935265:01crwdne2935265:0
      • Insert spudger into the USB Micro slot and pry the case apart.

      • Be careful not to go too deep and bend the prong inside the Micro USB port.

      crwdns2952109:0crwdne2952109:0

      crwdns2917038:0crwdne2917038:0

    2. Munchkinz LCD Assembly, Pry Device Apart: crwdns2935265:02crwdnd2935265:01crwdnd2935265:02crwdne2935265:0 Munchkinz LCD Assembly, Pry Device Apart: crwdns2935265:02crwdnd2935265:02crwdnd2935265:02crwdne2935265:0
      • Slide the wide plastic opening tool across the seem, separating it if you can't pry the device open using just the spudger.

      • Gently separate the case so none of the cords inside are disconnected

      crwdns2952109:0crwdne2952109:0

      crwdns2917038:0crwdne2917038:0

    3. Munchkinz LCD Assembly, Separated Device: crwdns2935265:03crwdnd2935265:01crwdnd2935265:01crwdne2935265:0
      • After prying the device apart, it should look like this.

      crwdns2952109:0crwdne2952109:0

      crwdns2917038:0crwdne2917038:0

    1. Munchkinz LCD Assembly, Remove Speaker: crwdns2935265:04crwdnd2935265:01crwdnd2935265:01crwdne2935265:0
      • Use the plastic opening tool to remove the speaker from the casing.

      crwdns2952109:0crwdne2952109:0

      crwdns2917038:0crwdne2917038:0

    2. Munchkinz LCD Assembly, Pry Camera: crwdns2935265:05crwdnd2935265:01crwdnd2935265:01crwdne2935265:0
      • Use the slim plastic opening tool to pry the camera from its position.

      crwdns2952109:0crwdne2952109:0

      crwdns2917038:0crwdne2917038:0

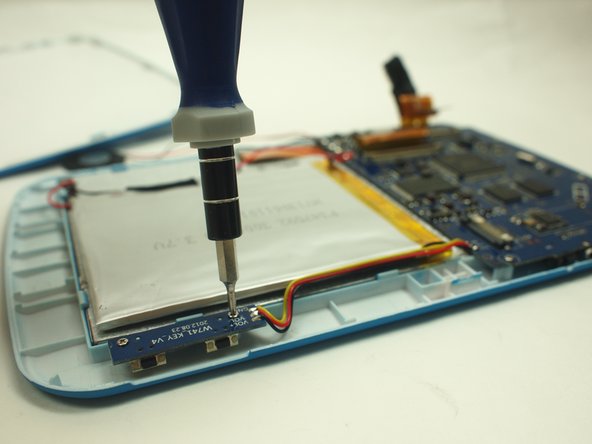
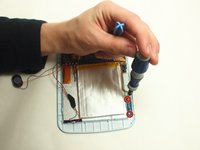
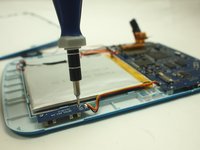
    3. Munchkinz LCD Assembly, Unscrew Volume Module: crwdns2935265:06crwdnd2935265:01crwdnd2935265:02crwdne2935265:0 Munchkinz LCD Assembly, Unscrew Volume Module: crwdns2935265:06crwdnd2935265:02crwdnd2935265:02crwdne2935265:0
      • Unscrew the two screws that hold the volume module to the casing.

      crwdns2952109:0crwdne2952109:0

      crwdns2917038:0crwdne2917038:0

    4. Munchkinz LCD Assembly, Pry Battery: crwdns2935265:07crwdnd2935265:01crwdnd2935265:01crwdne2935265:0
      • Use the plastic opening tool to slowly pry each side of the battery up.

      • Be careful not to bend the battery too much.

      crwdns2952109:0crwdne2952109:0

      crwdns2917038:0crwdne2917038:0

    5. Munchkinz LCD Assembly, Remove Ribbons: crwdns2935265:08crwdnd2935265:01crwdnd2935265:01crwdne2935265:0
      • Remove the two highlighted ribbons from the motherboard.

      crwdns2952109:0crwdne2952109:0

      crwdns2917038:0crwdne2917038:0

    6. Munchkinz LCD Assembly, Remove Screws: crwdns2935265:09crwdnd2935265:01crwdnd2935265:01crwdne2935265:0
      • Use the screw driver to remove the highlighted screws.

      crwdns2952109:0crwdne2952109:0

      crwdns2917038:0crwdne2917038:0

    7. Munchkinz LCD Assembly, Remove Hidden Screw: crwdns2935265:010crwdnd2935265:01crwdnd2935265:01crwdne2935265:0
      • Use the plastic opening tool to hold the camera ribbon back.

      • Unscrew the screw under ribbon with the screw driver.

      crwdns2952109:0crwdne2952109:0

      crwdns2917038:0crwdne2917038:0

    8. Munchkinz LCD Assembly, Remove Motherboard: crwdns2935265:011crwdnd2935265:01crwdnd2935265:01crwdne2935265:0
      • Remove the motherboard from the casing.

      crwdns2952109:0crwdne2952109:0

      crwdns2917038:0crwdne2917038:0

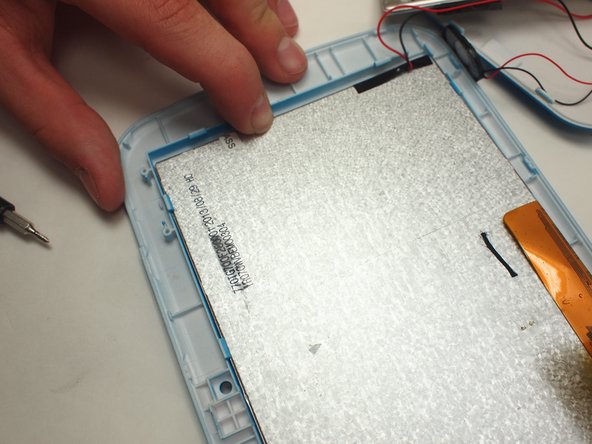
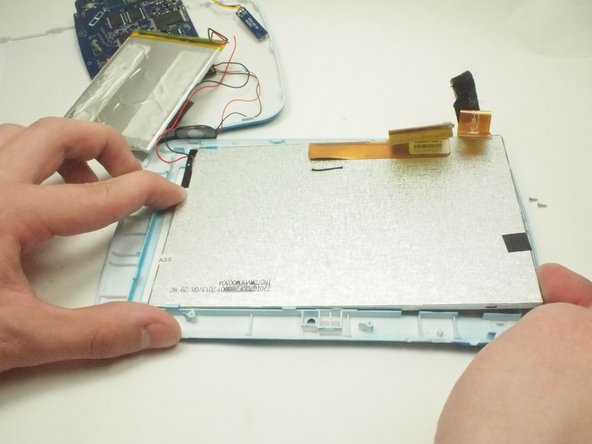
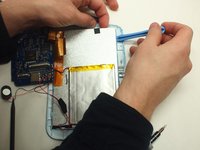
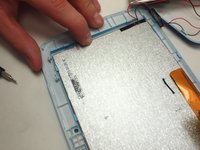
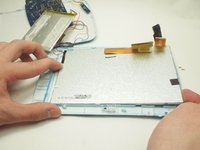
    9. Munchkinz LCD Assembly, Pry Up Screen: crwdns2935265:012crwdnd2935265:01crwdnd2935265:03crwdne2935265:0 Munchkinz LCD Assembly, Pry Up Screen: crwdns2935265:012crwdnd2935265:02crwdnd2935265:03crwdne2935265:0 Munchkinz LCD Assembly, Pry Up Screen: crwdns2935265:012crwdnd2935265:03crwdnd2935265:03crwdne2935265:0
      • Oriented the device so the battery is closest to the user.

      • Use the plastic opening tool to pry the clips up to release LCD screen.

      • Gently lift the northern end of the screen and slide it out horizontally.

      crwdns2952109:0crwdne2952109:0

      crwdns2917038:0crwdne2917038:0

    10. Munchkinz LCD Assembly, Solder LCD Wires: crwdns2935265:013crwdnd2935265:01crwdnd2935265:01crwdne2935265:0
      • Unsolder the black and red LCD wires.

      crwdns2952109:0crwdne2952109:0

      crwdns2917038:0crwdne2917038:0

crwdns2915888:0crwdne2915888:0

To reassemble your device, follow these instructions in reverse order.

crwdns2935221:0crwdne2935221:0

crwdns2935227:0crwdne2935227:0

David Wood

crwdns2935283:002/05/15crwdne2935283:0

440 crwdns2915208:0crwdne2915208:0

crwdns2935297:04crwdne2935297:0

crwdns2935287:0crwdne2935287:0

UW Tacoma, Team 3-6, Rose Winter 2015 crwdns2935289:0UW Tacoma, Team 3-6, Rose Winter 2015crwdne2935289:0

UWT-ROSE-W15S3G6

crwdns2931471:03crwdne2931471:0

crwdns2935297:084crwdne2935297:0

crwdns2947412:00crwdne2947412:0

crwdns2917038:0crwdne2917038:0

crwdns2936625:0crwdne2936625:0:

crwdns2936751:024crwdne2936751:0 5

crwdns2936753:07crwdne2936753:0 10

crwdns2936753:030crwdne2936753:0 28

crwdns2942667:0crwdne2942667:0 666