crwdns2915892:0crwdne2915892:0
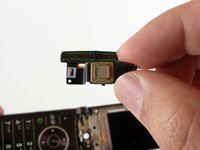
Use this repair guide to replace the camera in a Motorola RAZR2 v9m.
crwdns2942213:0crwdne2942213:0
-
-
Push the rear cover toward the hinge of the RAZR2. The panel will slide about 3 mm.
-
-
-
Pinch the top and bottom edges of the panel and pull it away from the RAZR2.
-
-
-
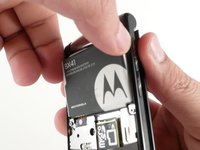
Gently pull the white plastic tab to lift the battery away from the RAZR2.
-
-
-
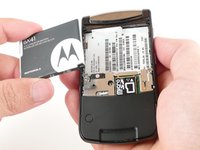
To remove the battery, grasp its edges pull away from the phone.
-
-
-
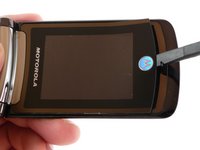
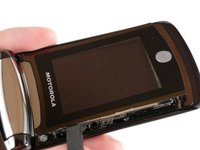
Flip open the RAZR2 with the keypad and main LCD facing you.
-
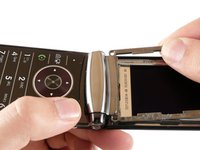
Insert a spudger into the small gap above the plastic screen.
-
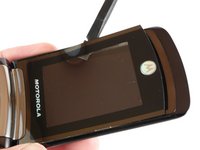
Gently pry the screen away from the phone.
-
-
-
-
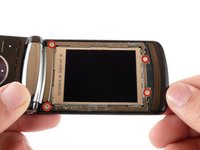
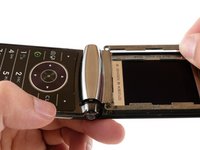
The plastic screen is held in place by adhesive. Run the spudger along both sides of the screen to separate it from the RAZR2.
-
Lift the screen away from the phone.
-
-
-
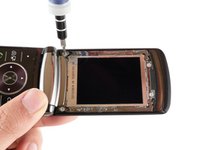
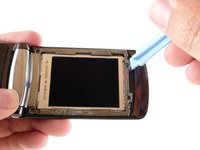
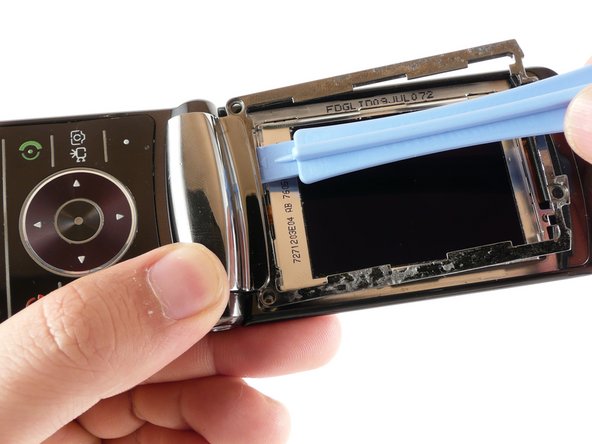
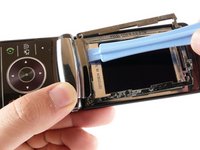
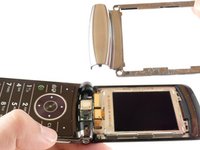
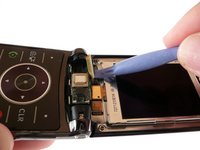
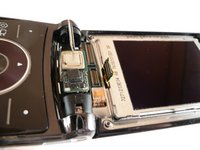
Use a plastic opening tool to pry the top end of the metal frame away from the RAZR2.
-
-
-
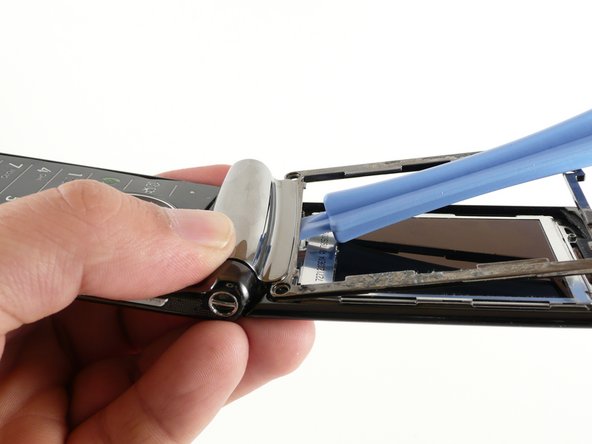
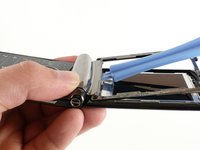
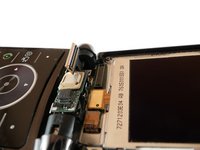
Insert a plastic opening tool under the metal frame at the hinge of the RAZR2.
-
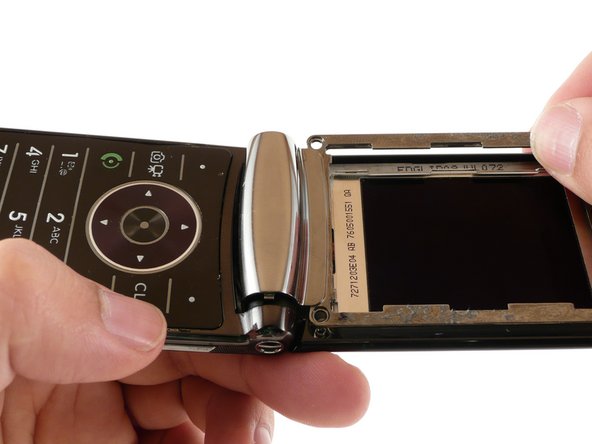
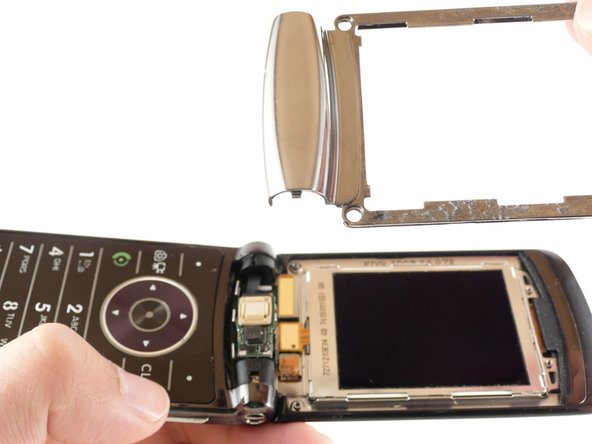
Gently pry the hinge portion of the metal frame away from the phone.
-
-
-
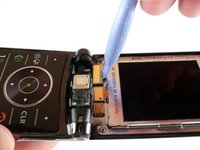
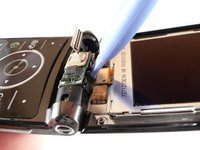
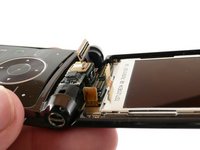
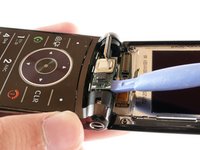
Use the plastic opening tool to gently pry the motherboard cable out of its socket.
-
-
-
Use the plastic opening tool to gently pry the LCD cable out of its socket.
-
-
-
Use the plastic opening tool to gently pry the camera cable out of its socket.
-
-
-
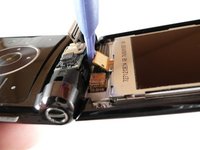
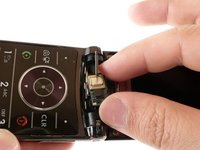
Use a plastic opening tool to gently pry the camera assembly away from the RAZR2.
-
To reassemble your device, follow these instructions in reverse order.
crwdns2935221:0crwdne2935221:0
crwdns2935229:02crwdne2935229:0


