crwdns2915892:0crwdne2915892:0
The Motorola Moto G7 features a rear facing camera allowing the user to take photos while looking at the screen. If the camera is showing black when trying to take a picture or has a broken or scratched lens it is best to replace it.
Before you begin, download the Rescue and Smart Assistant app to backup your device and diagnose whether your problem is software or hardware related.
This guide is to replace the rear facing camera. This guide is for 12 MP ( f1.8, 1.25um pixel), 5 MP depth sensor, LED flash, and PDAF (Phase Detection Autofocus) parts of the Motorola Moto G7 camera.
Before following this guide, make sure the phone is powered all the way off and is unplugged from any external chargers, headphones, etc. Gather the suggested tools and a new Motorola G7 camera.
crwdns2942213:0crwdne2942213:0
-
-
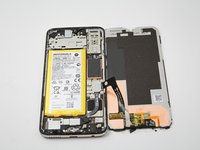
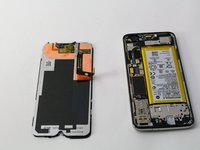
Use the iFixit opening tools to gently wedge the front screen from the rest of the device.
-
-
-
Excessive glass and adhesive around the edges should be removed with the spudger.
-
-
-
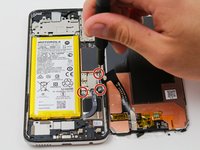
Remove three 2.7mm T3 Torx screws from the metal piece to the right of the battery.
-
-
-
-
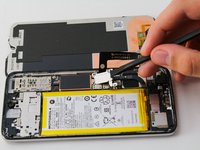
Use a spudger to gently take off the metal piece that was held down by the screws.
-
A second metal piece is held under the first. This can also be popped off by using the spudger and nudging it under the metal piece connected to the band.
-
-
-
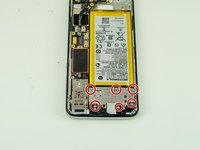
Remove by the six 2.7mm T3 Torx screws from the metal panel above the battery.
-
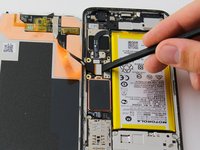
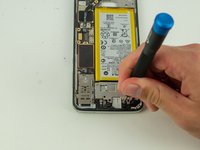
Wedge a spudger between the SD card tray and the metal plate, and use a medium amount of force to pry up the plate.
-
-
-
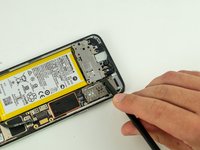
Use a spudger beneath the right side of the connector to detach it.
-
-
-
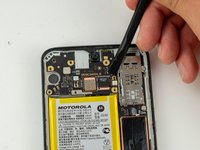
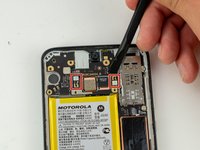
Detach the two small black and white connectors on either side of the camera using a spudger.
-
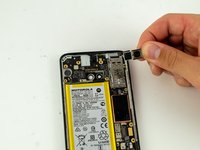
Remove the camera from the smartphone.
-
To reassemble your device, follow these instructions in reverse order.
crwdns2935221:0crwdne2935221:0
crwdns2935229:02crwdne2935229:0


