crwdns2915892:0crwdne2915892:0
This guide will replace a faulty or broken rear facing camera.
Before you begin, download the Software Fix app to backup your device and diagnose whether your problem is software or hardware related.
crwdns2942213:0crwdne2942213:0
-
-
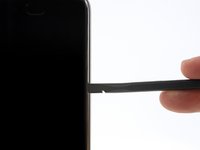
Insert your fingernail or the flat end of a spudger into the notch on the bottom edge of the phone near the charging port.
-
Pry with your fingernail or twist the spudger to release the back cover from the phone.
-
-
-
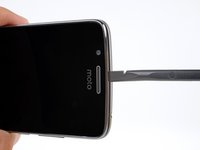
Insert the flat end of a spudger into the seam and slide it along the bottom edge to release the clips holding the back cover to the phone.
-
-
-
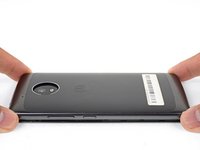
Continue sliding the flat end of the spudger along the seam for the remaining sides of the phone.
-
-
-
-
Lift the back cover and remove it from the phone.
-
-
-
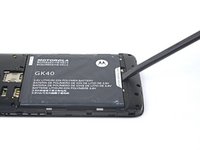
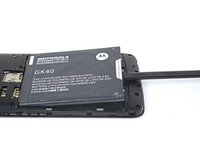
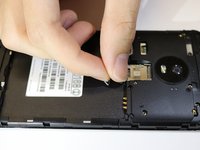
Insert your fingernail or the flat end of the spudger into the notch below the battery.
-
Pry with your fingernail or spudger until you free the battery from its recess.
-
-
-
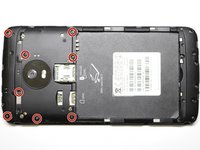
Remove the eight (8) 4mm screws with a Phillips screwdriver.
-
-
-
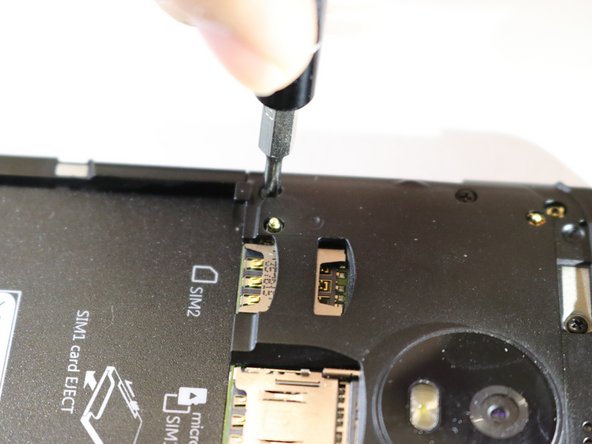
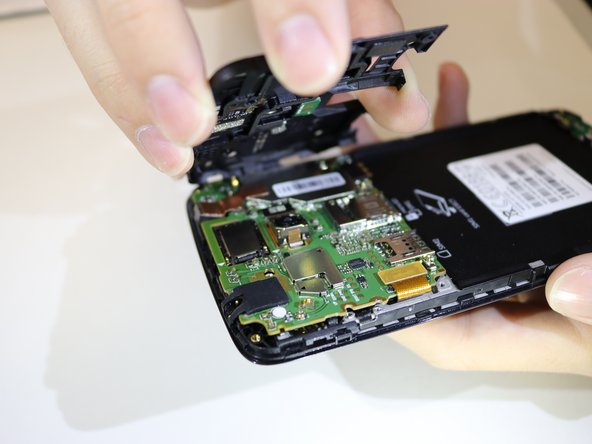
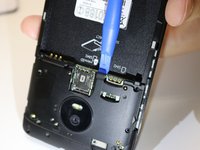
Pry the top motherboard cover off using a plastic opening tool.
-
-
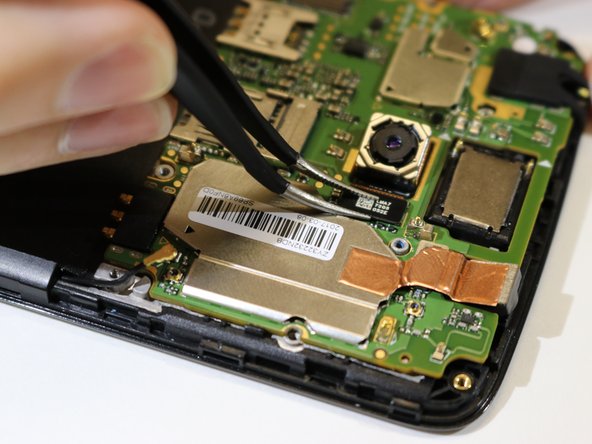
crwdns2935267:0crwdne2935267:0Tweezers$4.99
-
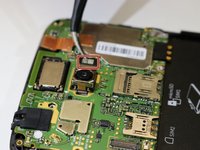
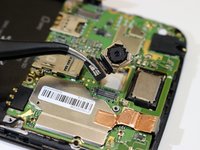
Disconnect the marked connector with a pair of tweezers and remove the camera piece.
-


To reassemble your device, follow these instructions in reverse order.
crwdns2935221:0crwdne2935221:0
crwdns2935229:03crwdne2935229:0
crwdns2935287:0crwdne2935287:0

Cal Poly, Team S2-G3, Livingston Winter 2018 crwdns2935289:0Cal Poly, Team S2-G3, Livingston Winter 2018crwdne2935289:0
CPSU-LIVINGSTON-W18S2G3
crwdns2931471:04crwdne2931471:0
crwdns2935297:016crwdne2935297:0