crwdns2915892:0crwdne2915892:0
Use this guide to replace a broken or malfunctioning screen. When removing the screen, make sure to wear safety glasses.
Before you begin, download the Software Fix app to backup your device and diagnose whether your problem is software or hardware related.
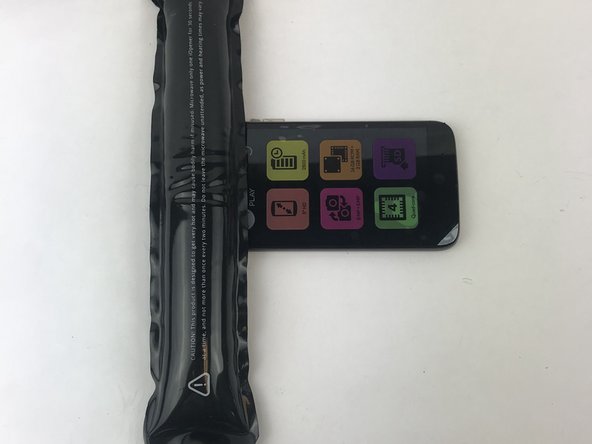
Note: Microwave only one iOpener at a time for no more than 30 seconds, and make sure to not microwave it more than once within two minutes.
crwdns2942213:0crwdne2942213:0
-
-
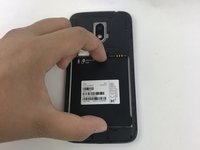
Open case with a plastic opening tool that has the same size as the divot located at the bottom left of the phone. If you don’t have an opening tool, use your finger nails.
-
-
-
Lift the case by the nearest corner to the divot and remove it from the phone.
-
-
-
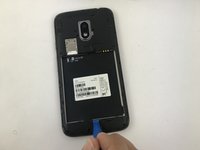
Place the plastic opening tool into the notch located at the bottom of the battery compartment, and lift upwards. If you don’t have an opening tool, use your finger nails.
-
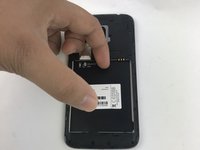
Remove battery from your phone.
-
-
-
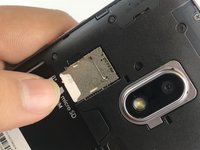
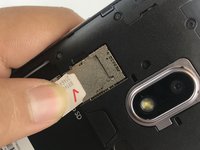
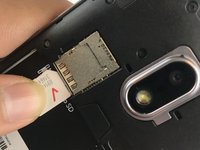
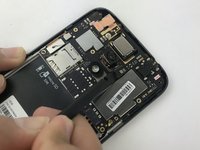
Remove any SIM card and/or memory card present using your hand.
-
-
crwdns2935267:0crwdne2935267:0Tweezers$4.99
-
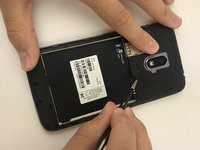
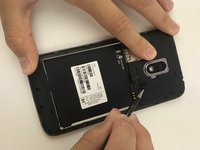
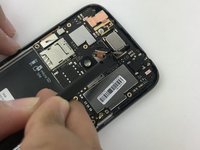
Remove the small silicon cover at the bottom right of the camera using tweezers.
-
-
-
Remove the sixteen (16) 3mm Phillips PH000 screws securing the midframe.
-
-
-
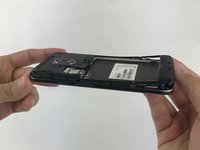
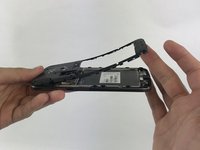
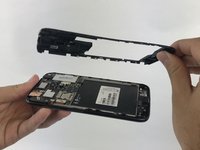
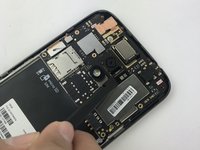
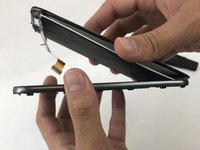
Remove the back panel assembly with your hands.
-
-
-
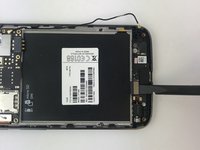
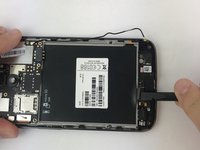
Use the flat end of a spudger to disconnect the rear-facing camera connector from its socket on the mother board.
-
-
crwdns2935267:0crwdne2935267:0Tweezers$4.99
-
After detaching the connector, carefully remove the camera using tweezers. If you don't have tweezers, use your hands.
-
-
-
crwdns2935267:0crwdne2935267:0Tweezers$4.99
-
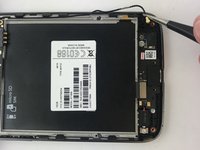
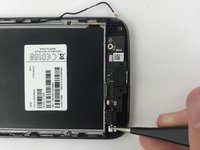
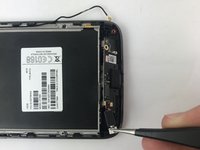
Use tweezers to pop up the antenna wire.
-
-
-
Use the flat end of a spudger to pry up on the connector at the bottom of the battery space.
-
-
-
Remove the two (2) 3mm Phillips PH000 screws securing the charging port.
-
-
-
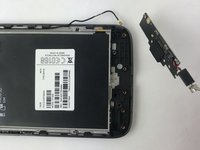
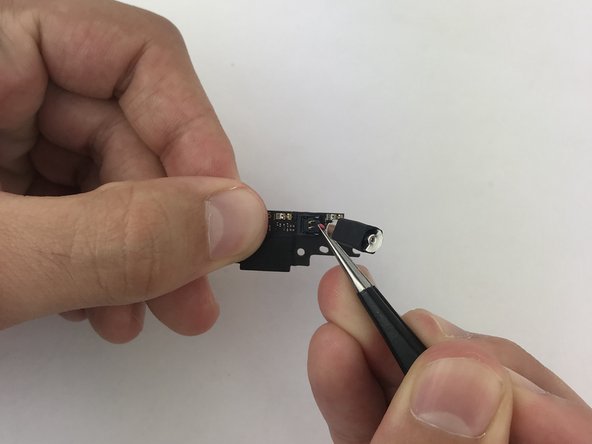
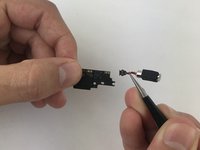
Insert the tweezers under the vibrator and gently lift up the whole part.
-
-
-
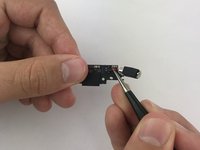
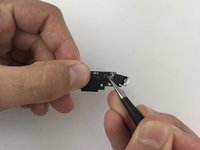
Pop up on the vibrator's connector to separate it from the charging port.
-
-
-
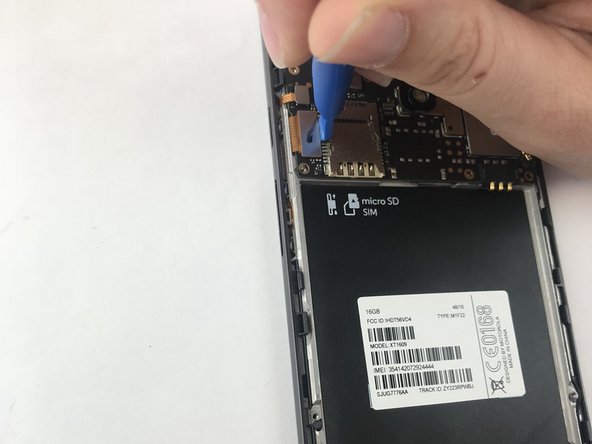
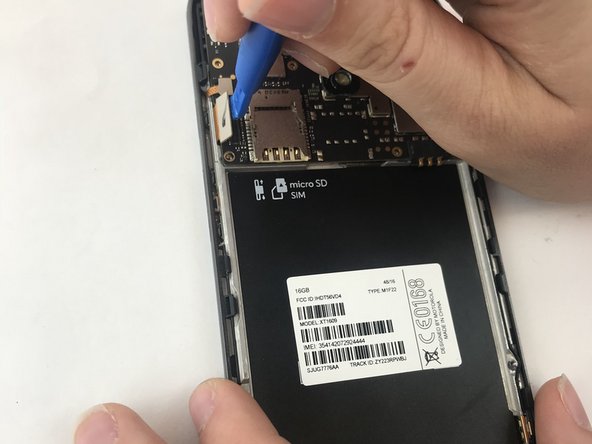
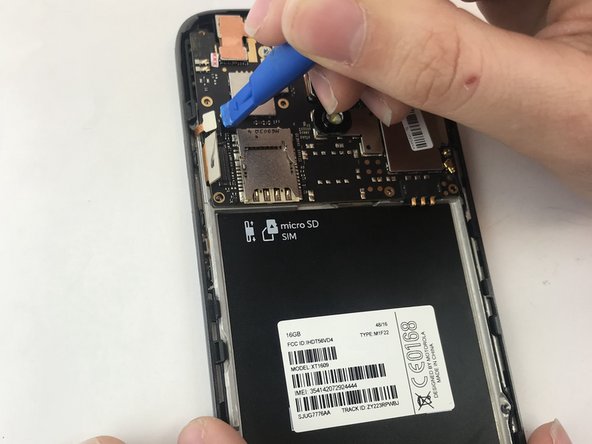
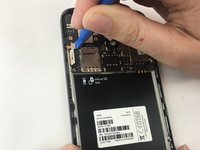
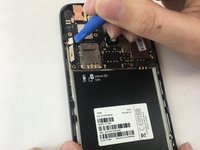
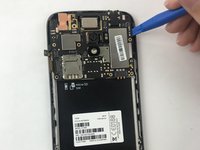
Using an opening tool, pry up one of the connectors to the left of where the sim card was located.
-
-
-
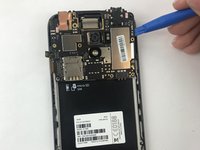
Pry up the next connector located right on top of the previous one.
-
-
-
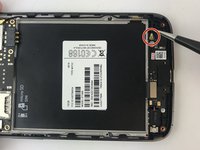
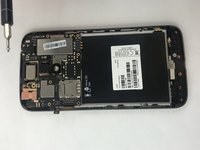
Using the Phillips screwdriver, remove the screw that's found next to the speaker on the top left of the phone.
-
-
-
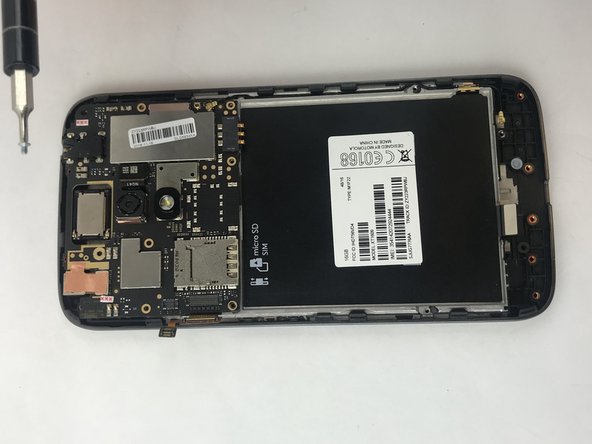
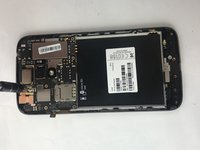
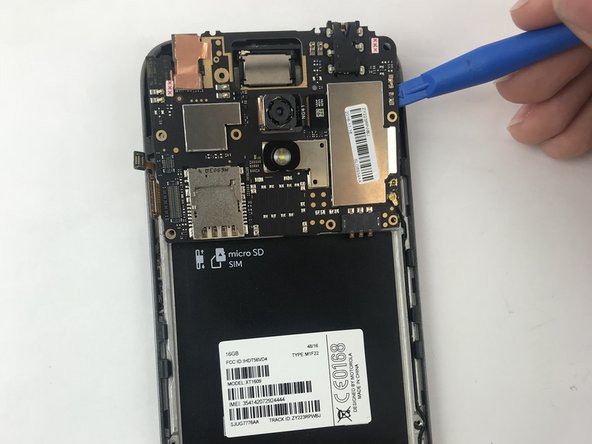
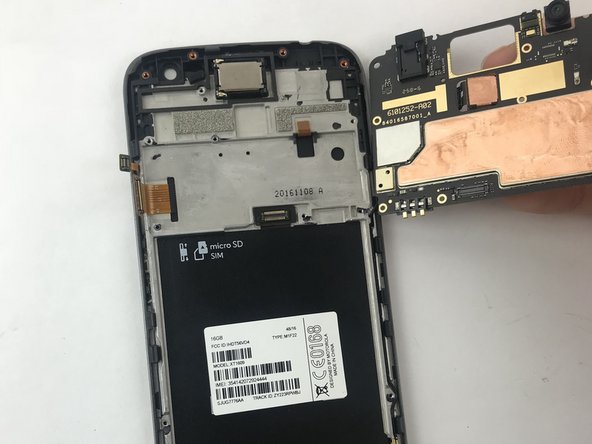
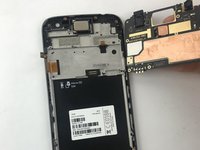
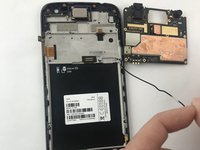
Using the plastic opening tool, carefully pry up the motherboard.
-
-
-
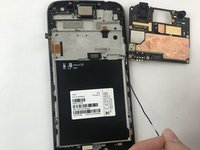
Pull up the cable that connects the motherboard and the charging port.
-
-
-
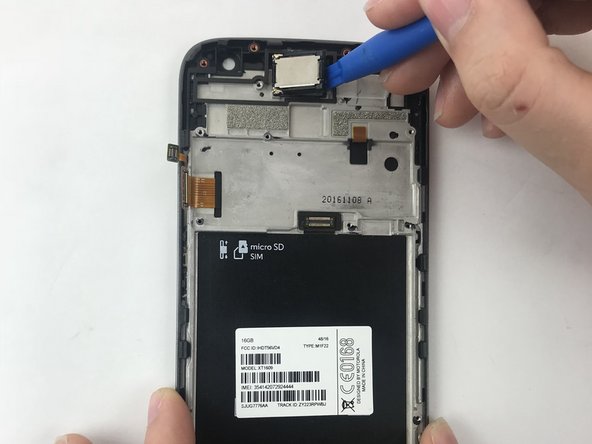
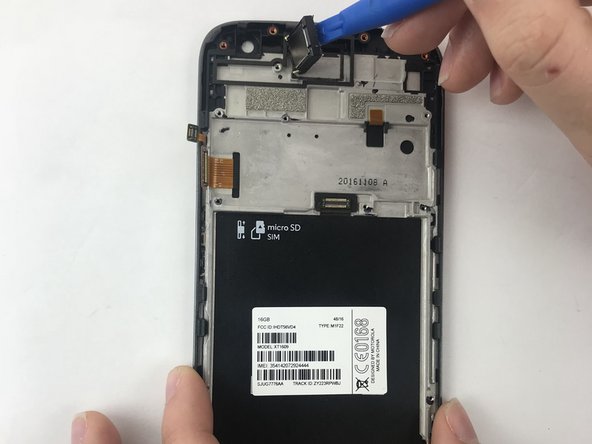
Pry up the frontal speaker with a plastic opening tool.
-
-
-
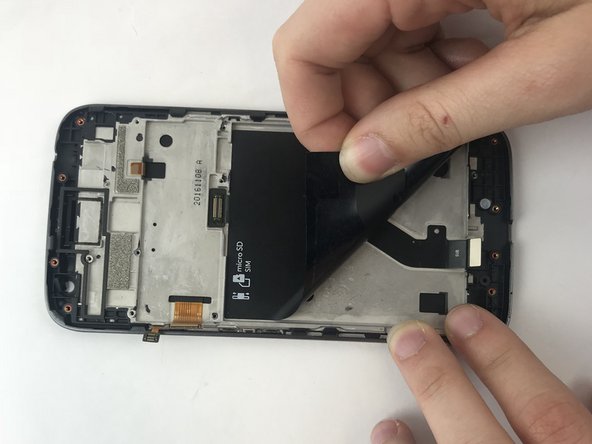
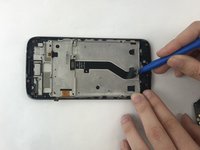
Peel the black tape up with a plastic opening tool and or your fingers.
-
-
-
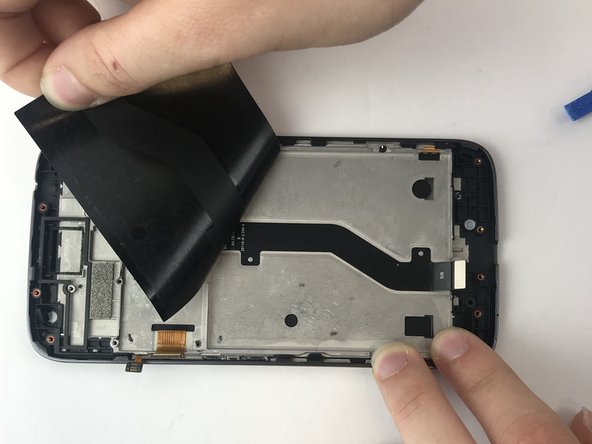
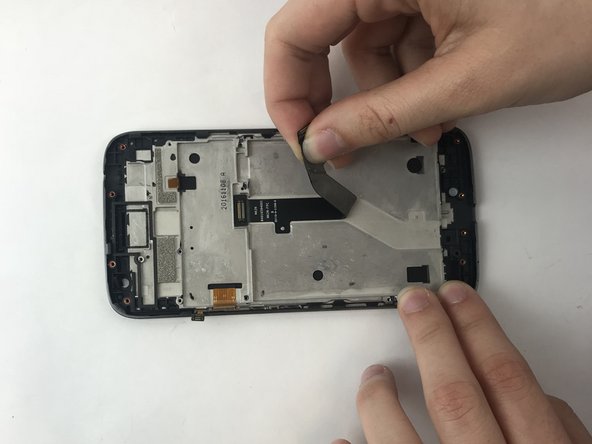
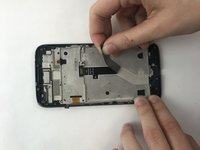
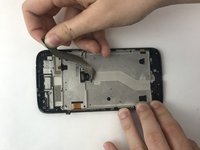
Peel the flexible black cable using a plastic opening tool and or your fingers.
-
-
-
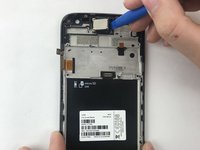
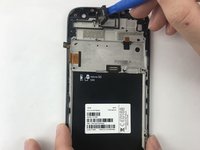
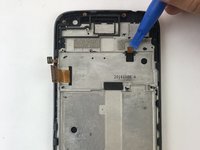
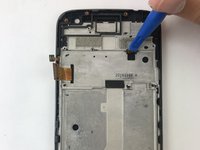
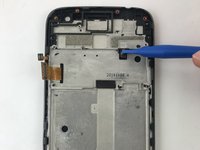
Peel up the small tape that's connected to the screen with a plastic opening tool.
-
-
-
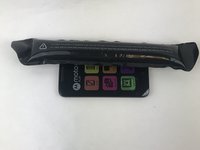
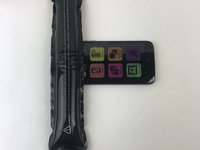
Place an iOpener on the edges to soften the screen adhesive.
-
-
crwdns2935267:0crwdne2935267:0Plastic Cards$2.99
-
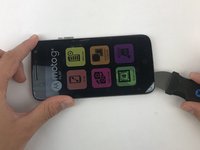
Insert the Jimmy knife through the edge.
-
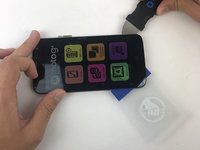
Place a plastic card so that the adhesive doesn't stick back again.
-
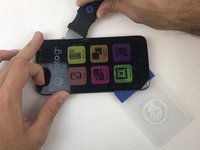
Go around the edges of the device with the Jimmy knife until all the adhesive has been removed.
-
-
-
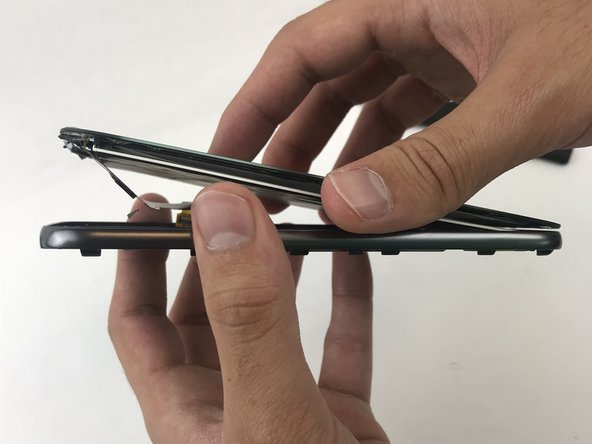
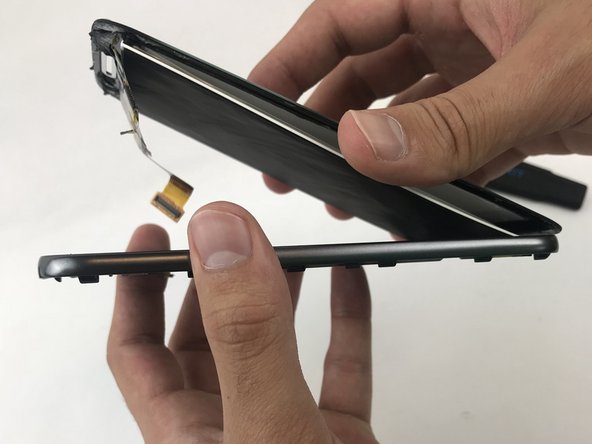
Pull up on the LCD screen with your hands and remove it.
-
To reassemble your device, follow these instructions in reverse order.
To reassemble your device, follow these instructions in reverse order.
crwdns2935221:0crwdne2935221:0
crwdns2935229:010crwdne2935229:0
crwdns2947412:04crwdne2947412:0
The phone I just tried to fix had two digitizer connectors just like the one in this procedure, but all the replacement parts I can find on ebay and aliexpress etc. which claim to be for XT1601 - XT1609 have just a single connector. Any thoughts about why that would be?
The smaller one is from the power and Volume buttons and needs tobe transfered to the new display if you bought one with Frame (which makes it much easier)
I had to figure out that out myself. Yes, you will need to transfer the connector from the old frame to the new frame. I should also add, the frame I got had no buttons, so I had to get them from the old phone.
Good guide though I could not see the purpose of removing items 20, 21 & 22


