crwdns2915892:0crwdne2915892:0
The ringer speaker is an essential component responsible for producing audible alerts such as incoming calls, notifications, and alarms. If you're experiencing issues like no sound or poor audio quality from your device's ringer, replacing the ringer speaker can resolve these problems and restore clear and audible alerts.
Guide Objective: This guide provides detailed step-by-step instructions on how to safely and effectively replace the ringer speaker in your Moto G Stylus 4G (2023).
Before You Begin:
- Safety Precautions: Power off your device completely and disconnect any power sources before starting the replacement process. Work in a well-lit and clean environment to avoid losing small parts or causing accidental damage.
- Backup Data: Although this replacement does not involve data manipulation, it's a good practice to back up your device's data as a precautionary measure.
Device Symptoms: Common symptoms indicating the need for ringer speaker replacement include:
- No sound or low volume from the ringer
- Distorted or crackling audio during alerts
- Inconsistent or intermittent ringer functionality
crwdns2942213:0crwdne2942213:0
-
-
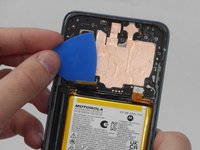
Insert an opening pick under the edge of the case and slide it around the edges.
-
Separate the back panel from the rest of the phone.
-
-
-
Remove the seven 4 mm screws from the phone’s top with a Torx T5 screwdriver.
-
-
-
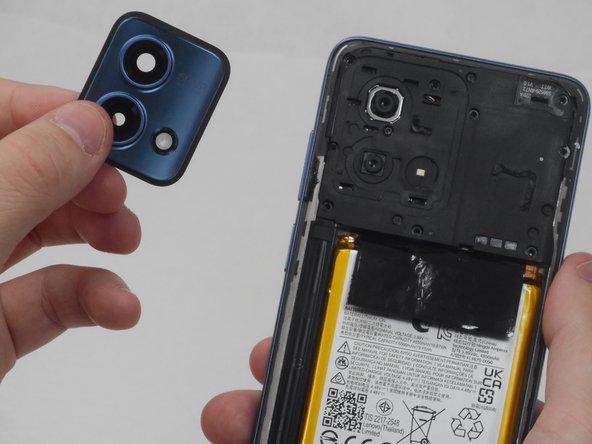
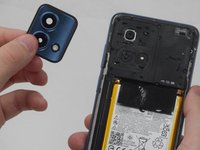
Use the opening pick along the edges to separate the camera lens glass from the board. If you begin to pry where the picture indicates, you will only get the top plastic and it will peal away from the paint. Instead begin at the gap in the lower left hand corner where there is a space between the actual frame that contains the lenses and the phone.
-
-
-
Remove three 4 mm screws with a Torx T5 screwdriver.
-
-
-
-
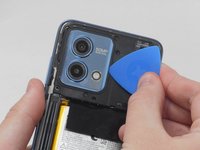
Pry off the top perimeter with an ESD-safe spudger and set it aside.
-
-
-
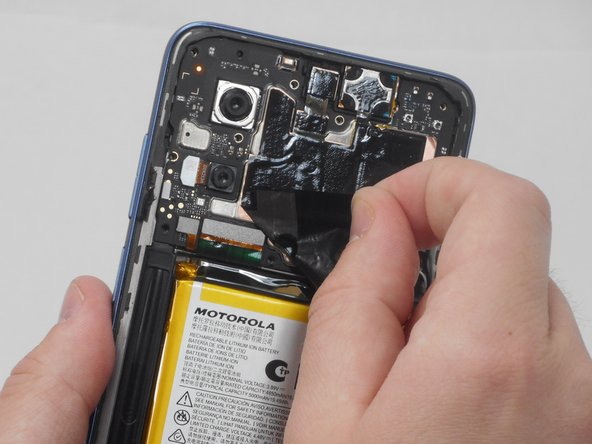
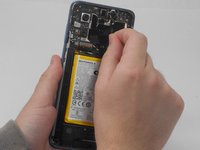
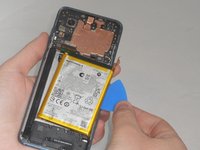
Pull the black tab off of the battery gently with your hand.
-
-
-
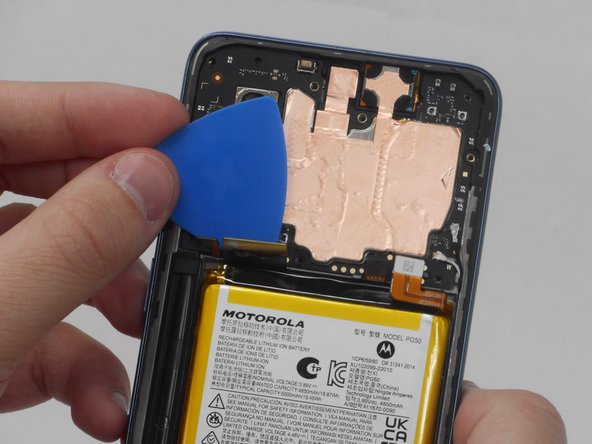
Disconnect the four cables by inserting the opening pick beneath the edge of each.
-
-
-
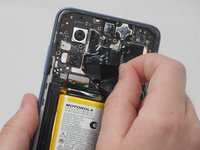
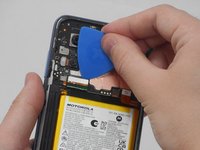
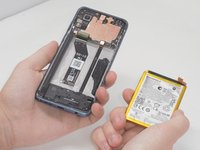
Together with the opening pick and an ESD-safe spudger, remove the old battery.
-
-
-
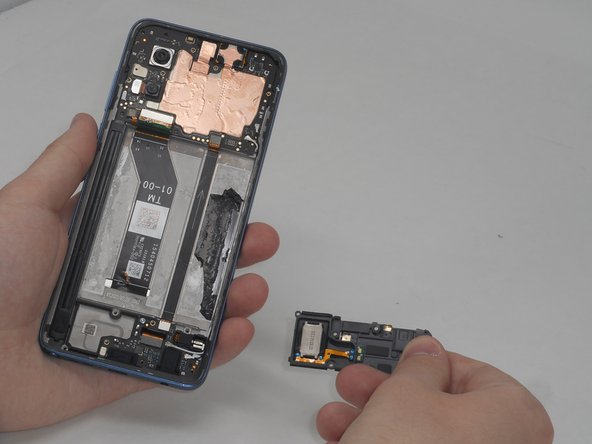
Remove seven 4 mm screws with the T5 Torx screwdriver.
-
-
-
Remove the speaker using an ESD-safe spudger.
-


To reassemble your device, follow these instructions in reverse order.
To reassemble your device, follow these instructions in reverse order.

crwdns2915084:0crwdne2915084:0

University of Memphis, Team 3-2, Sneed Spring 2024 crwdns2935289:0University of Memphis, Team 3-2, Sneed Spring 2024crwdne2935289:0
UM-SNEED-S24S3G2
crwdns2931471:04crwdne2931471:0
crwdns2935297:06crwdne2935297:0