crwdns2915892:0crwdne2915892:0
The front camera of the Motorola Moto E6 Play phone is a 5MP, f2.2, 1.12 µm pixel camera. If you are experiencing the ‘Camera Busy’ error, click here for troubleshooting solutions. However, if you are experiencing other issues with the front camera, or the troubleshooting guides do not solve the problem, you may need to replace the camera.
Before you begin, download the Software Fix app to backup your device and diagnose whether your problem is software or hardware related.
crwdns2942213:0crwdne2942213:0
-
crwdns2935267:0crwdne2935267:0Halberd Spudger$2.99
-
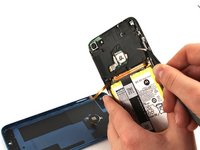
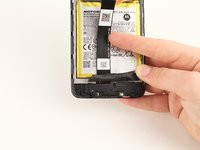
Run the halberd spudger along the edges of the device. The back cover should easily pop off.
-
-
-
To remove the cover on the motherboard, remove the 10 silver 3.90 mm Phillips screws attaching the cover to the board using the Phillips #0 screwdriver.
-
-
crwdns2935267:0crwdne2935267:0Tweezers$3.99
-
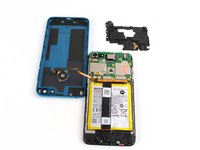
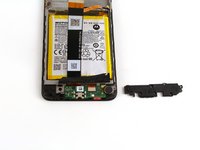
With the angled tweezers, remove the black cover to reveal the motherboard underneath.
-
-
-
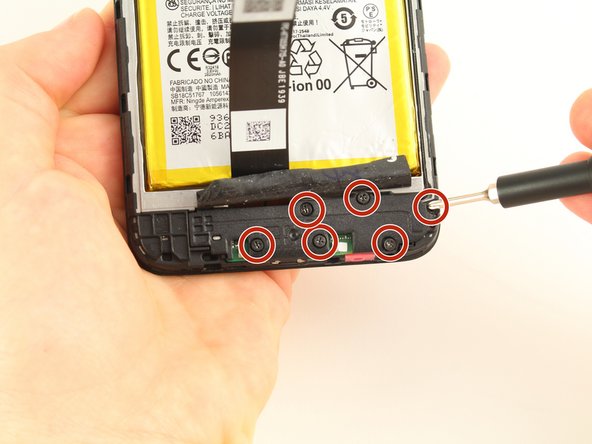
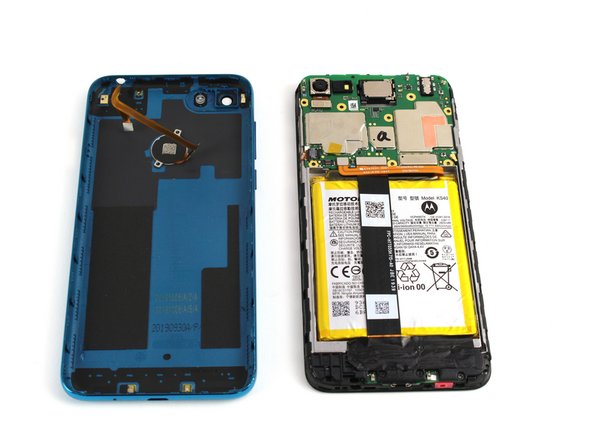
The bottom plastic piece covering the daughterboard can be seen by peeling back the tape covering the bottom section of the phone below the battery.
-
To remove the cover, unscrew the six black 3.45 mm Phillips screws holding the cover in place using the Phillips #0 screwdriver.
-
-
-
-
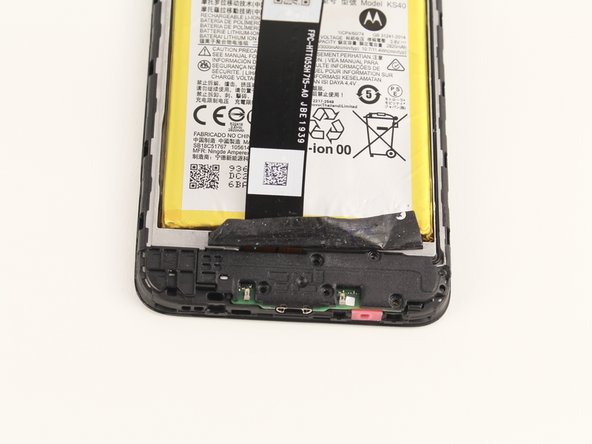
Remove the black cover piece using the angled tweezers.
-
-
crwdns2935267:0crwdne2935267:0Tweezers$3.99
-
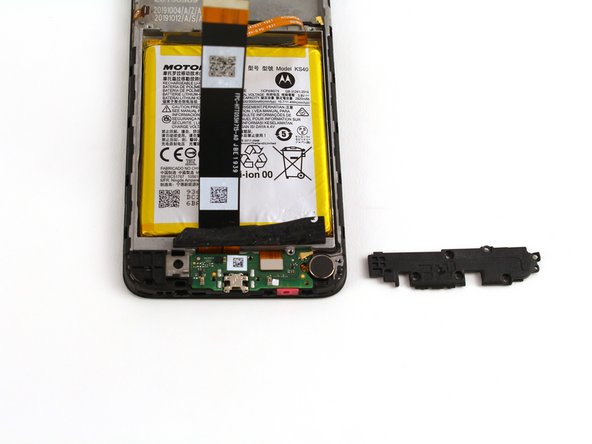
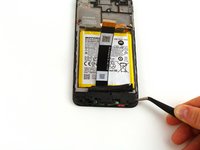
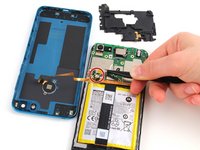
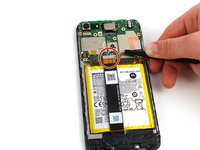
Use the angled tweezers to pry off the metal head of the connecting piece from the main motherboard assembly.
-
-
-
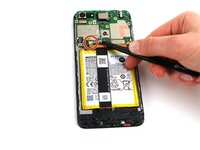
Using the angled tweezers, detach the two connectors from the motherboard by pulling the metallic heads up and away from the phone.
-
-
-
Use the angled tweezers to flip the black plastic piece from flat to upright.
-
-
-
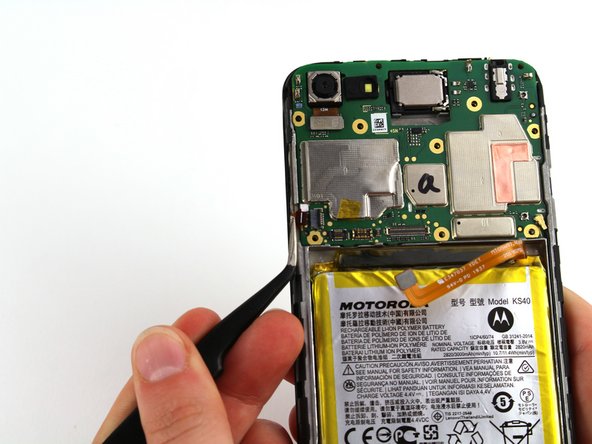
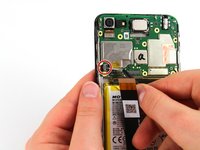
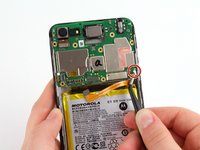
Disconnect the rod connected to the motherboard using the angled tweezers.
-
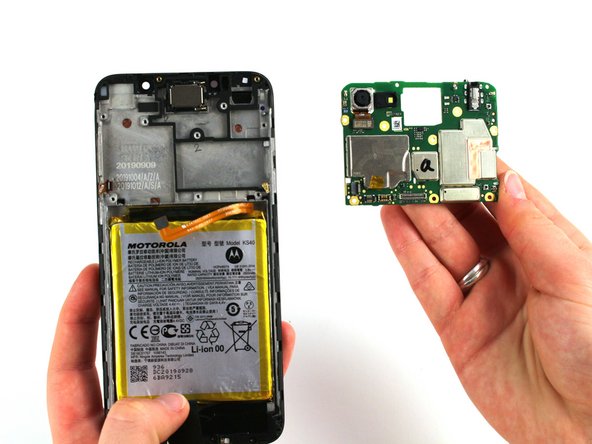
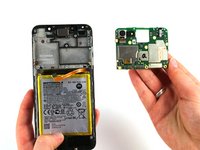
Finally, remove the motherboard.
-
-
-
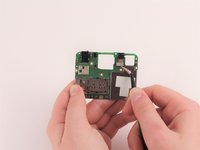
Flip the motherboard over to see the back. (The side that does not have the 'a' mark on it.)
-
Using the angled tweezers, lift the tab at the bottom of the camera piece and remove the front facing camera from the circuit board.
-


To reassemble your device, follow these instructions in reverse order.
To reassemble your device, follow these instructions in reverse order.
crwdns2915084:0crwdne2915084:0

Cal Poly, Team S22-G4, Regan Winter 2020 crwdns2935289:0Cal Poly, Team S22-G4, Regan Winter 2020crwdne2935289:0
CPSU-REGAN-W20S22G4
crwdns2931471:04crwdne2931471:0
crwdns2935297:014crwdne2935297:0