crwdns2915892:0crwdne2915892:0
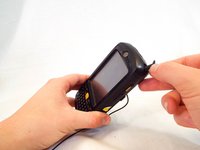
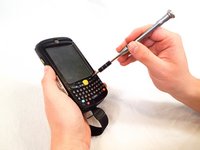
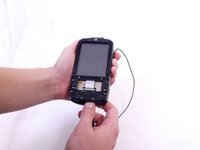
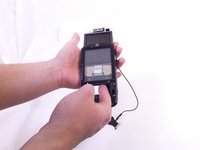
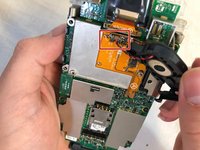
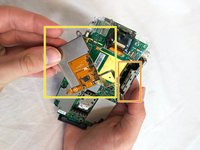
The MC55 series device is intended for industrial and commercial use. Thus, parts like the charging port can become damaged by extended use and wear. This guide will help the user to break down and replace the charging port of the MC5590.
crwdns2942213:0crwdne2942213:0
-
-
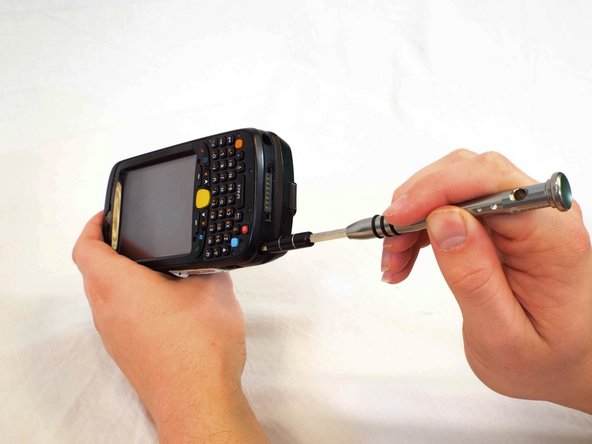
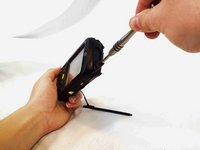
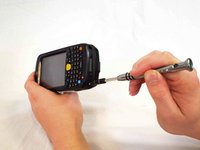
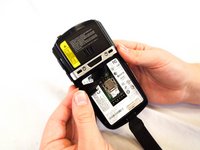
Push in the battery release button.
-
-
-
Remove the two rubber plugs on the top of the device by pushing them up and out of the phone.
-
-
-
Remove the four 1cm Phillips #0 screws from the top and bottom of the phone.
-
-
-
Use a plastic opening tool to remove the keyboard cover by prying up on its perimeter.
-
-
-
Remove the eight 4mm Phillips #00 screws from the keyboard cover.
-
-
-
-
Use a spudger to flip up the retaining flap on the keyboard ribbon cable ZIF socket.
-
Pull the ribbon cable out of the socket.
-
-
-
Use a spudger to flip up the retaining flap on the display ribbon cable ZIF socket.
-
Remove the keyboard from the device.
-
-
-
Pull the black rubber tabs up gently and remove them.
-
-
-
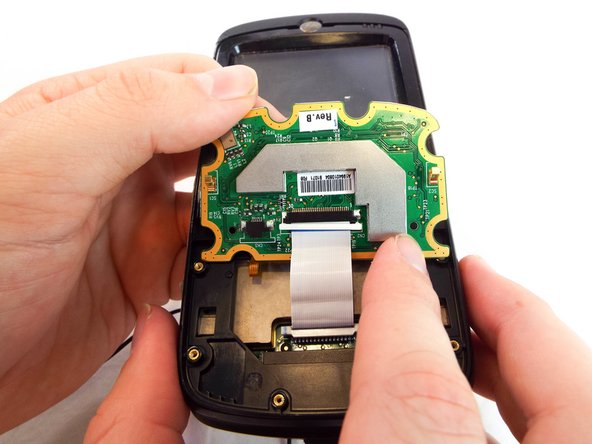
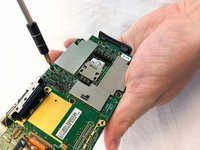
Using your finger, or spudger, push the motherboard out from the bottom.
-
-
-
Remove the three Phillips #00 screws from the motherboard:
-
Two 3mm screws.
-
One 1mm screw.
-
-
-
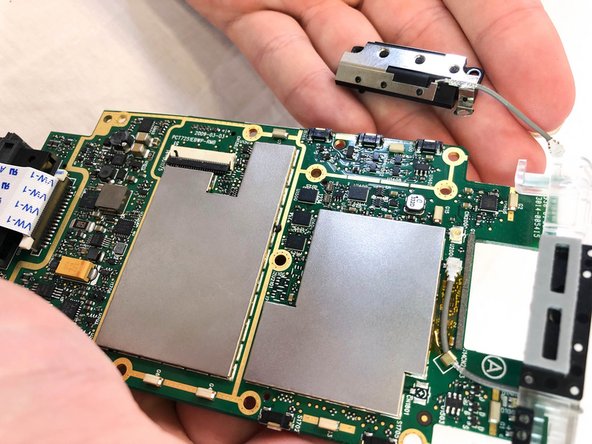
Disconnect the speaker from the motherboard.
-
-
-
Remove the the 3mm Phillips #00 screws from the flex cable cover and antenna.
-
Remove the antenna.
-
Remove the flex cable cover.
-
-
-
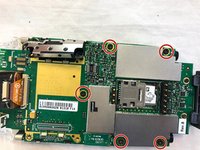
Remove the five 3mm Phillips #00 screws from the motherboard.
-
-
-
Remove the scanner ribbon cable by pulling straight up and out.
-
-
-
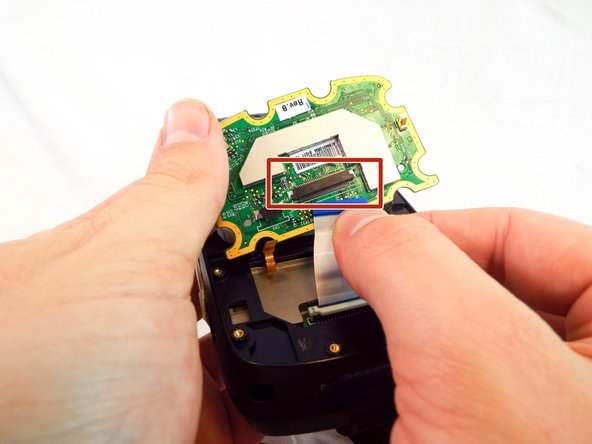
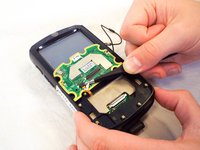
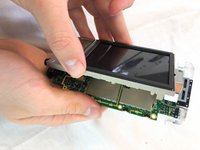
Flip open the motherboard and the LCD screen.
-
Open the LCD connector and remove the cable.
-
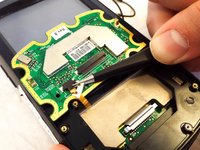
Pull the LCD Screen and its metal bracket apart.
-
-
-
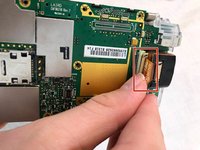
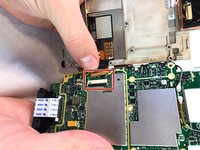
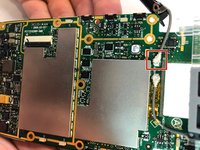
Remove the antenna connector (red box).
-
This is a snap-on connector, which can be removed by applying a gentle pull straight up from the motherboard.
-
-
-
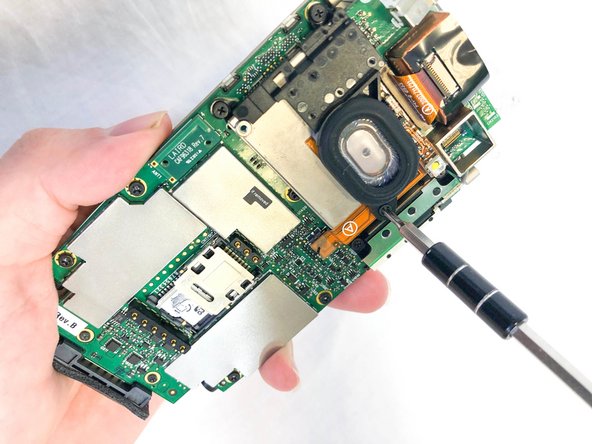
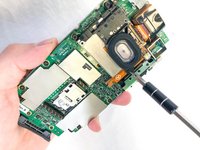
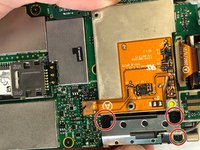
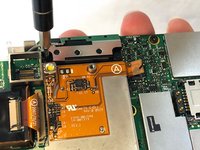
Remove the 2 screws (3 mm long) at the bottom of the motherboard using a PH00-bit screwdriver.
-
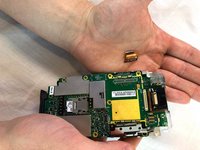
Disconnect the charging port from the rest of the device.
-


To reassemble your device, follow these instructions in reverse order.
To reassemble your device, follow these instructions in reverse order.
crwdns2915084:0crwdne2915084:0

USF Tampa, Team S1-G6, Cagle Spring 2018 crwdns2935289:0USF Tampa, Team S1-G6, Cagle Spring 2018crwdne2935289:0
USFT-CAGLE-S18S1G6
crwdns2931471:04crwdne2931471:0
crwdns2935297:06crwdne2935297:0