crwdns2915892:0crwdne2915892:0
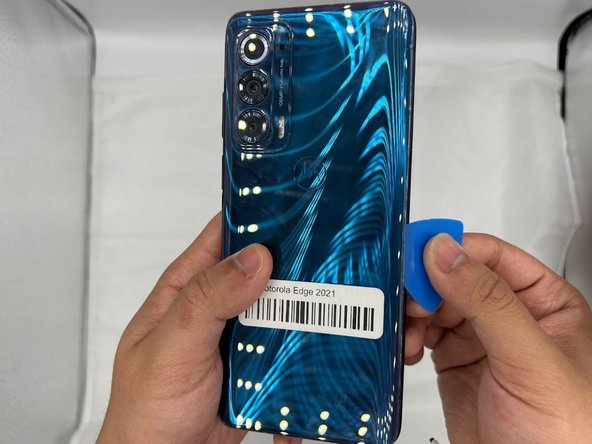
Welcome to our guide on replacing the front camera of the Motorola Edge (2021). Whether your camera is damaged or malfunctioning, this step-by-step tutorial will help you replace the front camera module efficiently. Follow these instructions carefully to restore your device's selfie-taking capabilities in no time.
This guide requires the use of the iOpener to soften the adhesive holding the phone casing together. For details on using an iOpener, check out this guide.
crwdns2942213:0crwdne2942213:0
-
-
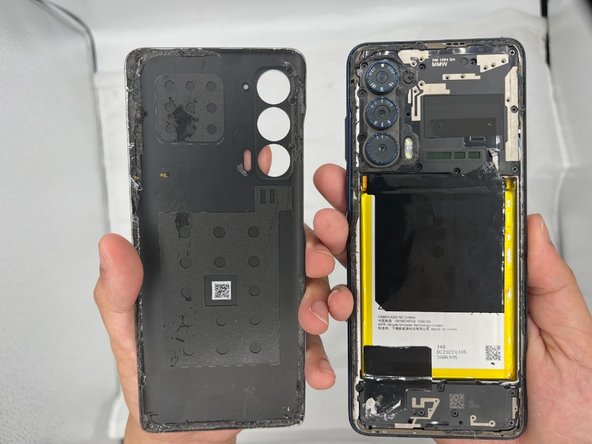
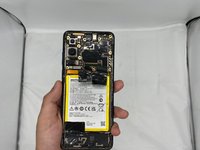
Remove the back cover of the smartphone.
-
-
-
Use two iOpeners to heat up the glue beneath the back-plate.
-
-
-
Wedge the iFixit Opening Pick in between the cracks of the smartphone's backplate.
-
Slide the opening tool along the sides of the phone until the glue is separated from the back-plate.
-
-
-
-
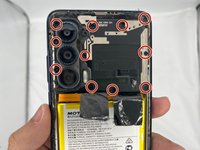
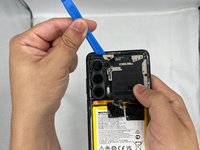
Next, use the Phillips #00 Screwdriver to unscrew the motherboard/camera casing. Be sure to check under the glue for any unseen screws.
-
-
-
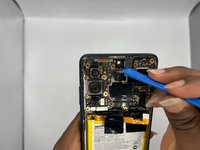
After you're done unscrewing, use the iFixit Opening Tool to carefully pry open the casing.
-
-
-
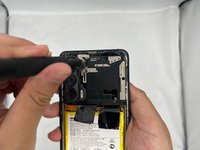
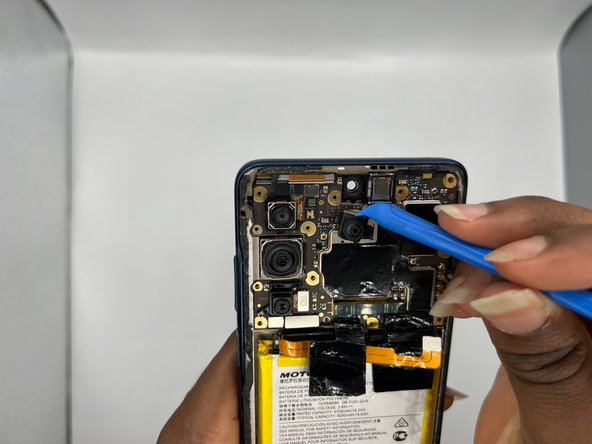
This is the front facing camera module.
-
-
-
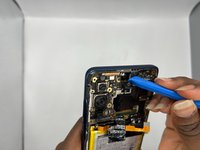
Using the iFixit Opening Tool, carefully remove the camera module.
-
-
-
Congratulations, you have successfully removed the front facing camera module for your Motorola Edge.
-


To reassemble your device, follow these instructions in reverse order.

crwdns2935287:0crwdne2935287:0

University of North Texas, Team 4-2, Harold Spring 2024 crwdns2935289:0University of North Texas, Team 4-2, Harold Spring 2024crwdne2935289:0
UNT-HAROLD-S24S4G2
crwdns2931471:04crwdne2931471:0
crwdns2935297:03crwdne2935297:0