crwdns2915892:0crwdne2915892:0
This guide refers to the motherboard replacement of the Sony SRS-X3 Bluetooth Speaker. The motherboard controls all the various components of a device.
The symptoms of a device's motherboard not working could be a lack of power, no sound, and random crashing. Before disassembling the speaker, be sure it is turned off completely by pressing the power button. This ensures that no short circuits cause more problems or potentially harm you.
crwdns2942213:0crwdne2942213:0
-
-
Remove the rubber feet on the bottom of the device.
-
-
-
Remove the 6 silver screws with a Phillips #1 screwdriver.
-
Remove the bottom plastic cover of speaker.
-
-
-
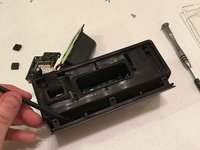
Remove the two screws holding the battery pack with the Phillips #1 screwdriver.
-
Remove the battery back with a spudger.
-
-
-
Remove the three screws using a Phillips #1 screwdriver.
-
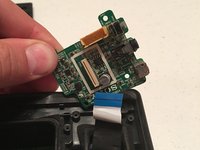
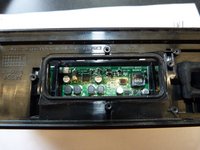
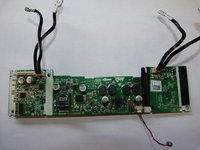
Remove the green circuit board and the battery pack.
-
-
-
-
Pop off the front speaker face (dark grey with little holes) by pushing out 3 tabs where screws were previously located and sticking the spudger in the crack where grey speaker face meets the outer shell.
-
You may really have to pry on this part; it is not easy to remove and will pop out when released.
-
-
-
Remove the eight black screws with a Phillips #1 screwdriver.
-
-
-
Remove the front face by prying the two black tabs using a spudger.
-
-
-
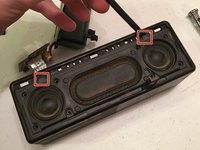
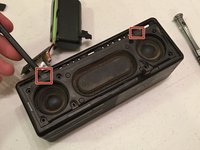
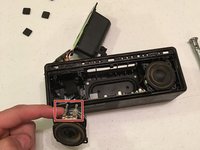
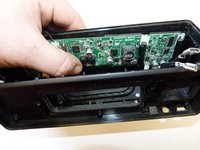
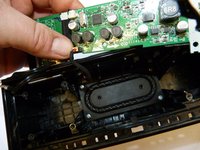
Remove the speaker wires from each speaker (2 wires per speaker) and take the speakers out of the device.
-
Remove the speakers from the device.
-
-
-
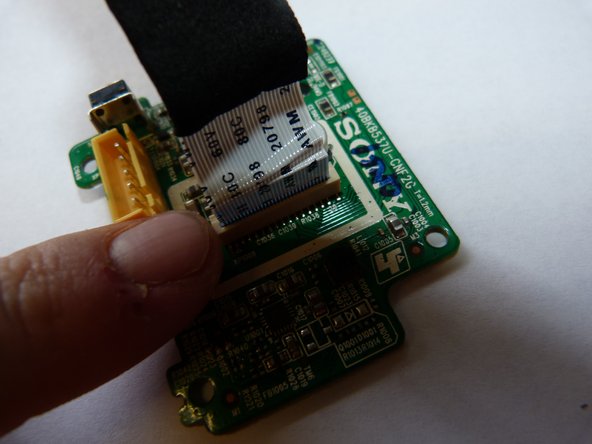
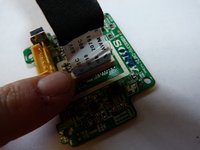
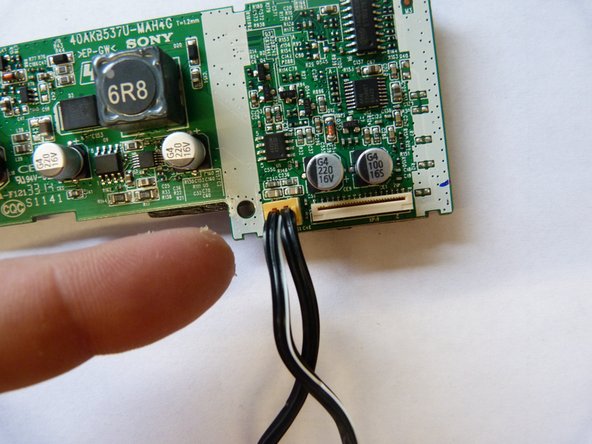
Remove the ribbon wire simply by pulling it out of the fixture in which it connects. Once removed, sit the small green board to the side and prepare to remove the Motherboard.
-
-
-
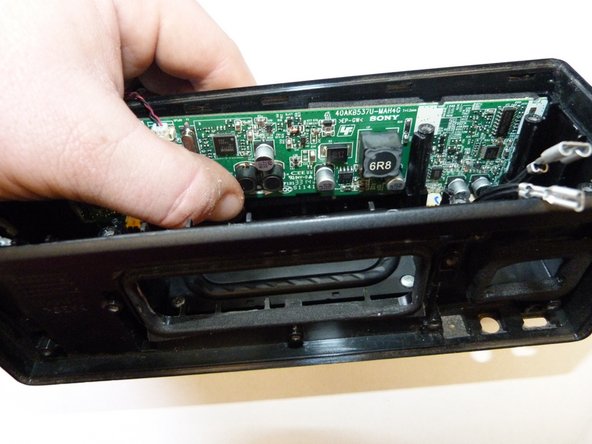
Locate the Motherboard through the hole in which the battery pack normally rests.
-
Use your fingers to pull the board upwards while the speakers top is facing downwards. In doing so, use more force than you are comfortable with. (Do NOT worry. The board slides upwards, regardless of the friction that may seem like it is keeping it from sliding out.)
-
-
-
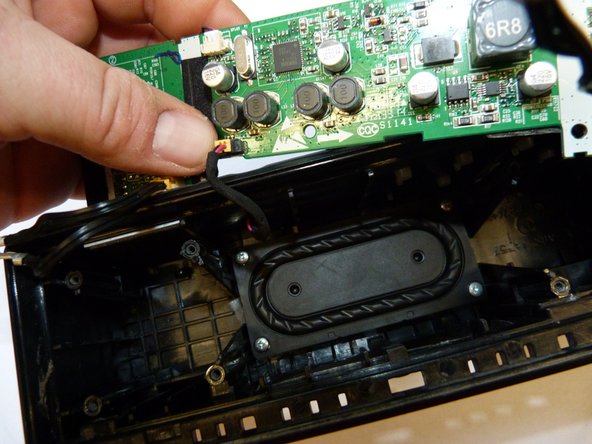
Once the Motherboard has been removed, you are free to remove all of the wires that are connected to it. Gently pull on the clips where the wires insert into the board to remove all of the wires.
-


To reassemble your device, follow these instructions in reverse order.
crwdns2935287:0crwdne2935287:0

Western Carolina University, Team 1-4, Virtue Spring 2017 crwdns2935289:0Western Carolina University, Team 1-4, Virtue Spring 2017crwdne2935289:0
WCU-VIRTUE-S17S1G4
crwdns2931471:04crwdne2931471:0
crwdns2935297:05crwdne2935297:0
crwdns2947412:08crwdne2947412:0
hello I want the power board to buy where can I get that to buy
oxco - crwdns2934203:0crwdne2934203:0 crwdns2950251:0crwdne2950251:0
Are you still looking for it. I have one. We can negotiate!!
Do you still have the circuit board 40BKB537U-CNF2G for the Sony SRS X3?
reeree726 - crwdns2934203:0crwdne2934203:0 crwdns2950251:0crwdne2950251:0
need a 40BKB537U-CNF2G board, how much shipped to Tucson AZ?
michael ruse - crwdns2934203:0crwdne2934203:0 crwdns2950251:0crwdne2950251:0
The charge port (mini usb I think) is broken on sony srs-x3
michael ruse - crwdns2934203:0crwdne2934203:0 crwdns2950251:0crwdne2950251:0