crwdns2915892:0crwdne2915892:0
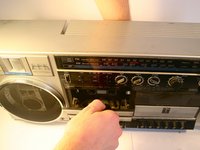
This is a guide for replacing the cassette player on the left side of the unit.
crwdns2942213:0crwdne2942213:0
-
-
Remove the nine 35 mm Phillips screws securing the back cover of the case.
-
-
-
Unplug the black and yellow wires connecting the power supply unit to the rest of the electronics:
-
-
-
Remove the following 6 screws:
-
Four 25 mm Phillips
-
Two 2.5 mm Flathead
-
-
-
-
Remove the small steel plate on the right-hand side.
-
-
-
Move the brass plate with attached pneumatic cylinder on the left-hand side.
-
Detach the plate at the pneumatic cylinder and leave the plate attached to the torsional spring.
-
-
-
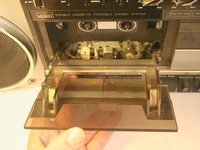
Stand the unit up and press eject to open the door on the cassette player.
-
Gripping the cassette player from the back, lift upwards on the door to unclip it from the bar around which it rotates. This may take some effort.
-
-
-
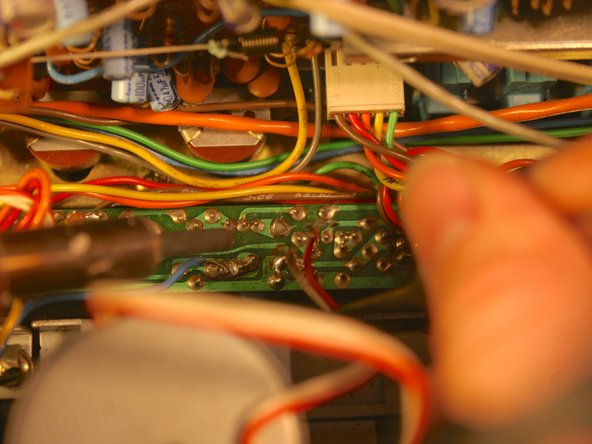
Remove the 5 mm Phillips screw holding the blue and yellow wires in place.
-
-
-
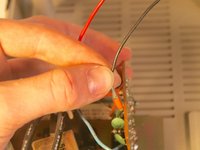
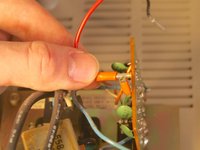
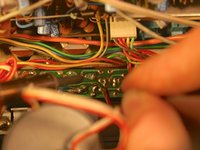
Unsolder the red and white wires leading from the cassette player unit.
-
-
-
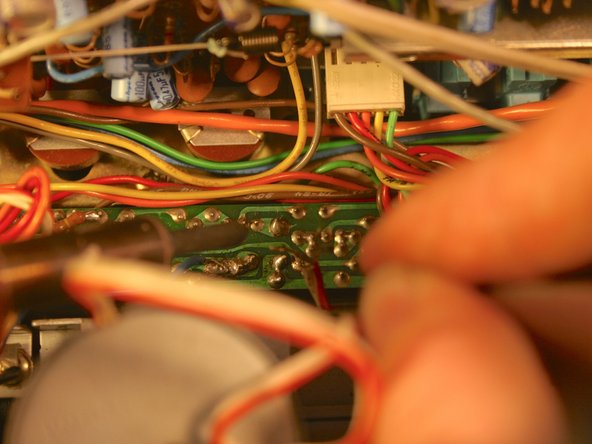
Unplug the grey wire leading from the cassette player.
-


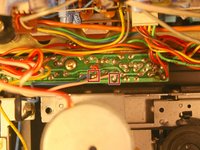


To reassemble your device, follow these instructions in reverse order.
crwdns2935287:0crwdne2935287:0

Cal Poly, Team 12-5, Lancaster Spring 2015 crwdns2935289:0Cal Poly, Team 12-5, Lancaster Spring 2015crwdne2935289:0
CPSU-LANCASTER-S15S12G5
crwdns2931471:04crwdne2931471:0
crwdns2935297:013crwdne2935297:0