crwdns2915892:0crwdne2915892:0
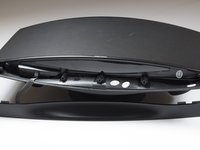
This guide will help you remove the front panel of the speaker. Most likely, this part will not need to be replaced due to damage, but it must be removed before other parts.
crwdns2942213:0crwdne2942213:0
-
-
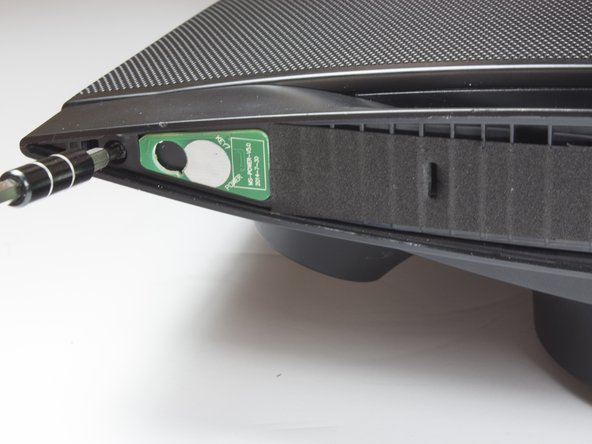
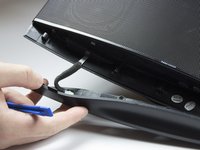
Use a spudger or your fingers to pry off and remove the rubber pad on the bottom of the speaker.
-
-
-
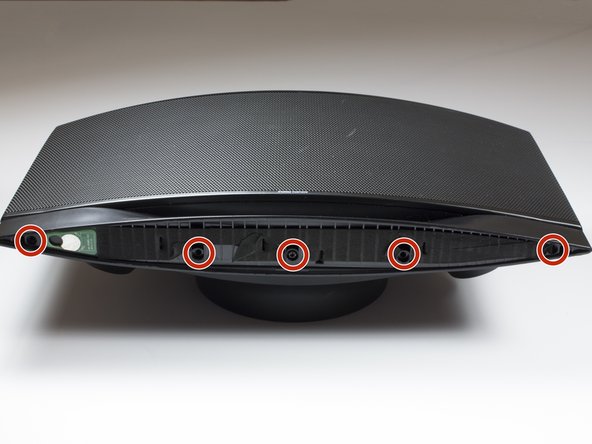
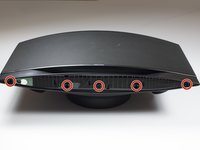
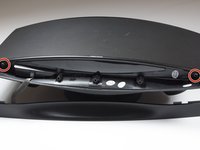
Remove the five 10mm screws with a TR 10 screwdriver.
-
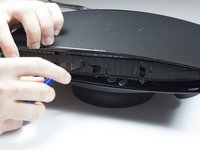
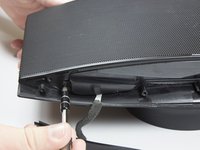
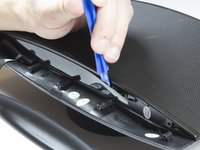
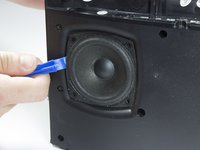
Use a spudger to break the remaining adhesive holding the grille to the speaker body.
-
-
-
Flip speaker around and use a plastic opening tool to remove the top panel from the speaker.
-
-
-
Use a plastic opening tool to remove the foam and uncover four more screws.
-
Use a TR 10 screwdriver to remove the five 10mm screws on the top of the speaker.
-
-
-
-
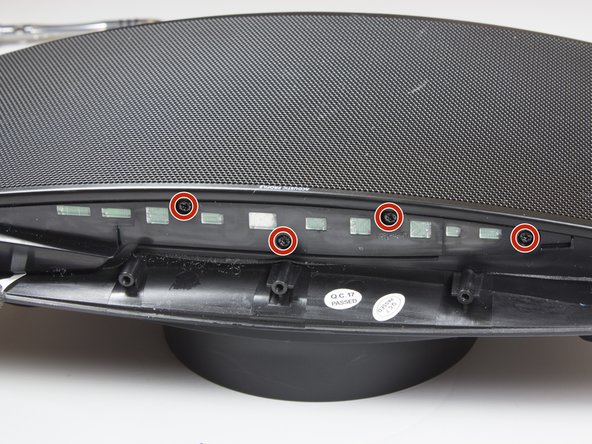
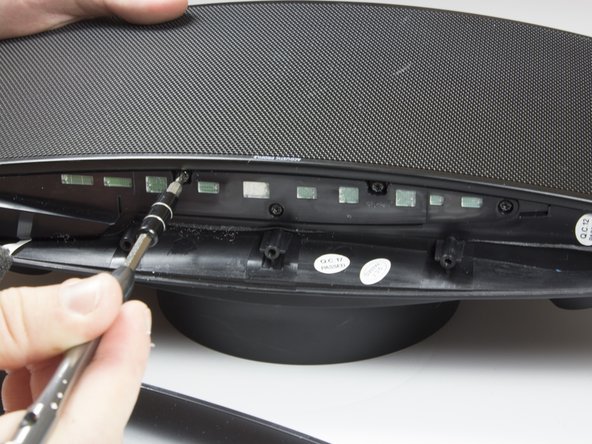
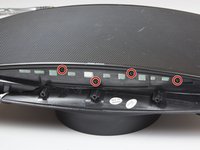
Use a TR 10 screwdriver to remove two of the 10mm screws that secure the speaker grille.
-
-
-
With the top panel removed, use a spudger to remove the display panel.
-
Use a TR 10 screwdriver to remove the four final 10mm screws securing the speaker grille.
-
-
-
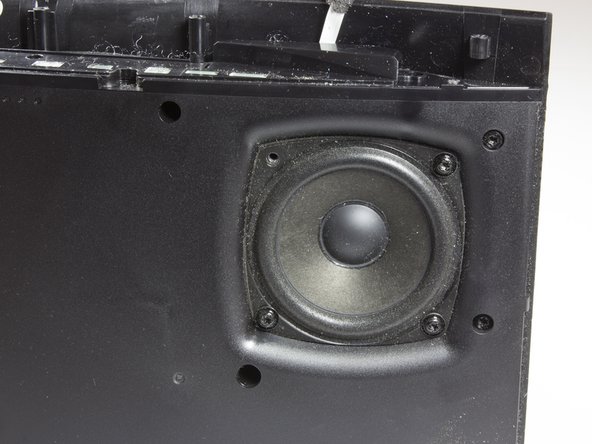
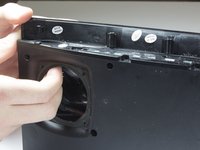
After removing grille, you will see the speakers.
-
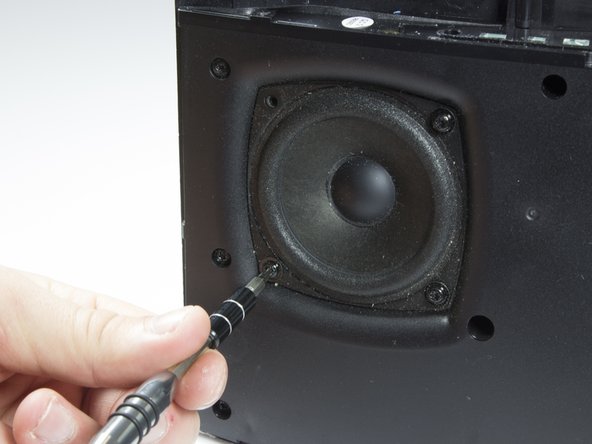
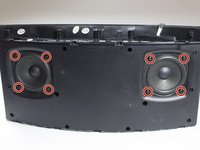
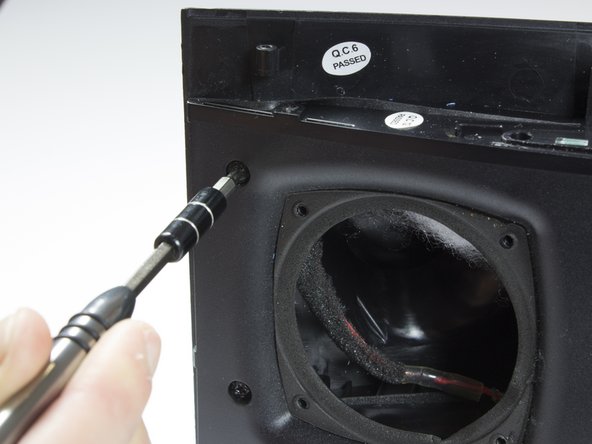
Remove the eight 10mm screws that surround the speakers. There will be four around each speaker.
-
-
-
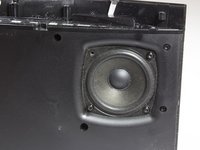
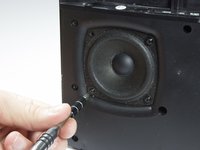
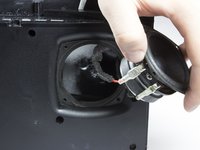
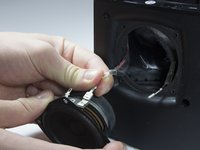
Carefully lift each speaker from the housing. It may be necessary to break a light adhesive seal.
-
Set each speaker beside the main housing.
-
-
-
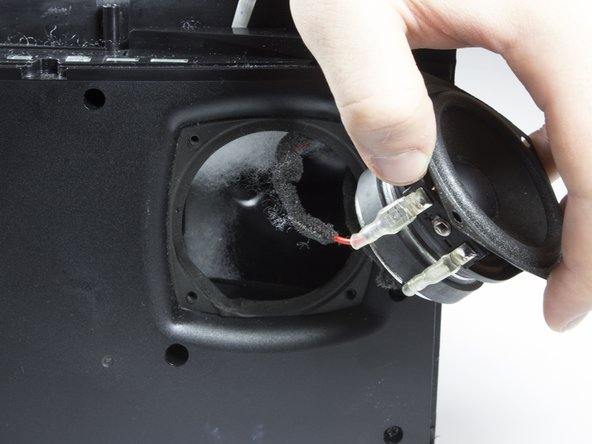
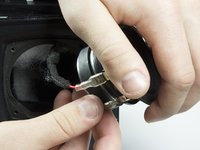
Carefully but firmly unplug the two wires from each driver.
-
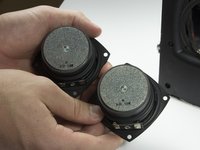
The front speakers can now be removed.
-
-
-
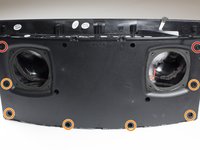
Identify the eight screws around the border of the front panel.
-
Using the TR 10 driver, remove the two 8mm screws.
-
Using the TR 10 driver, remove the six 12mm screws.
-
-
-
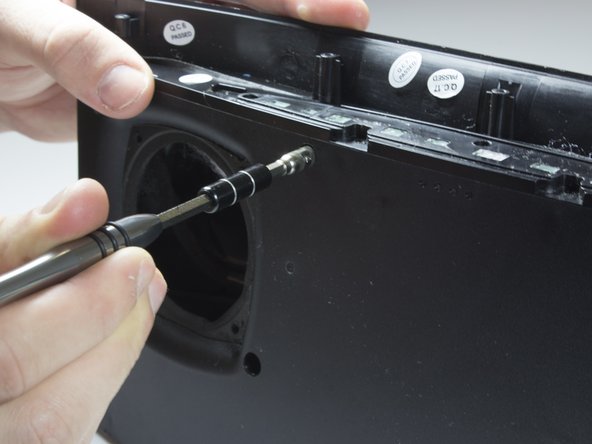
Use a 5 mm hex driver to extend the TR 10 driver. This allows the driver to access screws with deeper countersinks.
-
-
-
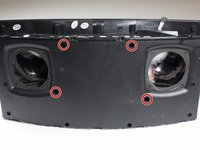
Identify the remaining four screws in the front panel.
-
Use the extended driver from the previous step to remove the four 12mm TR 10 screws.
-
-
-
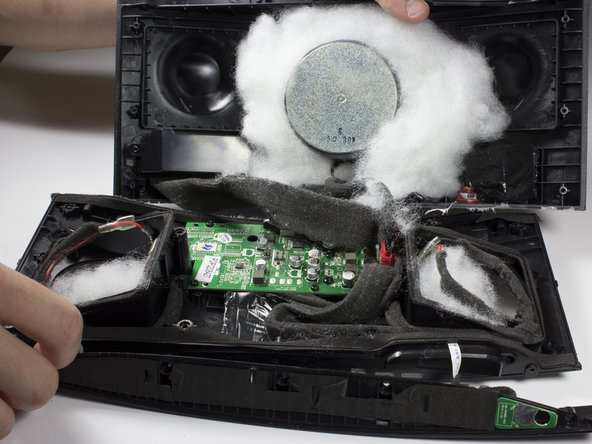
Gently pull the front panel away from the back panel.
-
Remove the white sound dampening material from the speaker. Note the location of the material and set aside.
-


To reassemble your device, follow these instructions in reverse order.
crwdns2935221:0crwdne2935221:0
crwdns2935229:02crwdne2935229:0
crwdns2935287:0crwdne2935287:0

Cal Poly, Team 21-5, Maness Winter 2017 crwdns2935289:0Cal Poly, Team 21-5, Maness Winter 2017crwdne2935289:0
CPSU-MANESS-W17S21G5
crwdns2931471:04crwdne2931471:0
crwdns2935297:012crwdne2935297:0