crwdns2915892:0crwdne2915892:0
Durst Enlargers and the negative carriers have been ubiquitous back in the age of film photography. They still are great products, but replacements have been hard to come by. I will show how I replaced the glass inserts of my Sireneg negative holder without any special tools. Sadly I didn't document the process in detail, so I can only describe the necessary steps.
Sourcing
Material sourcing is the most important step for this replacement.
The ideal suppliers for the needed specialty glasses are local artwork-framing businesses. You should get precut pieces of glass so you don't have to cut and grind them.
crwdns2942213:0crwdne2942213:0
-
-
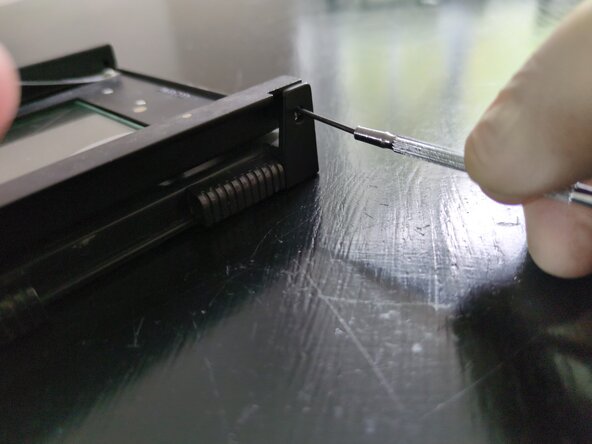
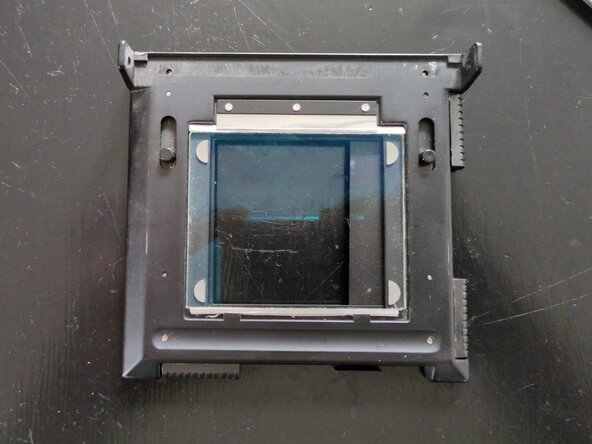
Dissemble the negative carrier by unscrewing it at the hinge
-
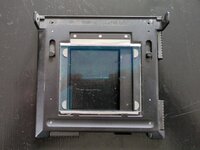
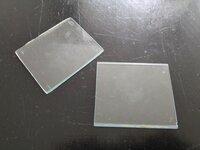
Select one part of the negative carrier to work on. Store the other one in a secure location
-
The image of the lower half of the carrier shows the already replaced glasses. I'll try to supply better photos for documentation
-
-
-
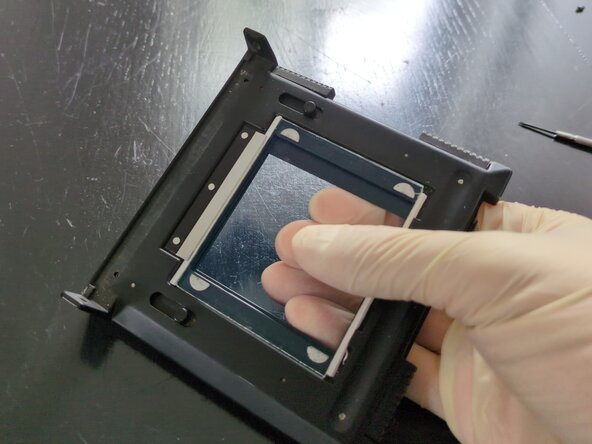
Hold one half of the negative carrier in you non-dominant hand
-
With the other hand firmly grab the glass from both sides
-
Slightly push the glass towards to sheet metal flap on the side of the negative carrier hinge
-
Allow the glass to tilt upwards at the side opposite to the hinge
-
Repeat for the second half of the negative carrier
-
-
-
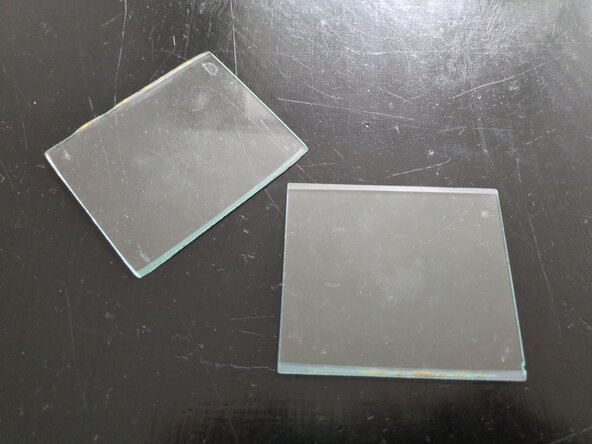
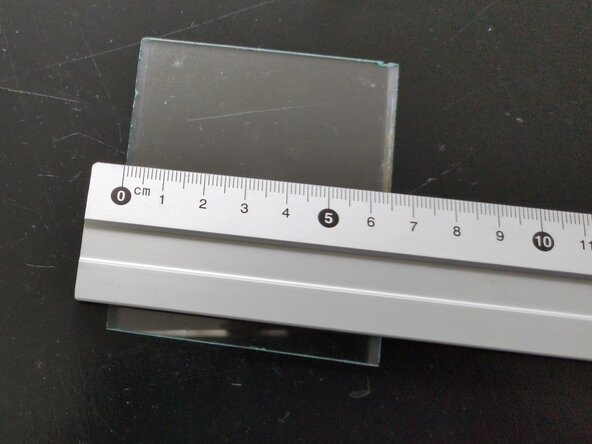
Use a ruler to measure glasses
-
Note that the glasses are beveled along the long edges. This is how the are secured in the negative holder
-
Take the following measurements:
-
Total size of the glasses. In my case: 75 x 65 mm
-
Size of the glasses without the bevels. In my case: 75 x 60 mm
-
-
-
-
Procure the needed glases
-
If you can get beveled glasses, get the measured total size
-
If you can only get even edges, get the smaller measured size
-
You can also cut the glasses from a bigger sheet of glass.
-
Instructions can be found here
-
-
-
Grinding glass is a dangerous and tedious business. Use an alternative material to add the bevels to the glass
-
I have used a precut matte for framing photographs and artwork
-
Use material with lesser thickness than the used glasses
-
Add a 45° bevel to the edge of your material. In case of a matte use the prepared edges of the cutout
-
Cut a small strip of material that includes the bevel. Choose the with of the strip appropriately to match the total size of the glasses when you add to of the strips to the long edges
-
-
-
Cut a strip of double sided adhesive tape that matches the glass thickness
-
Apply the adhesive to the long edges of the glas
-
Remove the securing layer of the adhesive tape
-
Firmly press one of your bevel strips to the glued edge to join the parts
-
You can see the glued bevels at the top and bottom of the glass in the picture
-
-
-
Slide the top edge of the glass under the metal spring on the negative carier
-
Make sure not to indent the bevel material if you have choosen a soft alternative like matte board
-
Slide the bottom bevel under the holders on the bottom side of the negative carrier
-


To reassemble your device, follow these instructions in reverse order.
To reassemble your device, follow these instructions in reverse order.