crwdns2915892:0crwdne2915892:0
This simple guide shows how to remove and replace the blade clamp and the torsion spring on your Milwaukee Sawzall 6520-21 if it does not function properly.
crwdns2942213:0crwdne2942213:0
-
-
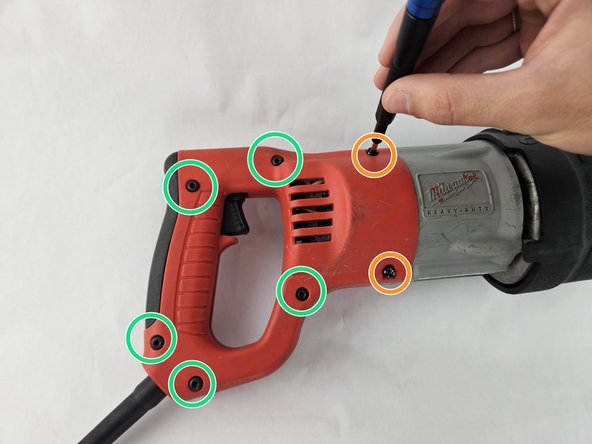
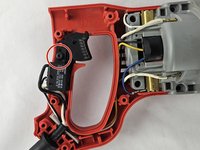
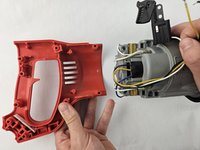
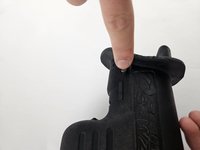
Unplug the Sawzall and Orient the right half-handle to face upwards.
-
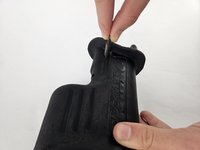
With a T20 Torx screwdriver, remove the following screws:
-
7-18 x 1.125-inch Slt. Plastite T-20
-
8-16 x .625-inch Slt. Plastite T-20
-
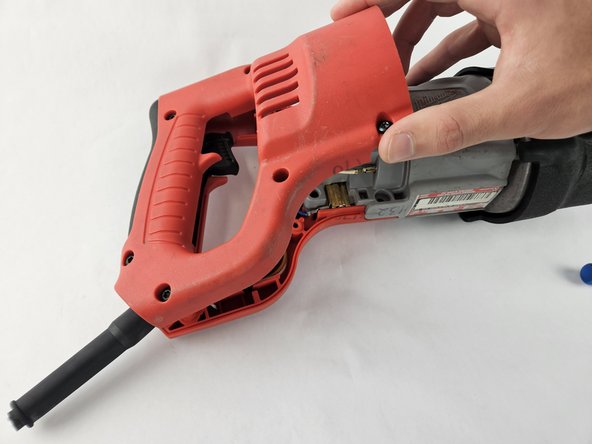
Lift the handle off.
-
-
-
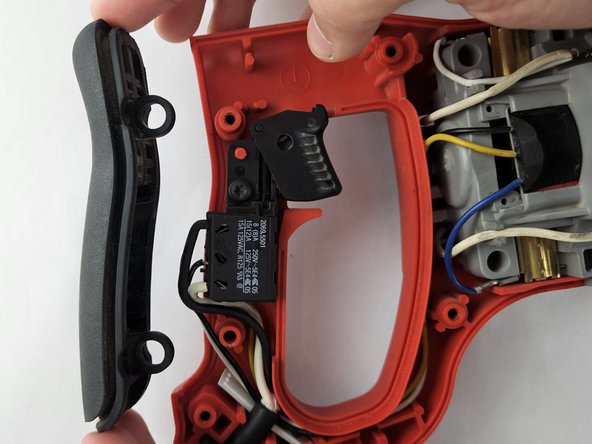
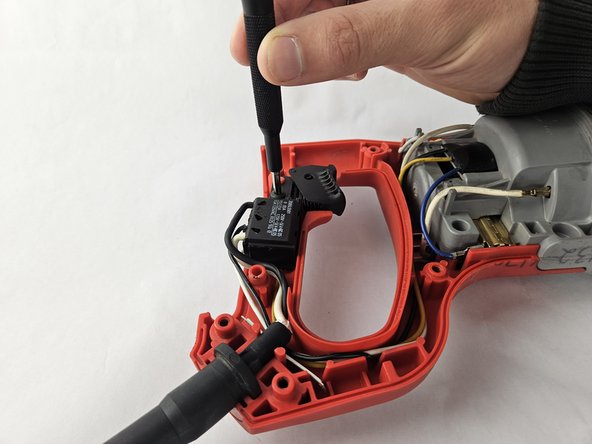
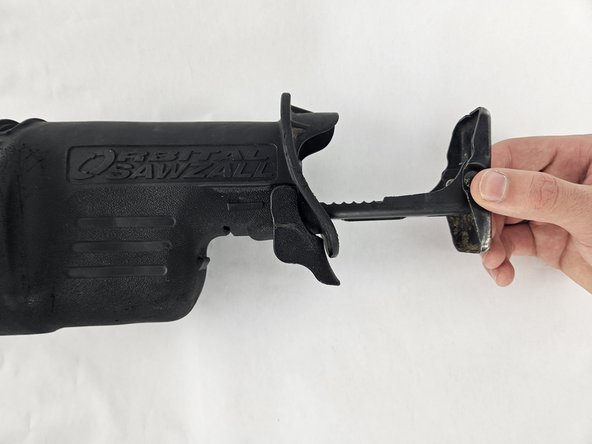
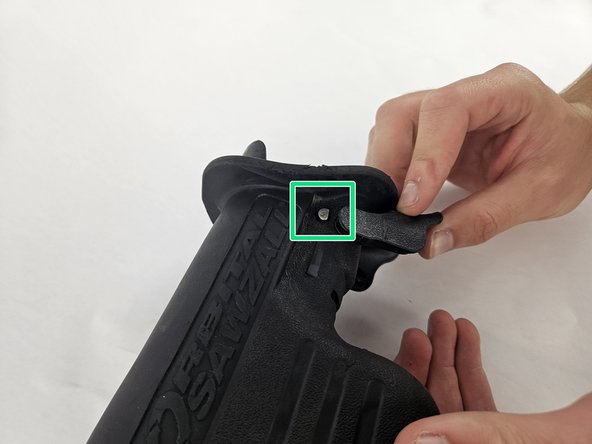
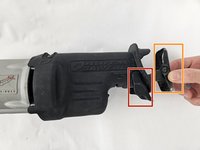
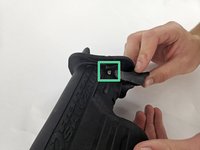
Remove the screw above the trigger.
-
8-16 x .625-inch
-
-
-
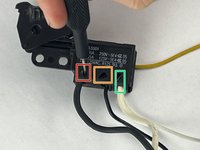
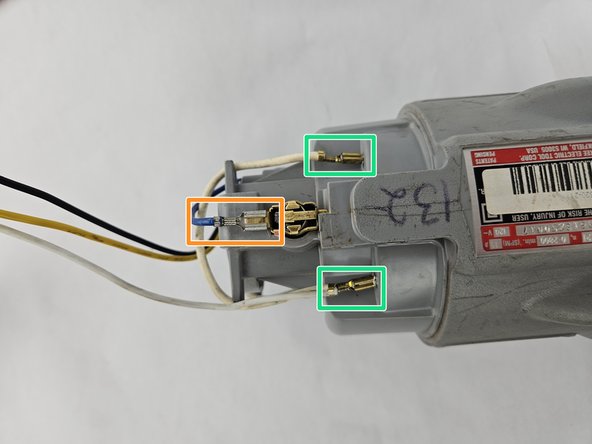
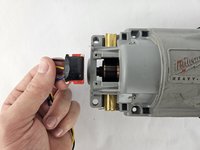
Take a 1.5mm flathead screwdriver and insert it into the pin lock above each of the wires:
-
Black wire: Insert it on the left side of the pin. Pull the wire while gently rotating it clockwise
-
Black wire: Insert it on the bottom side of the pin and gently rotate it counterclockwise
-
White wire: Insert it on the right of the pin and gently rotate it counterclockwise
-
-
-
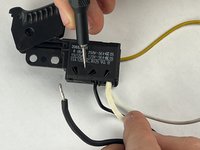
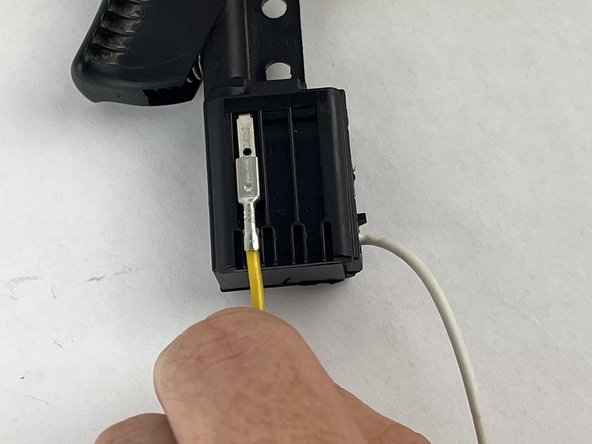
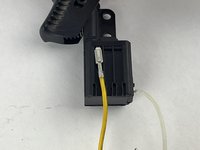
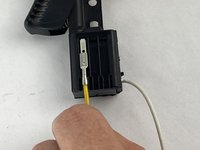
Gently pull the yellow electrical wire.
-
-
-
-
The trigger paired with the motor housing wire requires two removals.
-
Gently remove both white wires.
-
-
-
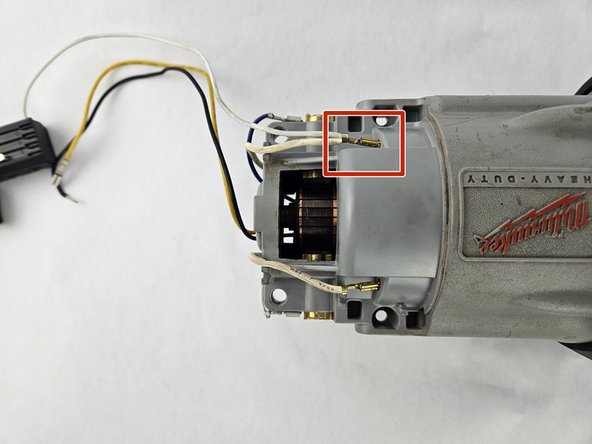
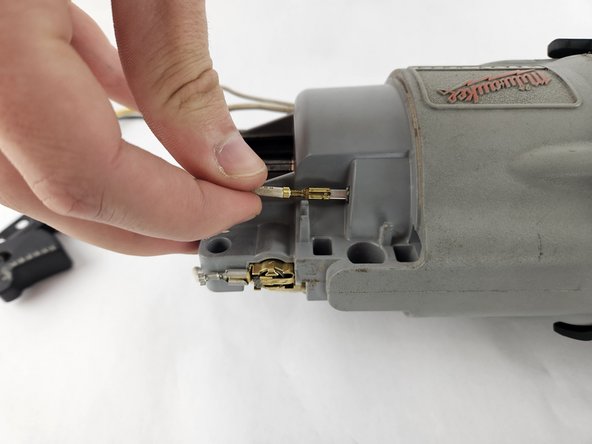
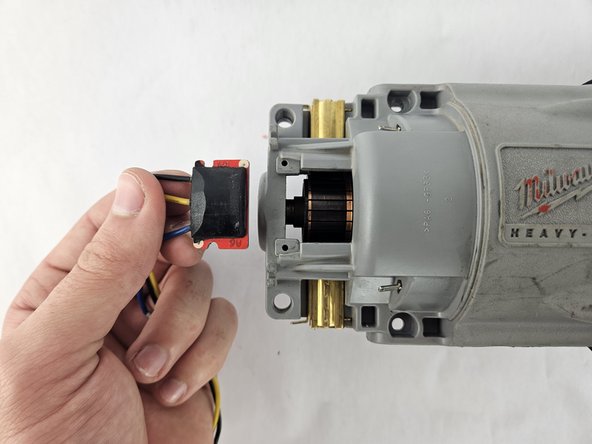
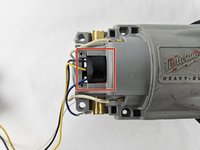
Gently slide the following from the motor housing:
-
Black chip.
-
Blue electrical wire.
-
Two, white electrical wires.
-
-
-
Set the shoe release lever in its unlocked position.
-
Remove the shoe assembly.
-
Detach the lever.
-
-
-
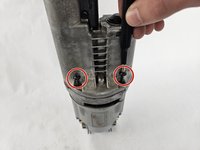
Push or pull the shoe pin to remove it from the gear case insulator.
-
Remove the insulator.
-
-
-
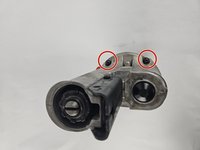
Use a T20 Torx screwdriver to remove the following four screws from the gearcase:
-
K50 x 60 mm Washer Hd. PT Screw
-
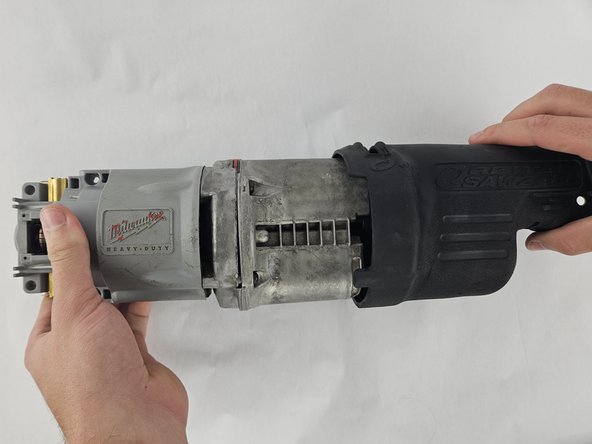
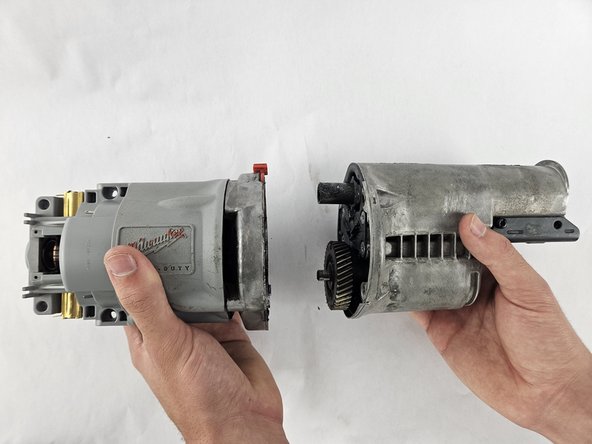
Detach the motor housing from the gearcase.
-
-
-
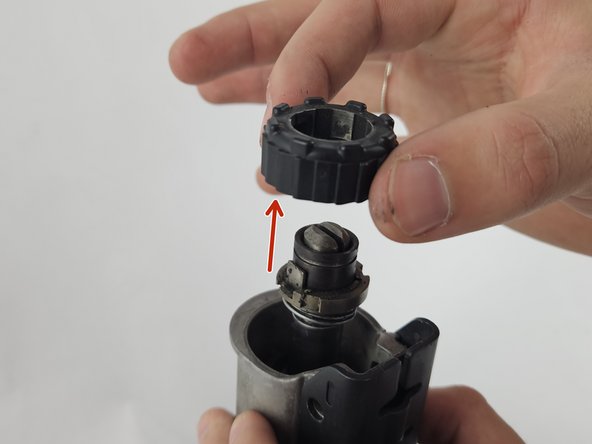
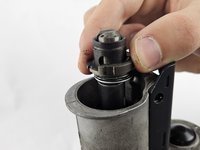
Position the transmission housing upright so the blade clamp assembly faces upwards.
-
-
-
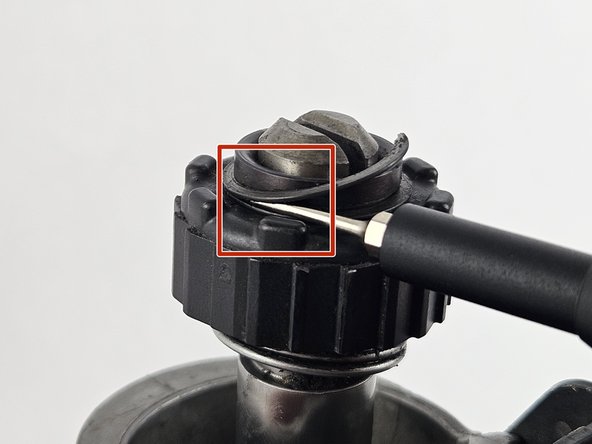
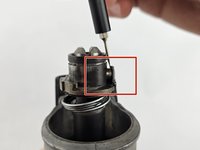
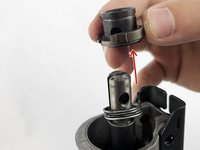
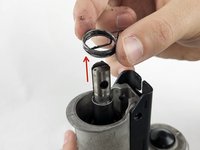
Using a flathead screwdriver, insert the head of the driver vertically and twist clockwise to pry the retaining snap ring open and off the blade clamp assembly.
-
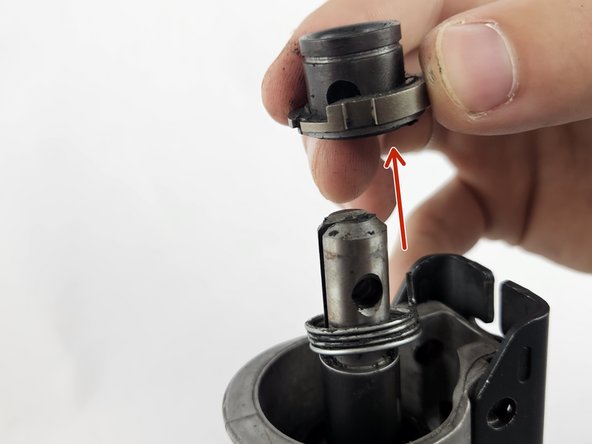
Slide the blade clamp upwards.
-
-
-
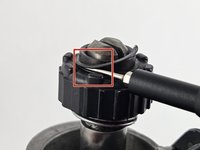
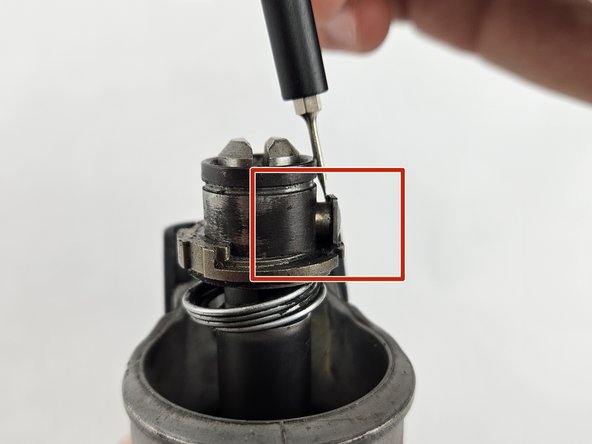
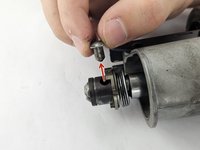
To replace the torsion spring, use the flathead to pry the retaining pin beneath its square head.
-
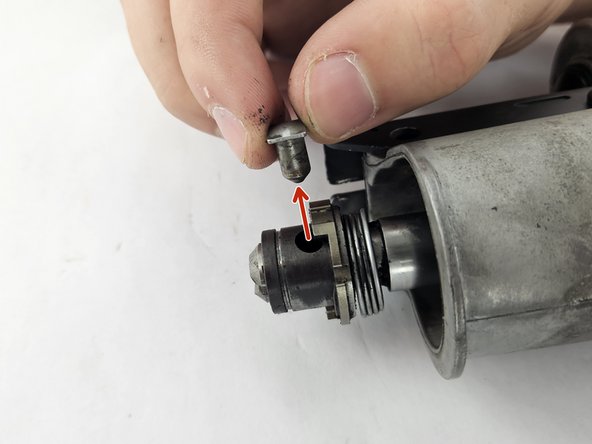
Pull the retaining pin out.
-
-
-
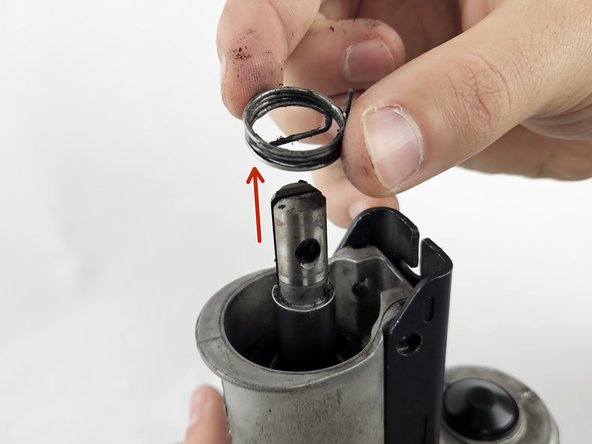
Pull and slide the assembly and torsion spring off of the spindle.
-
-
-
When replacing the torsion spring, insert the pin into its respective hole within the assembly.
-


To reassemble your device, follow these instructions in reverse order.

crwdns2935287:0crwdne2935287:0

Cuesta, Team 10-1, Krynen Fall 2024 crwdns2935289:0Cuesta, Team 10-1, Krynen Fall 2024crwdne2935289:0
CUESTA-KRYNEN-F24S10G1
crwdns2931471:04crwdne2931471:0
crwdns2935297:04crwdne2935297:0