crwdns2915892:0crwdne2915892:0
You can use this guide to replace a damaged service armature on a Milwaukee Reciprocating Saw 6538-21-B36B (2010).
If you notice your device is producing unusual noises, excess sparking from the motor area, and a simple drop in performance power it might be time to consider a service armature replacement.
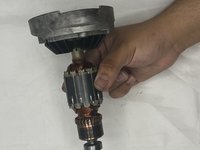
At the core of the Milwaukee Reciprocating Saw is the service armature, acting as the rotating coil and a key component of the motor. Over time, however, this part may wear down or sustain damage. This can result in a loss of power, decreased efficiency, or even the device not working at all. A functioning service armature is essential for the motor to generate the motion needed for the saw's powerful cutting action and to decrease the risks of damage or injury.
As always remember to unplug the saw before any replacements.
crwdns2942213:0crwdne2942213:0
-
-
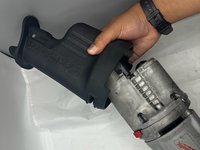
Pull up on the shoe release lever until it's perpendicular to the gearcase insulator.
-
-
-
Pull the shoe assembly out from the saw.
-
-
-
-
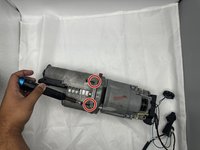
Remove the gearcase insulator by folding over the rubber, dislodging the insulator from the red shift lever, and pulling it off.
-
-
-
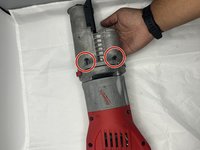
Use a Torx TR20 screwdriver to remove unscrew the four 57.2 mm screws that secure the service field.
-
-
-
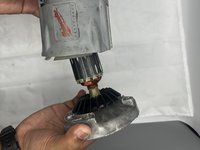
While holding the motor housing, pull out the service armature.
-


To reassemble your device, follow these instructions in reverse order.
To reassemble your device, follow these instructions in reverse order.

crwdns2915084:0crwdne2915084:0

University of North Texas, Team 3-5, Kilpatrick Spring 2024 crwdns2935289:0University of North Texas, Team 3-5, Kilpatrick Spring 2024crwdne2935289:0
UNT-KILPATRICK-S24S3G5
crwdns2931471:05crwdne2931471:0
crwdns2935297:05crwdne2935297:0