crwdns2933423:0crwdne2933423:0

Milwaukee Hex Impact Driver 2750-20 Output Shaft Bearing Replacement

crwdns2942213:0crwdne2942213:0

  1. Milwaukee Hex Impact Driver 2750-20  Output Shaft Bearing Replacement, Outer Casing: crwdns2935265:01crwdnd2935265:01crwdnd2935265:01crwdne2935265:0
    • Remove the five T9 15.5 mm screws.

    • Remove the single T9 19.5mm screw.

    • Remove the two T9 37mm screws.

  2. Milwaukee Hex Impact Driver 2750-20  Output Shaft Bearing Replacement: crwdns2935265:02crwdnd2935265:01crwdnd2935265:01crwdne2935265:0
    • Remove the drill casing to expose the drill's interior parts.

  3. Milwaukee Hex Impact Driver 2750-20  Output Shaft Bearing Replacement, Output Shaft Bearing: crwdns2935265:03crwdnd2935265:01crwdnd2935265:01crwdne2935265:0
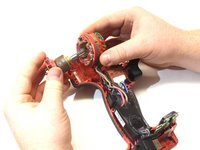
    • Once the interior is open locate the output shaft driver pictured at the left of the screen.

  4. Milwaukee Hex Impact Driver 2750-20  Output Shaft Bearing Replacement: crwdns2935265:04crwdnd2935265:01crwdnd2935265:03crwdne2935265:0 Milwaukee Hex Impact Driver 2750-20  Output Shaft Bearing Replacement: crwdns2935265:04crwdnd2935265:02crwdnd2935265:03crwdne2935265:0 Milwaukee Hex Impact Driver 2750-20  Output Shaft Bearing Replacement: crwdns2935265:04crwdnd2935265:03crwdnd2935265:03crwdne2935265:0
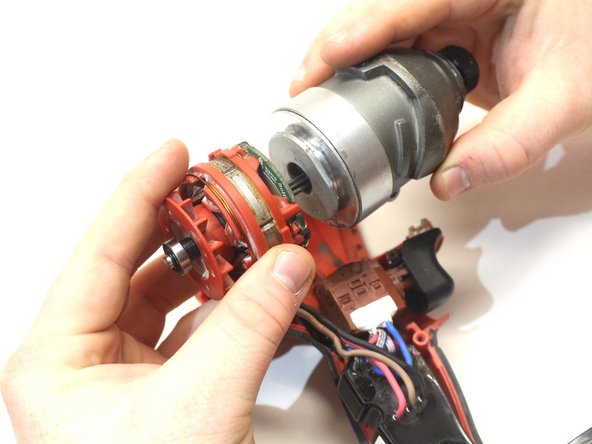
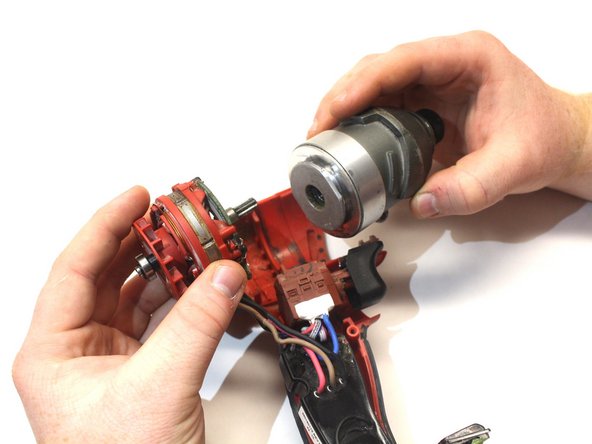
    • Lift the driver head and motor assembly directly out of the outer casing.

    • Pull the driver head away from the motor assembly, separating the two.

  5. Milwaukee Hex Impact Driver 2750-20  Output Shaft Bearing Replacement: crwdns2935265:05crwdnd2935265:01crwdnd2935265:03crwdne2935265:0 Milwaukee Hex Impact Driver 2750-20  Output Shaft Bearing Replacement: crwdns2935265:05crwdnd2935265:02crwdnd2935265:03crwdne2935265:0 Milwaukee Hex Impact Driver 2750-20  Output Shaft Bearing Replacement: crwdns2935265:05crwdnd2935265:03crwdnd2935265:03crwdne2935265:0
    crwdns2935267:0crwdne2935267:0
    Tweezers
    $4.99
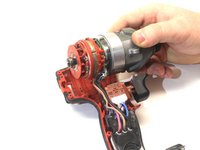
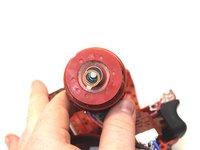
    • Remove the fan and the drive shaft assembly from the motor core assembly.

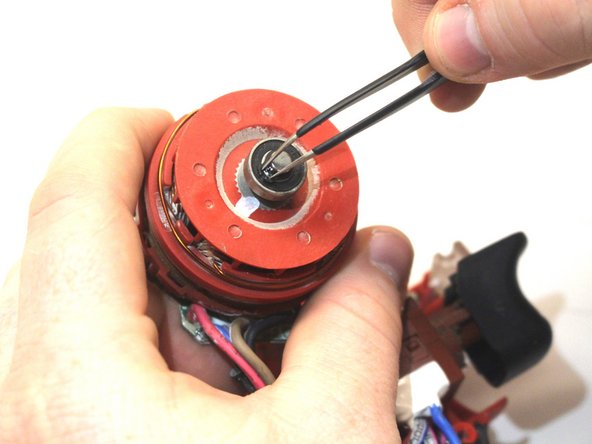
    • Using a pair of tweezers, remove the retaining ring.

    • Remove the old bearing and reinstall the new retaining clip.

crwdns2915888:0crwdne2915888:0

To reassemble your device, follow these instructions in reverse order.

Charles Putnam

crwdns2935283:002/12/19crwdne2935283:0

409 crwdns2915208:0crwdne2915208:0

crwdns2935297:05crwdne2935297:0

crwdns2915084:0crwdne2915084:0

Western Carolina University, Team S1-G1, Virtue Spring 2019 crwdns2935289:0Western Carolina University, Team S1-G1, Virtue Spring 2019crwdne2935289:0

WCU-VIRTUE-S19S1G1

crwdns2931471:04crwdne2931471:0

crwdns2935297:05crwdne2935297:0

crwdns2947412:00crwdne2947412:0

crwdns2917038:0crwdne2917038:0

crwdns2936625:0crwdne2936625:0:

crwdns2936751:024crwdne2936751:0 0

crwdns2936753:07crwdne2936753:0 8

crwdns2936753:030crwdne2936753:0 38

crwdns2942667:0crwdne2942667:0 721