crwdns2915892:0crwdne2915892:0
This guide will show you how to replace the diaphragm assembly. A faulty diaphragm assembly can lead to a few different issues including irregular shaking, grinding, or leaking grease.
crwdns2942213:0crwdne2942213:0
-
-
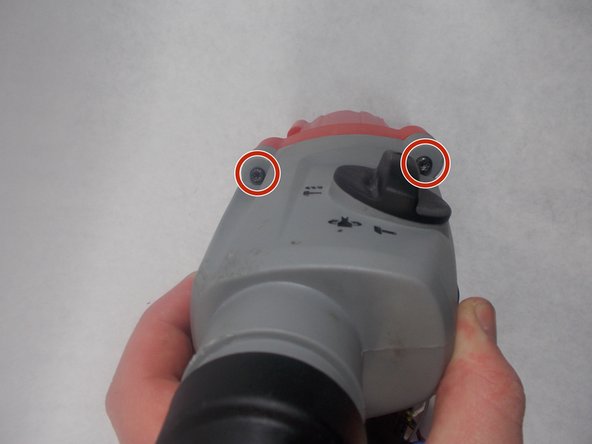
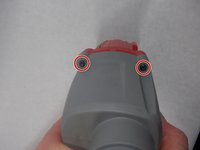
Remove the ten 19mm T20 Torx screws shown in red.
-
-
-
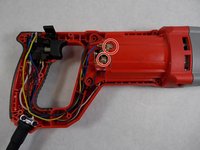
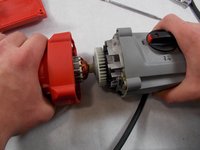
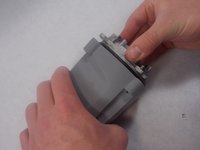
Remove the red Housing Assembly by lifting it up off of the tool.
-
-
-
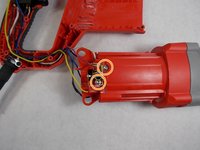
Remove the two 10mm T-10 Torx screws that attach the top brush holders to the motor housing.
-
Remove the two 10mm T-10 Torx screws that attach the bottom brush holders to the motor housing.
-
-
-
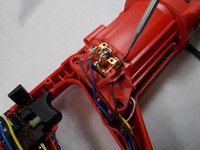
Using a metal spudger, pry off each brush holder.
-
-
-
Remove the four 37mm T20 Torx screws shown in red.
-
-
-
-
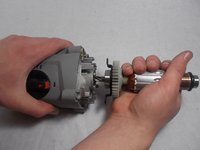
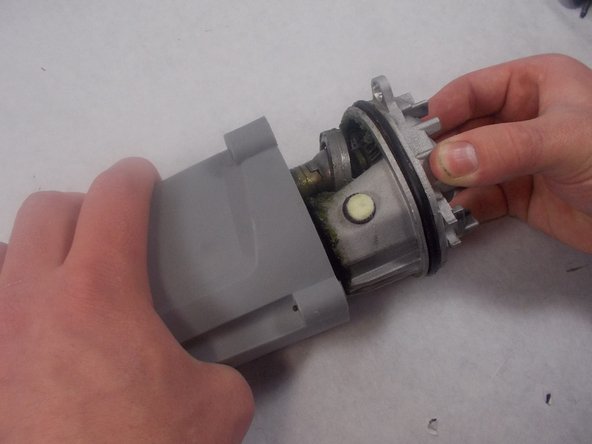
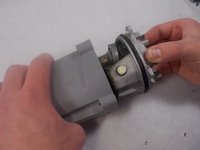
Pull the front portion of the tool out from the motor housing.
-
-
-
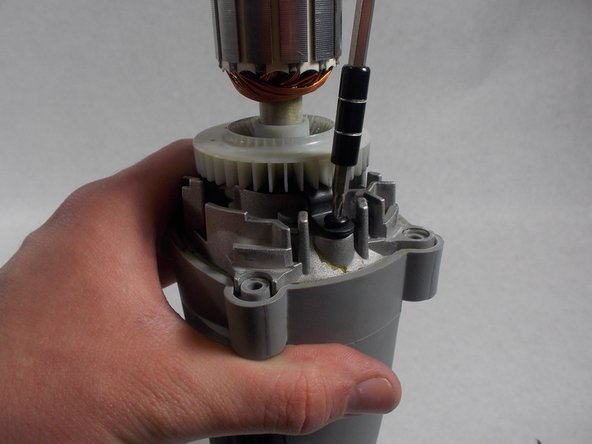
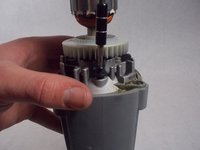
Remove the two 11.5mm T10 Torx screws shown in red.
-
-
-
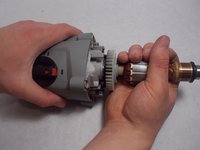
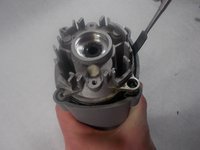
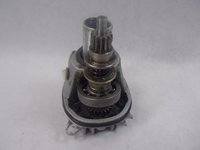
Pull the 120V armature assembly out of the diaphragm assembly.
-
-
-
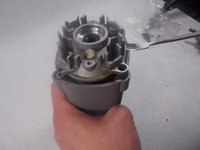
Using a metal spudger, pry the diaphgram assembly out of the gear case.
-
-
-
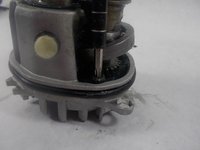
Now that you have loosened the diaphragm, you can now pull it out of the gear case.
-
-
-
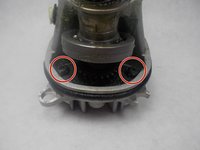
After removing some grease (if needed), remove the two 15mm T20 Torx screws shown in red.
-
-
-
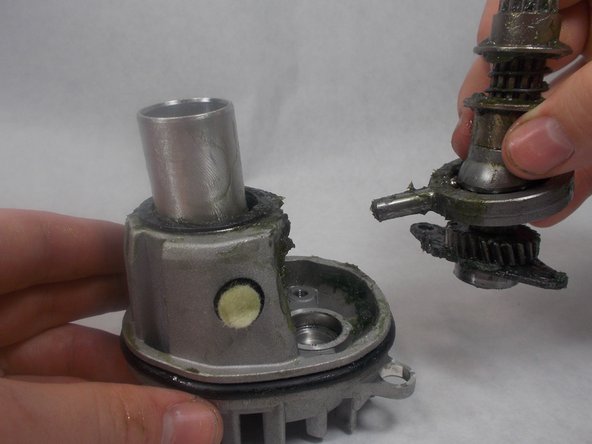
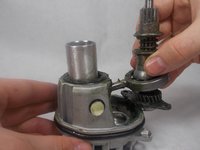
Now pull the reduction gear assembly up and out of the diaphragm.
-
-
-
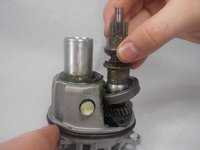
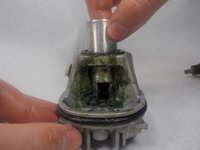
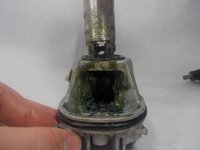
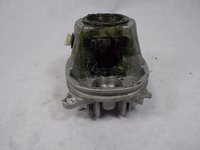
Remove the metal piston from the diaphragm assembly.
-
-
-
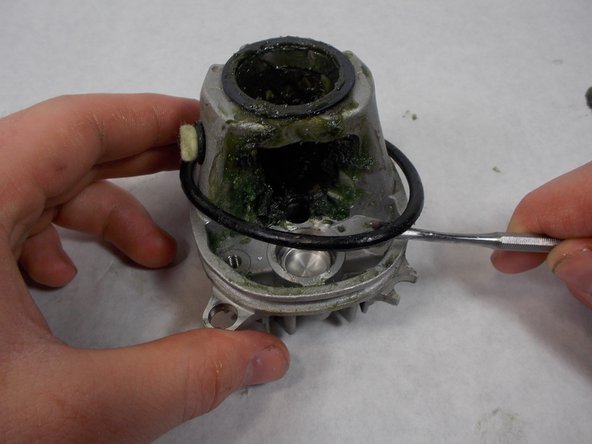
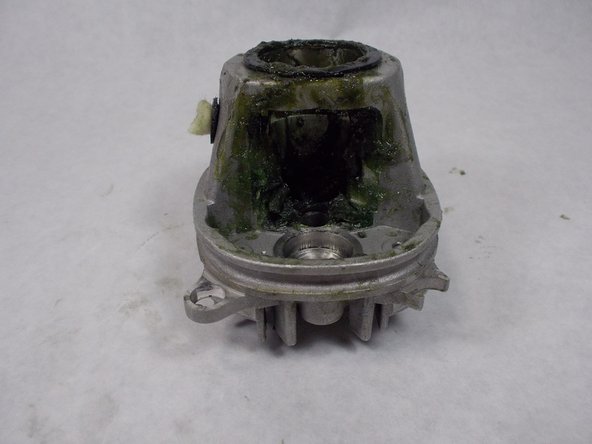
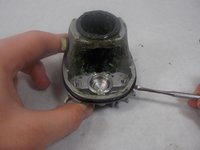
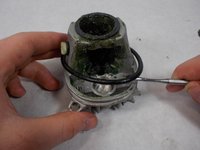
Using a metal spudger, pry the o-ring off of the assembly.
-


To reassemble your device, follow these instructions in reverse order.
crwdns2935221:0crwdne2935221:0
crwdns2935229:02crwdne2935229:0
crwdns2935287:0crwdne2935287:0

UMass Dartmouth, Team S1-G3, Botvin Spring 2019 crwdns2935289:0UMass Dartmouth, Team S1-G3, Botvin Spring 2019crwdne2935289:0
UMASSD-BOTVIN-S19S1G3
crwdns2931471:04crwdne2931471:0
crwdns2935297:06crwdne2935297:0
crwdns2947410:01crwdne2947410:0
to reasemble .
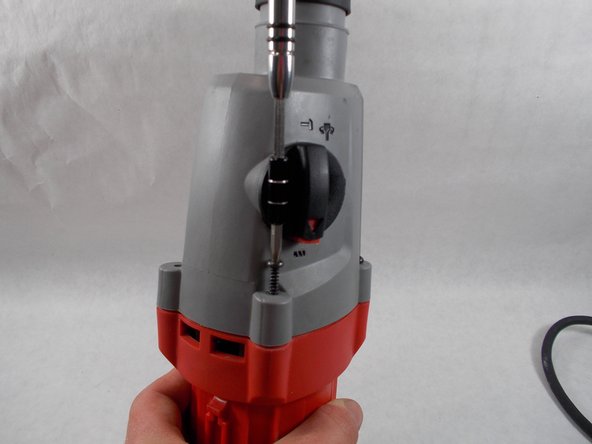
Which is the correct position of the Shift knob assembly ?