crwdns2915892:0crwdne2915892:0
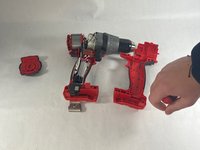
Is your drill not functioning properly, specifically when it comes to pulling the trigger? If so, this guide will help you remove and replace your current faulty trigger mechanism. This guide strictly covers replacement of the trigger assembly only. For a full drill disassembly breakdown, refer to this guide.
crwdns2942213:0crwdne2942213:0
-
-
Remove the battery from the drill.
-
-
-
Remove the indicated screws (M3 x 16mm Pan Hd. ST T-10 Screws) with screwdriver.
-
-
-
-
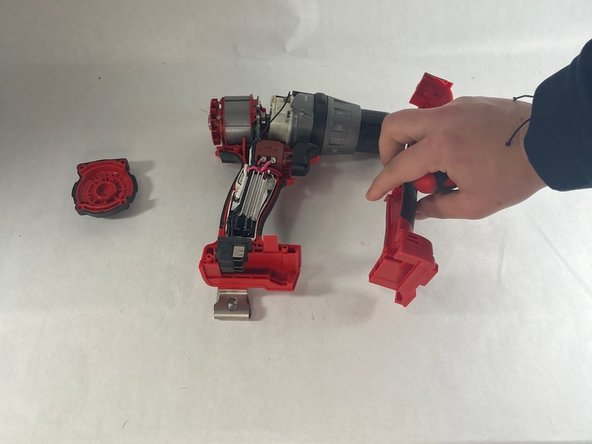
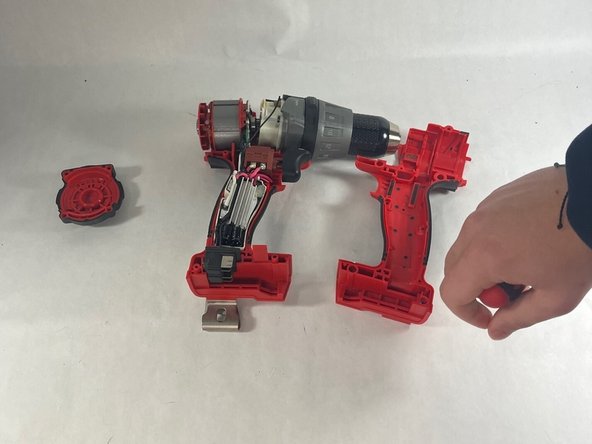
Gently lift the cover off the drill. Be careful not to force it or damage any of the internal components.
-
-
-
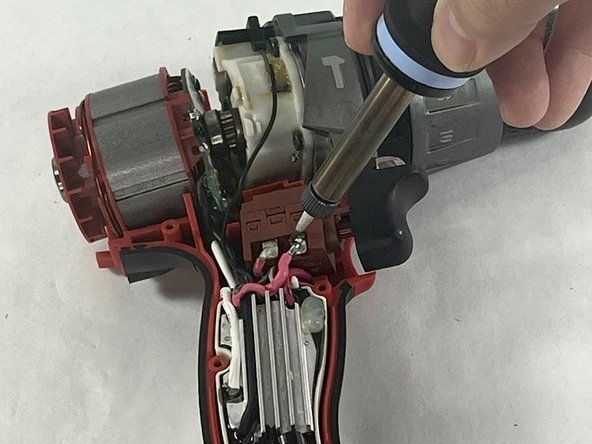
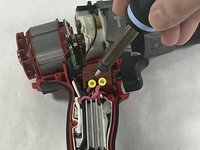
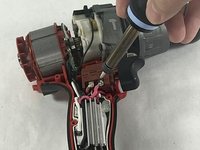
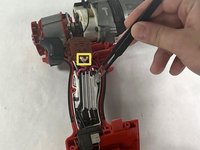
Desolder the two solder joints on the trigger assembly.
-
-
crwdns2935267:0crwdne2935267:0Tweezers$4.99
-
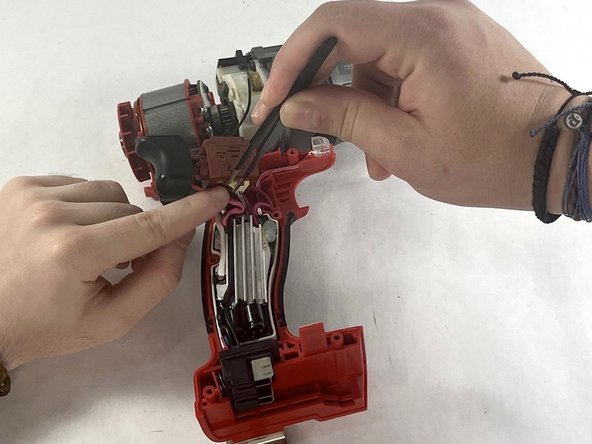
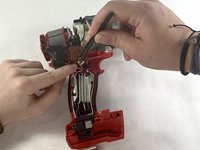
Using tweezers, remove the header connector.
-
-
-
Remove the trigger mechanism entirely.
-
To reassemble your device, follow these instructions in reverse order.


