crwdns2933423:0crwdne2933423:0

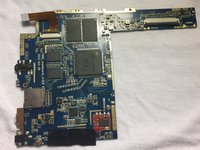
Mid F900 Microphone Replacement

crwdns2942213:0crwdne2942213:0

  1. Mid F900 Microphone Replacement, Back Cover: crwdns2935265:01crwdnd2935265:01crwdnd2935265:01crwdne2935265:0
    • Using a J00 Phillips-head screwdriver, remove the two screws located at the bottom of the device.

    • Screws are 5mm x 1mm in size.

  2. Mid F900 Microphone Replacement: crwdns2935265:02crwdnd2935265:01crwdnd2935265:02crwdne2935265:0 Mid F900 Microphone Replacement: crwdns2935265:02crwdnd2935265:02crwdnd2935265:02crwdne2935265:0
    • Use the plastic opening tool to pry off the white back-plate of the device.

  3. Mid F900 Microphone Replacement, Motherboard: crwdns2935265:03crwdnd2935265:01crwdnd2935265:02crwdne2935265:0 Mid F900 Microphone Replacement, Motherboard: crwdns2935265:03crwdnd2935265:02crwdnd2935265:02crwdne2935265:0
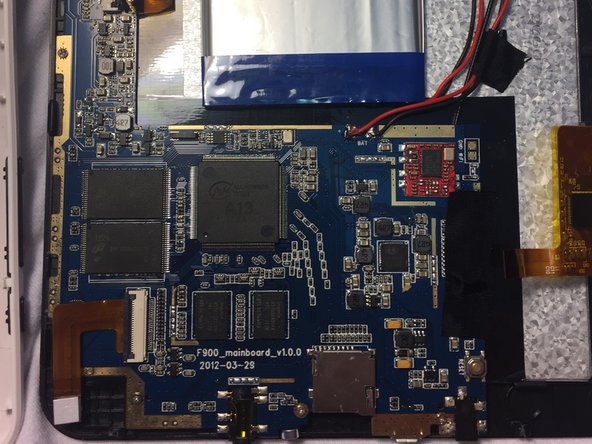
    • Using a +00 Phillips head screwdriver, remove the screws securing the motherboard to the device housing.

    • Screws are 4mm x 1mm in size.

  4. Mid F900 Microphone Replacement: crwdns2935265:04crwdnd2935265:01crwdnd2935265:02crwdne2935265:0 Mid F900 Microphone Replacement: crwdns2935265:04crwdnd2935265:02crwdnd2935265:02crwdne2935265:0
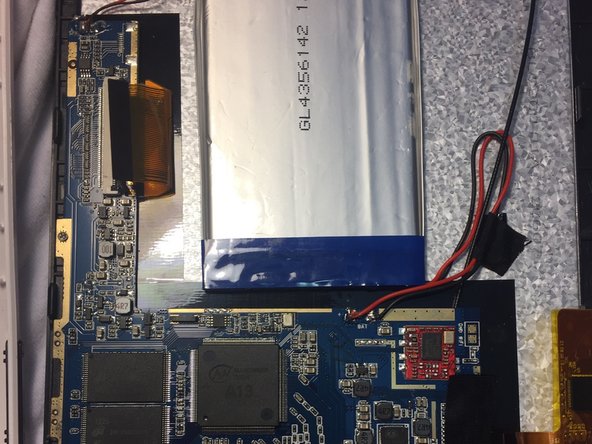
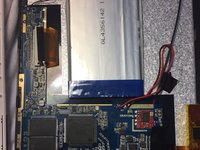
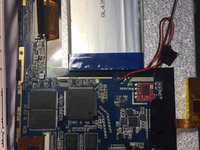
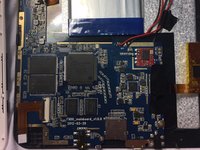
    • Desolder the two black and red wires connected to the motherboard.

    • Unclip and remove the ribbon cables attached to the motherboard.

    • For soldering help, use the How to Solder and Desolder Connections guide.

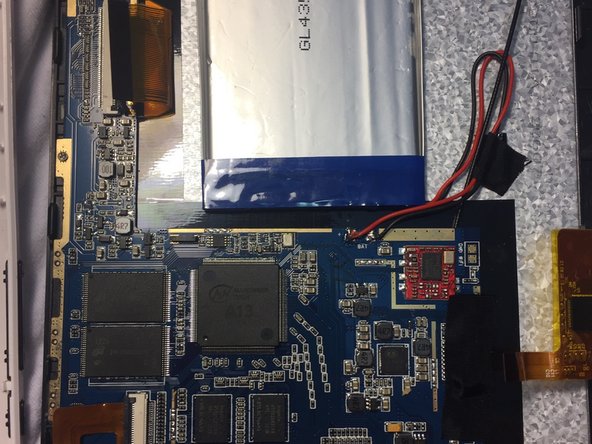
  5. Mid F900 Microphone Replacement: crwdns2935265:05crwdnd2935265:01crwdnd2935265:02crwdne2935265:0 Mid F900 Microphone Replacement: crwdns2935265:05crwdnd2935265:02crwdnd2935265:02crwdne2935265:0
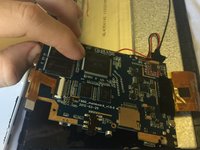
    • Carefully lift and remove the motherboard from the device housing.

  6. Mid F900 Microphone Replacement, Microphone: crwdns2935265:06crwdnd2935265:01crwdnd2935265:01crwdne2935265:0
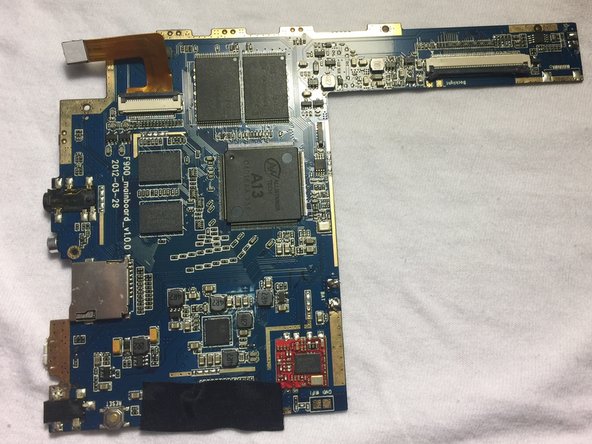
    • Flip the motherboard over to bring the underside into view.

    • Find and desolder the microphone near the bottom of the motherboard and remove it.

    • Solder the new microphone in its place.

    • For soldering help, check out the How to Solder and Desolder Connections guide.

crwdns2915888:0crwdne2915888:0

To reassemble your device, follow these instructions in reverse order.

crwdns2935227:0crwdne2935227:0
Matthew Oliva

crwdns2935283:009/10/16crwdne2935283:0

364 crwdns2915208:0crwdne2915208:0

crwdns2935297:03crwdne2935297:0

crwdns2915084:0crwdne2915084:0

USF Tampa, Team 6-6, Remmell Fall 2016 crwdns2935289:0USF Tampa, Team 6-6, Remmell Fall 2016crwdne2935289:0

USFT-REMMELL-F16S6G6

crwdns2931471:03crwdne2931471:0

crwdns2935297:010crwdne2935297:0

crwdns2944067:00crwdne2944067:0

crwdns2917038:0crwdne2917038:0

crwdns2936625:0crwdne2936625:0:

crwdns2936751:024crwdne2936751:0 0

crwdns2936753:07crwdne2936753:0 1

crwdns2936753:030crwdne2936753:0 8

crwdns2942667:0crwdne2942667:0 114