crwdns2915892:0crwdne2915892:0
This guide will teach you how to safely remove the headphone jack from your Surface Pro 3. The guide starts by removing the screen and digitizer and then goes right into removing the headphone jack.
crwdns2942213:0crwdne2942213:0
-
-
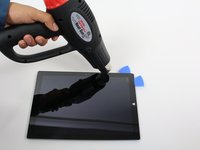
To remove the display, first soften the adhesive by applying heat. You can use a heat pad, heat gun, or iOpener. In a pinch, a hair dryer can also work.
-
Steadily and evenly heat the perimeter of the display until it's too hot to touch, and try to maintain that temperature for several minutes.
-
-
-
Use a suction cup or an iSclack to pull up on the glass and create a slight gap between the glass and the metal frame.
-
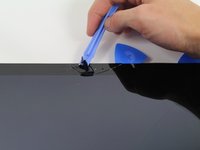
Carefully insert an opening pick into the gap between the screen and the device to cut the adhesive.
-
Slide the pick around the sides and bottom of the display to cut the adhesive. Apply more heat as needed.
-
-
-
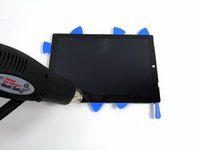
Continue to heat sections of the screen with the heat gun.
-
As you make your way around the screen with the heat gun, use the plastic opening tool and the opening picks to pry the screen loose.
-
-
-
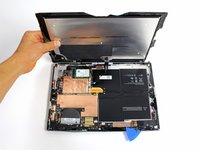
Lift the screen up carefully so that no wires are torn.
-
-
-
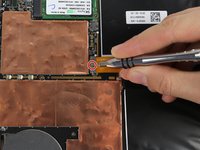
Remove the 3 mm T3 Torx screw securing the battery connector, and disconnect the battery connector.
-
-
-
-
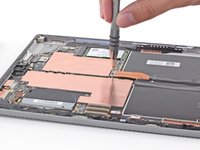
Remove the single 4 mm T3 Torx screw securing the display cable.
-
Lift the connector to disconnect the cable.
-
-
-
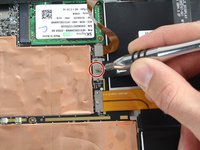
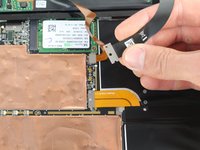
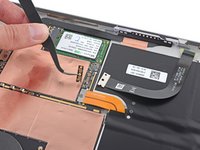
Grasp the orange cable connected to the silver connecter.
-
Carefully lift the orange cable up until the connecter pops off.
-
The screen will now be completely disconnected.
-
-
-
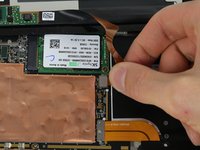
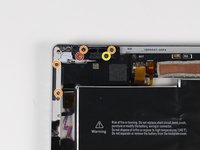
Remove the single 4 mm T5 Torx screw.
-
Remove the four 4 mm T3 Torx screws.
-
Remove the single 7 mm T3 Torx screw.
-
-
-
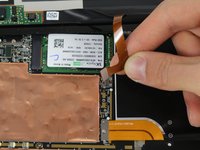
Remove the nut with the 4mm nut driver.
-
-
-
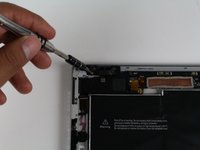
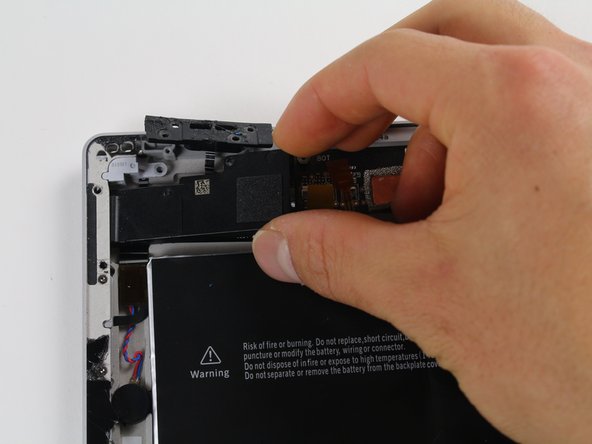
Use the plastic opening tools to remove the black piece.
-
-
-
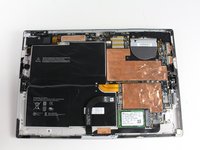
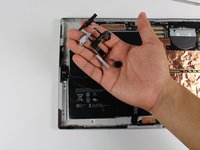
Carefully remove the gray headphone jack.
-
-
-
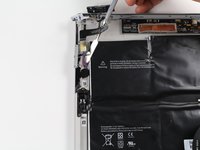
Use the metal spudger to remove the black ribbon wire from the device.
-
-
-
Finish removing the headphone jack using the metal spudger.
-


To reassemble your device, follow these instructions in reverse order.
To reassemble your device, follow these instructions in reverse order.
crwdns2935221:0crwdne2935221:0
crwdns2935229:04crwdne2935229:0
crwdns2915084:0crwdne2915084:0

Cal Poly, Team 12-18, Maness Fall 2015 crwdns2935289:0Cal Poly, Team 12-18, Maness Fall 2015crwdne2935289:0
CPSU-MANESS-F15S12G18
crwdns2931471:05crwdne2931471:0
crwdns2935297:031crwdne2935297:0
crwdns2947410:01crwdne2947410:0
Very good instructions. But where is the difference between Headphone Jack Assembly with P/N
0801-35U00QS, 0801-35U01QS and 0801-2W900QS? On some of them is also X894488-001 printed in an extra row.