crwdns2915892:0crwdne2915892:0
This guide is used to help users to remove the headphone jack of the Microsoft Lumia 640 LTE. This will help headphones to work on the phone.
crwdns2942213:0crwdne2942213:0
-
-
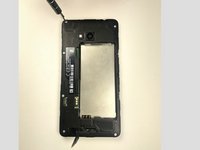
Use your thumb or fingernail on the edge/corner of the phone to pry the back cover off the phone.
-
-
crwdns2935267:0crwdne2935267:0Tweezers$4.99
-
Use the tweezers to pull back the sticker, revealing the screw underneath.
-
-
-
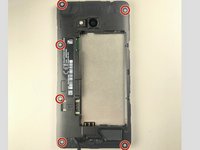
Use a T4 Torx driver to remove the screws in the four corners, along with the two in the middle left side (six total).
-
-
-
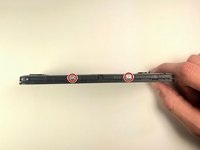
Using the T4 Torx driver, unscrew the two screws.
-
-
-
-
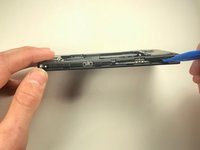
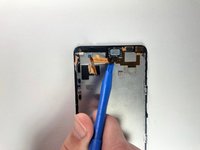
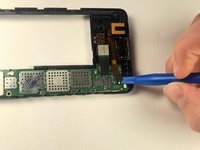
Use a plastic opening tool to separate the screen from the back plastic casing
-
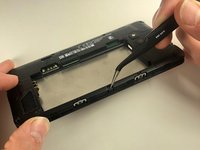
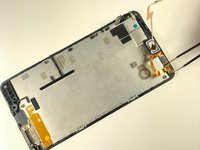
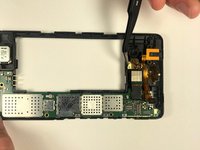
Use tweezers to release the clip on the side of device, and remove the back of the phone.
-
-
-
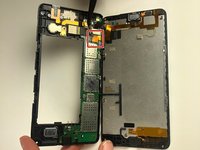
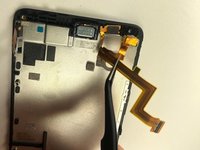
Using the tweezers or a spudger, pull the gold tab up gently.
-
Using tweezers or a spudger, lift the white connector up gently to completely detach the screen from the phone.
-
-
-
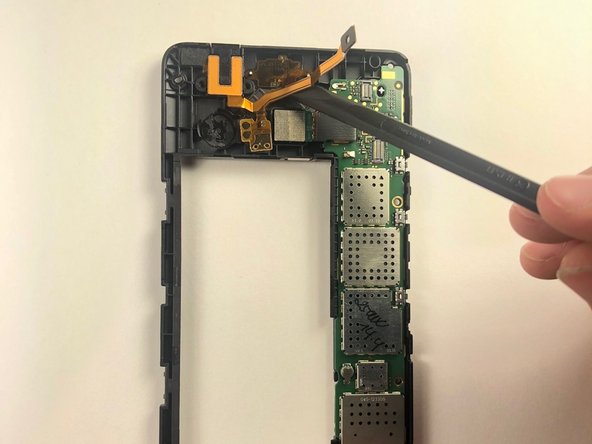
Using a plastic opening tool to carefully get under the gold strip.
-
Use tweezers to pull up the camera.
-
Use tweezers to pull up on the depth sensor.
-
-
-
Use a plastic opening tool to pry up the ear speaker.
-
-
-
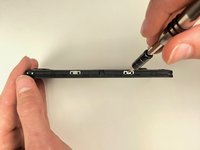
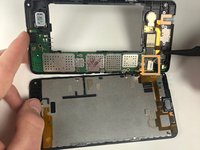
Unscrew the 2 remaining screws with the T-4 bit.
-
-
crwdns2935267:0crwdne2935267:0Tweezers$4.99
-
Use the tweezers to remove the speaker.
-
-
-
Use the plastic opening tool to lift up the black tab.
-
Use the tweezers to gently pull up on the gold tab.
-
Using the spudger, slowly get underneath the gold sticker and pry it up. This sticker is held down with a strong adhesive.
-
-
-
Use the tweezers to remove the orange insulator foam.
-


To reassemble your device, follow these instructions in reverse order.
crwdns2935287:0crwdne2935287:0

Linn Benton Community College, Team S1-G2, Johnson Fall 2018 crwdns2935289:0Linn Benton Community College, Team S1-G2, Johnson Fall 2018crwdne2935289:0
LBCC-JOHNSON-F18S1G2
crwdns2931471:05crwdne2931471:0
crwdns2935297:010crwdne2935297:0