crwdns2915892:0crwdne2915892:0
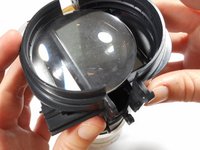
Do you have a blurry image or a broken outer lens? Follow these step by step instructions to learn how to disassemble the projector and remove the outer lens for your repairs.
crwdns2942213:0crwdne2942213:0
-
-
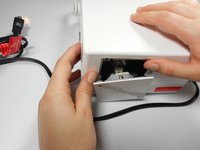
Flip the projector onto its back and unscrew the nine 15mm screws using the Phillips #0 screw driver.
-
-
-
Flip the projector right side up and unscrew the two 12mm screws on the light bulb panel located at the rear of the projector with a Phillips #0 screw head.
-
-
-
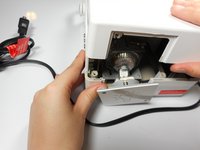
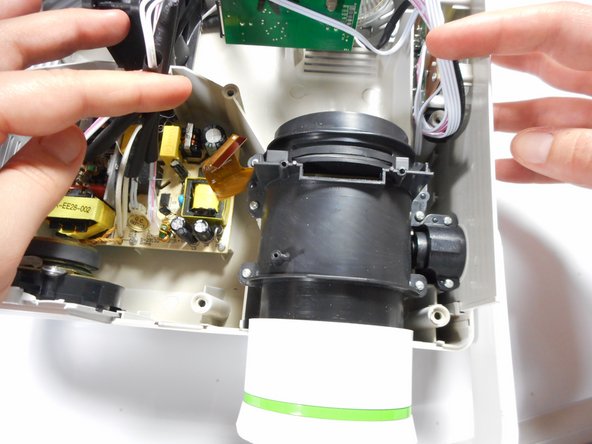
Using your hands, gently pry the top and bottom of the projector casing apart.
-
-
-
-
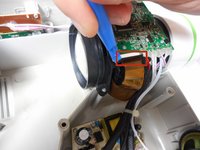
Use the plastic opening tool to gently disengage the black clip housing from the ribbon cable.
-
Once the ribbon cable is disengaged gently pull the cable off the motherboard.
-
-
-
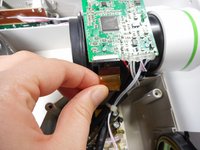
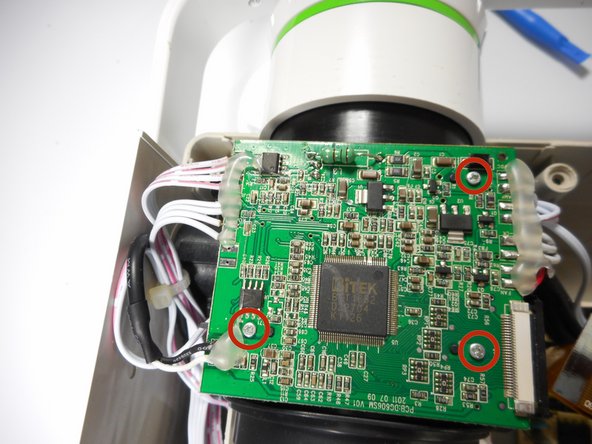
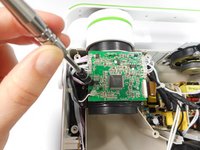
Unscrew the three 7 mm screws from the motherboard with the Phillips #0 screw driver.
-
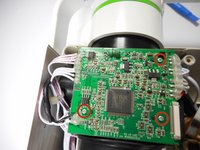
Once loose, lift the motherboard off of the lens casing, and move it away from the workspace.
-
-
-
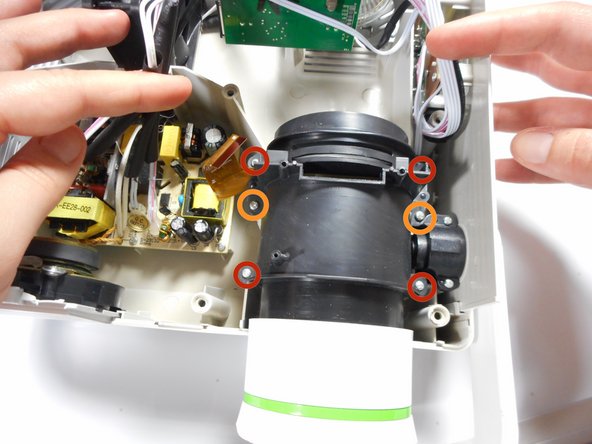
Unscrew the four 15mm Phillips screws using the Phillips #0 screw driver.
-
Unscrew the two 12mm Phillips screws using the Phillips #0 screw driver.
-
Gently remove the entire lens casing from its position.
-
-
-
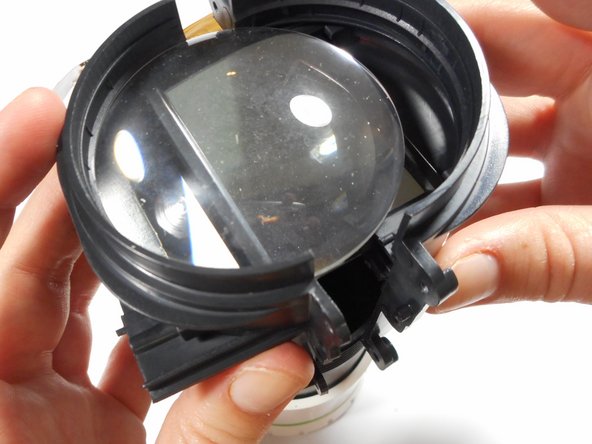
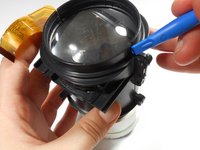
Using the plastic opening tool, slightly separate the casing holding the large lens in place.
-
Separate the casing completely from the inner lens using your hands.
-
This should release the outer lens and it's immediate casing.
-
-
-
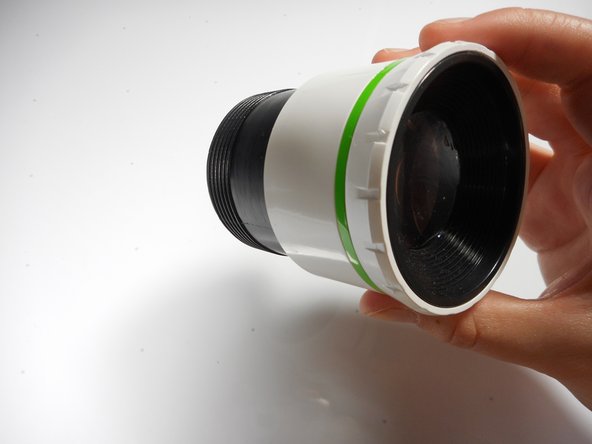
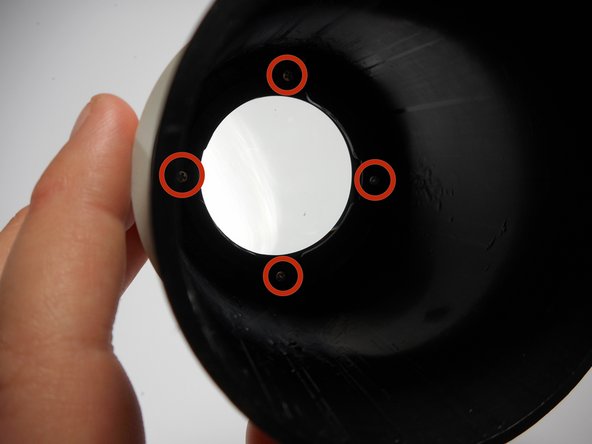
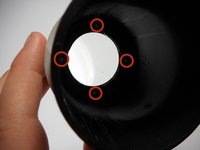
Unscrew the four 8mm Phillips screws at the base of the outer lens casing using the Phillips #0 screw driver.
-
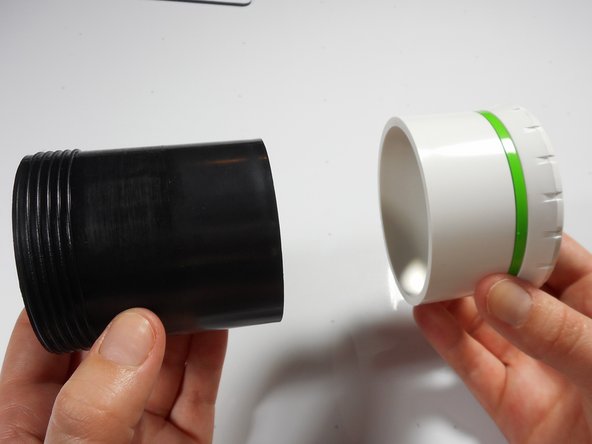
Separate the white outer casing from the black outer casing.
-
-
-
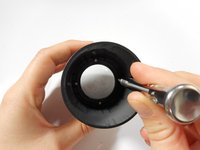
Using your finger, gently push the lens out of its white encasement.
-
The outer lens is now free and ready for replacement.
-


To reassemble your device, follow these instructions in reverse order.
To reassemble your device, follow these instructions in reverse order.
crwdns2935221:0crwdne2935221:0
crwdns2935229:02crwdne2935229:0
crwdns2915084:0crwdne2915084:0

Cal Poly, Team 18-3, Maness Winter 2015 crwdns2935289:0Cal Poly, Team 18-3, Maness Winter 2015crwdne2935289:0
CPSU-MANESS-W15S18G3
crwdns2931471:03crwdne2931471:0
crwdns2935297:04crwdne2935297:0