crwdns2915892:0crwdne2915892:0
Dim picture? No display? Discolored output? No problem! Use this guide to replace the burnt light bulb with a new one. To complete this replacement, you will need the following parts ready:
crwdns2942213:0crwdne2942213:0
-
-
Flip the projector onto its back and unscrew the nine 15mm screws using the Phillips #0 screw driver.
-
-
-
Flip the projector right side up and unscrew the two 12mm screws on the light bulb panel located at the rear of the projector with a Phillips #0 screw head.
-
-
-
-
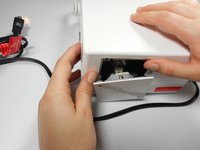
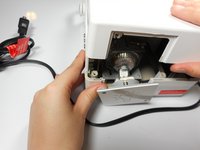
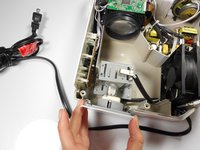
Using your hands, gently pry the top and bottom of the projector casing apart.
-
-
-
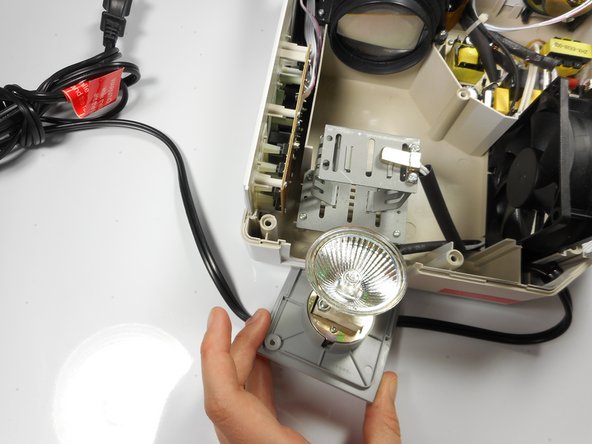
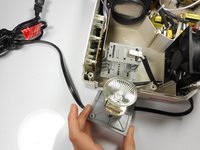
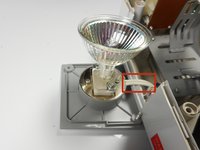
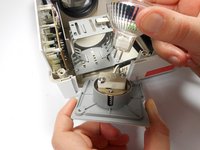
Remove the light bulb from its housing unit.
-
-
-
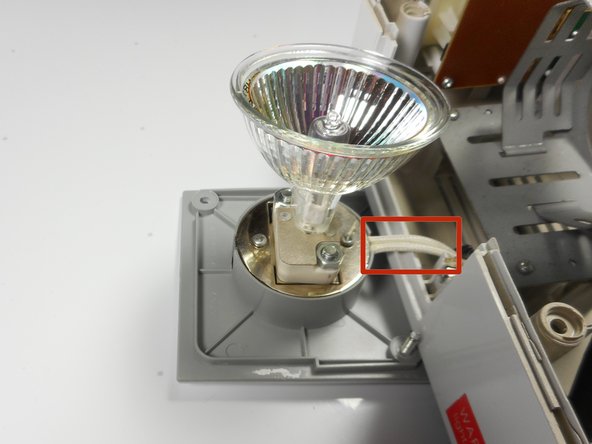
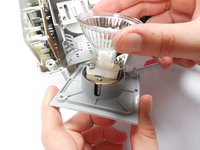
Remove the light bulb from the door panel by gently wiggling it back and forth. Do not twist the light bulb.
-
To reassemble your device, follow these instructions in reverse order.
crwdns2935221:0crwdne2935221:0
crwdns2935227:0crwdne2935227:0
crwdns2947410:01crwdne2947410:0
Mi nuevo proyector no prende la luz ni el ventilador al conectarlo al tomacorriente y encenderlo.


