crwdns2915892:0crwdne2915892:0
Screen replacement (without frame)
crwdns2942213:0crwdne2942213:0
-
-
-
Remove the back panel, and unscrew everything to remove the second back panel. Some screw are longer than other. But I mixed them without issue. Here I saw the solution for the network issue: the little contacts between motherboard and screen were bended.
-
I removed the battery, but I think it's not mandatory. If you do, be careful, it's very well glued, and there is some wires behind.
 crwdns2952109:0crwdne2952109:0
-
-
-
Unplug all the connectors to the motherboard, included the two antennas The small flat ribbon in the corner is a little tricky, you have to switch the black part of the connector, not the white one like some other similar I saw before.
-
-
-
-
Remove the jack connector, removes the lasts screws (mark the placement for later)
-
Remove the motherboard, starting by the upper part: There is a last connector to unplug at the bottom, behind.
-
-
-
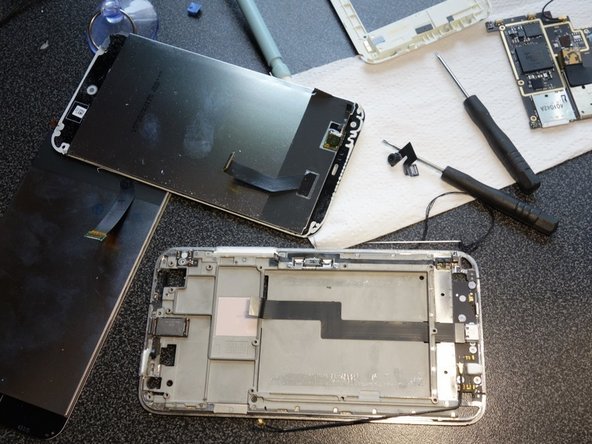
Now, remove the old screen. It's glued, try to lift a corner, then with a plastic tool, unglue everything.
-
Clean the glue inside the metal part.
-
-
-
Put some adhesive (or some glue?) I used thin double-sided tape I had cut the right shape. the side of the screen are less than 1mm wide, it's hard to do here...
-
-
-
Put the screen in the frame, and put everything back in place.
-
Voila!
-
-



To reassemble your device, follow these instructions in reverse order.
crwdns2935221:0crwdne2935221:0
crwdns2935229:05crwdne2935229:0

