crwdns2915892:0crwdne2915892:0
If the microswitches in your Mayflash Arcade Stick F300 are broken or damaged, use this guide to replace them.
Each direction (up, down, left, right) in the joystick corresponds to a microswitch. When the joystick is moved, it physically presses the associated microswitch, closing its circuit and signaling to the console the direction.
Because each microswitch corresponds to a different direction, make sure you are replacing the correct microswitch, and be careful to keep track of the wires to ensure everything is reconnected properly.
crwdns2942213:0crwdne2942213:0
-
-
Flip the controller upside down so that the metal panel is facing you.
-
Remove the six 11 mm screws securing the metal panel using a Phillips #2 screwdriver.
-
Once all screws are removed, lift off the panel.
-
-
-
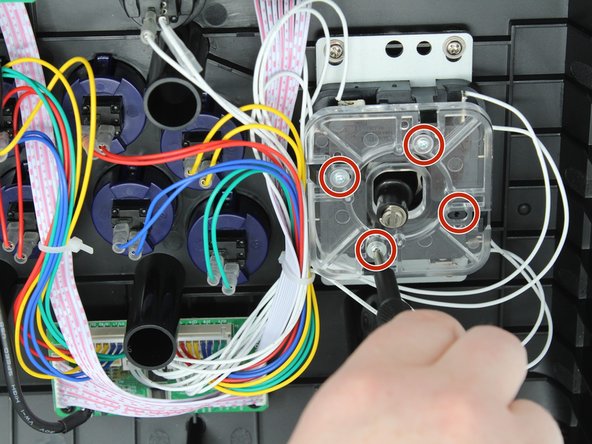
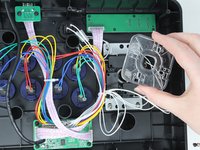
Remove the four 9 mm truss head screws fastening the clear plastic square joystick gate to the casing underneath using a Phillips #1 screwdriver.
-
-
-
-
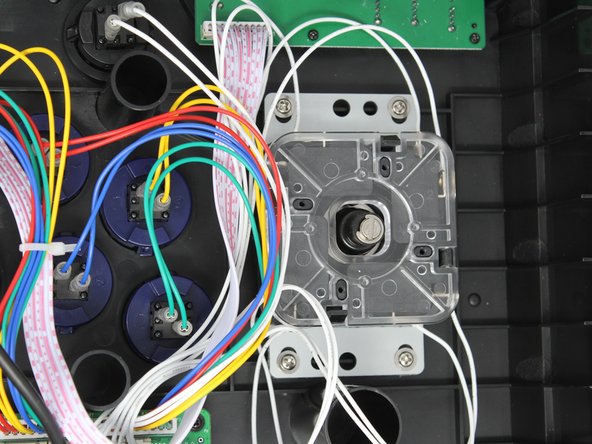
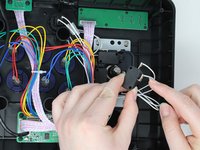
Gently push back on each of the four black locking tabs securing the joystick gate to the casing.
-
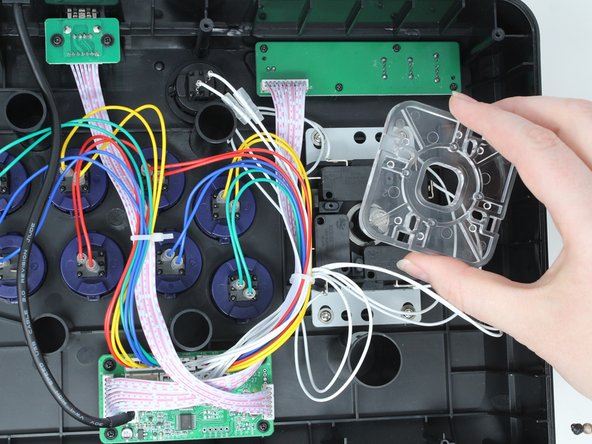
Remove the joystick gate.
-
-
-
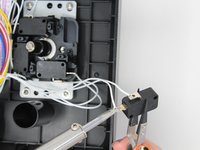
Lift the chosen microswitch vertically off the rod holding it in position.
-
Desolder the wire from the terminal (metal connection point).
-


To reassemble your device, follow these instructions in reverse order.
To reassemble your device, follow these instructions in reverse order.
crwdns2935221:0crwdne2935221:0
crwdns2935227:0crwdne2935227:0

crwdns2915084:0crwdne2915084:0

Utah Tech University, Team 1-4, Crenshaw Fall 2024 crwdns2935289:0Utah Tech University, Team 1-4, Crenshaw Fall 2024crwdne2935289:0
UTAHTECH-CRENSHAW-F24S1G4
crwdns2931471:03crwdne2931471:0
crwdns2935297:06crwdne2935297:0