crwdns2915892:0crwdne2915892:0
Use this guide to help replace the joystick of the Mayflash Arcade Stick F300. The primary function of an arcade joystick is to control the movement of a character or object in a game. If the joystick isn't functioning properly, it can lead to issues like misinputs, input delays, or lack of movement detection.
The joystick is composed of several key parts, including the base, micro switches, spring, actuator, and pivot. If multiple parts are malfunctioning, it may be better to replace the entire joystick. For example, if the joystick feels loose or wobbly, the pivot shaft might be worn or broken. Similarly, unresponsive directions often point to problems with the wiring or micro switches.
crwdns2942213:0crwdne2942213:0
-
-
Flip the controller upside down so that the metal panel is facing you.
-
Remove the six 11 mm screws securing the metal panel using a Phillips #2 screwdriver.
-
Once all screws are removed, lift off the panel.
-
-
-
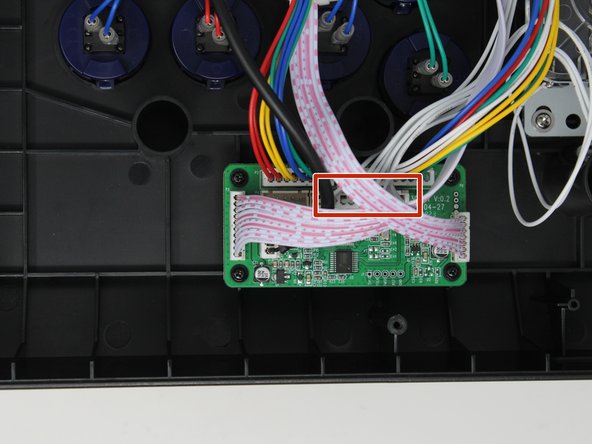
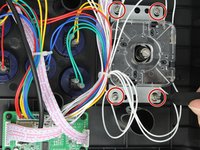
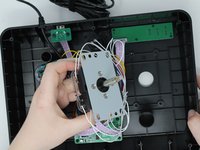
Detach the micro switch cables connected to the PCB (printed circuit board).
-
-
-
-
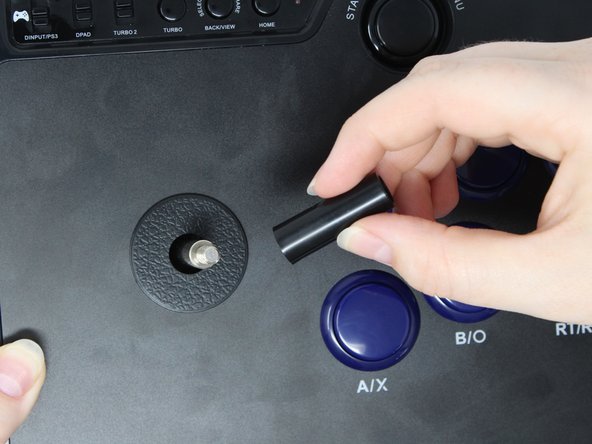
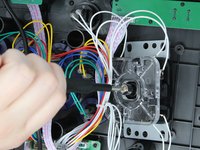
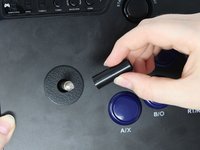
Use a flathead screwdriver to hold the bottom screw of the joystick lever in place.
-
Flip the device over.
-
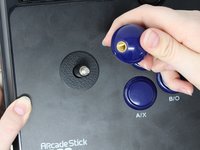
Grab the ball top of the joystick and twist while the screwdriver prevents the screw from turning.
-
Once the ball top is removed, slide off the plastic tube and plate from the joystick.
-
-
-
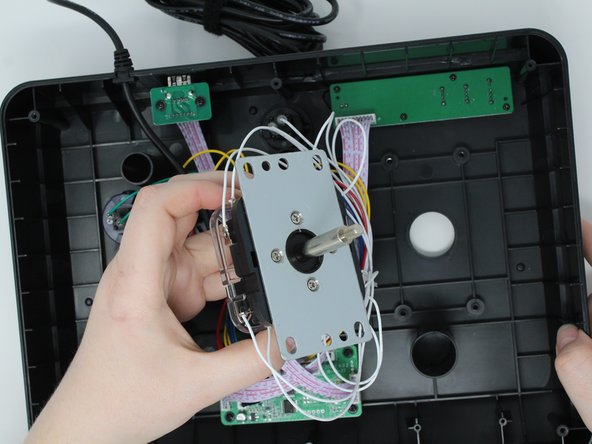
Flip the device over again, exposing the inside.
-
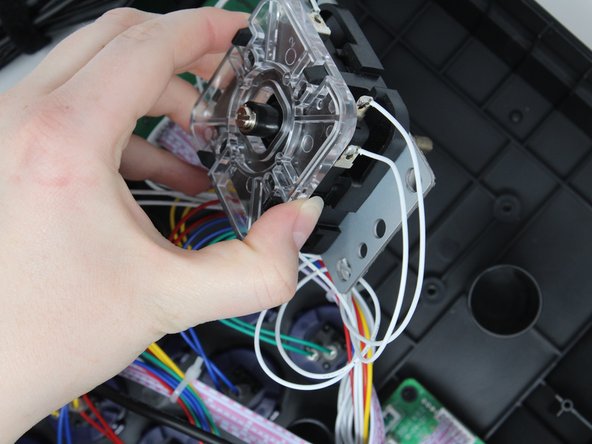
Use a Phillips #1 screwdriver to remove the four screws holding down the joystick lever.
-
Slide the joystick out of the outer plastic casing.
-


To reassemble your device, follow these instructions in reverse order.
To reassemble your device, follow these instructions in reverse order.

crwdns2915084:0crwdne2915084:0

Utah Tech University, Team 1-4, Crenshaw Fall 2024 crwdns2935289:0Utah Tech University, Team 1-4, Crenshaw Fall 2024crwdne2935289:0
UTAHTECH-CRENSHAW-F24S1G4
crwdns2931471:03crwdne2931471:0
crwdns2935297:06crwdne2935297:0