crwdns2933423:0crwdne2933423:0

Mavic 2 Arm Replacement

crwdns2942213:0crwdne2942213:0

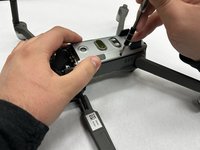
  1. Mavic 2 Arm Replacement, Front Arm (Left or Right): crwdns2935265:01crwdnd2935265:01crwdnd2935265:01crwdne2935265:0
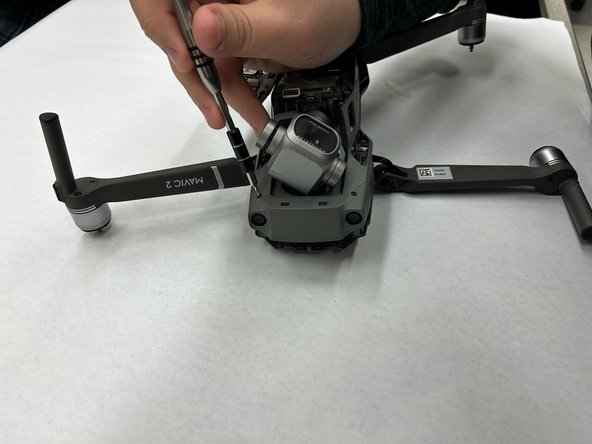
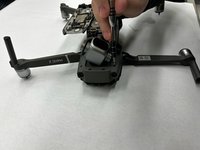
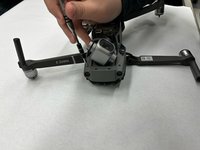
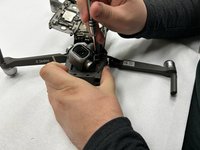
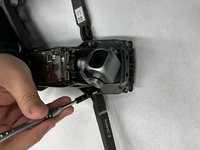
    • Remove the two M2x5 screws from the plastic cover by the camera using and H1.5 Allen bit.

  2. Mavic 2 Arm Replacement: crwdns2935265:02crwdnd2935265:01crwdnd2935265:01crwdne2935265:0
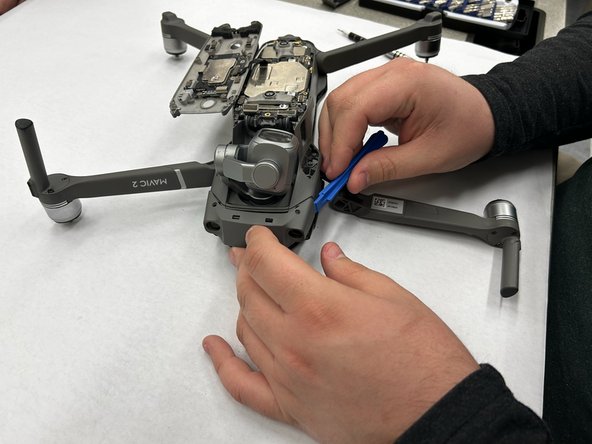
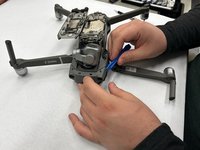
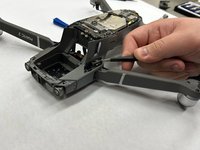
    • Gently remove the cover by the front camera by wiggling out the clips holding it in on both sides.

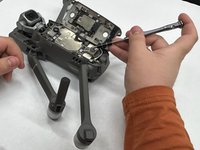
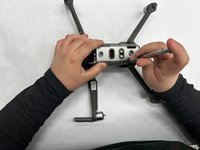
  3. Mavic 2 Arm Replacement: crwdns2935265:03crwdnd2935265:01crwdnd2935265:03crwdne2935265:0 Mavic 2 Arm Replacement: crwdns2935265:03crwdnd2935265:02crwdnd2935265:03crwdne2935265:0 Mavic 2 Arm Replacement: crwdns2935265:03crwdnd2935265:03crwdnd2935265:03crwdne2935265:0
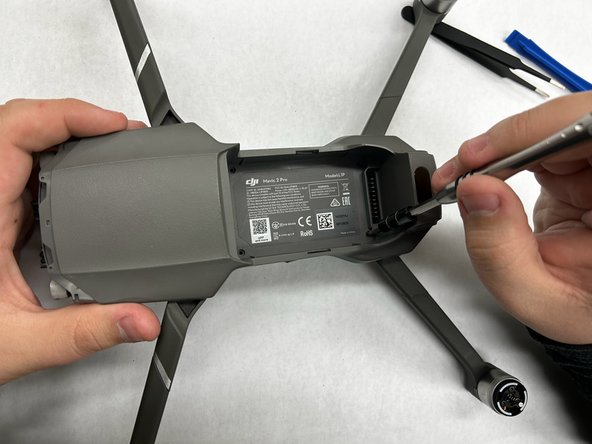
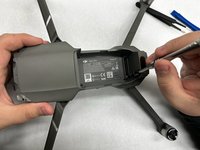
    • Remove the six M2x5 screws from the bottom plastic cover using a H1.5 Allen bit.

    • Remove the plastic cover once all screws are extracted.

  4. Mavic 2 Arm Replacement: crwdns2935265:04crwdnd2935265:01crwdnd2935265:02crwdne2935265:0 Mavic 2 Arm Replacement: crwdns2935265:04crwdnd2935265:02crwdnd2935265:02crwdne2935265:0
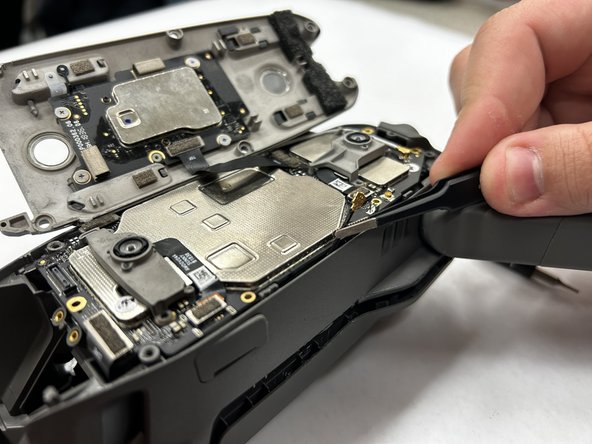
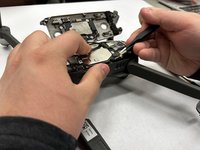
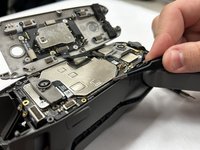
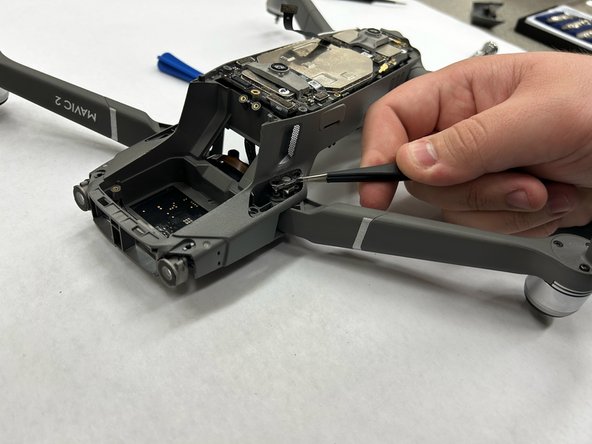
    • Using tweezers or a plastic pick, remove either the white or black wire plugging into the board.

    • Be gentle removing the wire from the plug, you can damage the plug on the board.

    • The wire being pulled depends on which arm is being replaced. The wire that is closest to the arm being replaced is the one to unplug.

  5. Mavic 2 Arm Replacement: crwdns2935265:05crwdnd2935265:01crwdnd2935265:03crwdne2935265:0 Mavic 2 Arm Replacement: crwdns2935265:05crwdnd2935265:02crwdnd2935265:03crwdne2935265:0 Mavic 2 Arm Replacement: crwdns2935265:05crwdnd2935265:03crwdnd2935265:03crwdne2935265:0
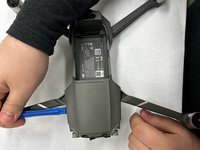
    • Unscrew the two M2x5 screws holding on the front nose.

    • Using a plastic pry tool, gently pry along the seem around the front nose to remove it.

  6. Mavic 2 Arm Replacement: crwdns2935265:06crwdnd2935265:01crwdnd2935265:02crwdne2935265:0 Mavic 2 Arm Replacement: crwdns2935265:06crwdnd2935265:02crwdnd2935265:02crwdne2935265:0
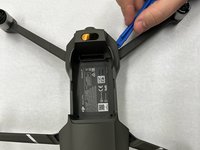
    • Remove all ten M2x5 mm screws holding the top plastic cover of the drone. Two at the back, four in the battery bay, and two at each front arm joint.

    • At each arm joint, only one screw is visible. The second screw is under the plastic piece being held on by the first screw.

  7. Mavic 2 Arm Replacement: crwdns2935265:07crwdnd2935265:01crwdnd2935265:03crwdne2935265:0 Mavic 2 Arm Replacement: crwdns2935265:07crwdnd2935265:02crwdnd2935265:03crwdne2935265:0 Mavic 2 Arm Replacement: crwdns2935265:07crwdnd2935265:03crwdnd2935265:03crwdne2935265:0
    • Using a plastic pry tool, pry along the seem around the top cover to separate it from the chassis. Be patient as it does take a bit of time and effort to get it off.

  8. Mavic 2 Arm Replacement: crwdns2935265:08crwdnd2935265:01crwdnd2935265:02crwdne2935265:0 Mavic 2 Arm Replacement: crwdns2935265:08crwdnd2935265:02crwdnd2935265:02crwdne2935265:0
    • Use a Phillips #0 screwdriver to remove the screw that secures the arm spring.

    • Then remove the spring, use either tweezers or a flat-head screwdriver to lift it up out of the arm.

  9. Mavic 2 Arm Replacement: crwdns2935265:09crwdnd2935265:01crwdnd2935265:02crwdne2935265:0 Mavic 2 Arm Replacement: crwdns2935265:09crwdnd2935265:02crwdnd2935265:02crwdne2935265:0
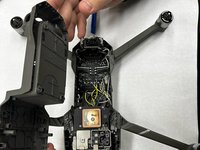
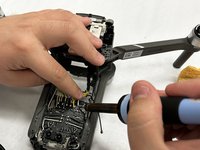
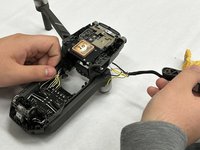
    • On the topside of the drone,desolder the wires from the main board that correspond to the arm trying to be replaced, there should be six in total.

    • Remove the arm once all wires are desoldered.

    • Make note of where each wire goes on the board as the colors may not be the same across all models.

crwdns2915888:0crwdne2915888:0

To reassemble your device, follow these instructions in reverse order.

crwdns2935227:0crwdne2935227:0

Nick Imel

crwdns2935283:011/09/23crwdne2935283:0

178 crwdns2915208:0crwdne2915208:0

crwdns2935295:0crwdne2935295:0

crwdns2915084:0crwdne2915084:0

IUPUI, Team 2-3, Harley Fall 2023 crwdns2935289:0IUPUI, Team 2-3, Harley Fall 2023crwdne2935289:0

IUPUI-HARLEY-F23S2G3

crwdns2931471:03crwdne2931471:0

crwdns2935297:03crwdne2935297:0
crwdns2944067:00crwdne2944067:0

crwdns2917038:0crwdne2917038:0

crwdns2936625:0crwdne2936625:0:

crwdns2936751:024crwdne2936751:0 1

crwdns2936753:07crwdne2936753:0 16

crwdns2936753:030crwdne2936753:0 70

crwdns2942667:0crwdne2942667:0 252