crwdns2915892:0crwdne2915892:0
This guide is intended to replace the auxiliary input assembly in the Marshall Stanmore II Bluetooth Speaker.
The AUX input allows a device to play audio through the speaker via an auxiliary cable. This is especially useful for devices that may not be compatible with the speaker's Bluetooth capabilities. Without AUX input, a user may be limited to only using devices that support Bluetooth or RCA, which cannot be found on some older devices such as desktops, laptops, or portable media players.
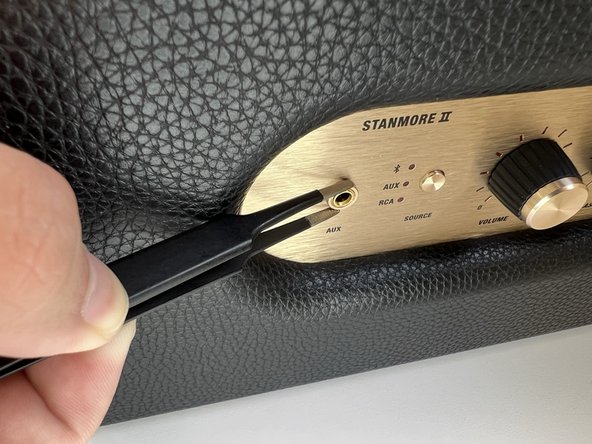
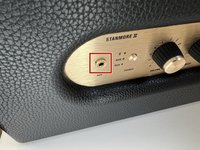
Before using this guide, verify the source selected for the speaker is set to AUX. This is indicated by a white light next to the AUX option on the upper panel of the speaker. Push the button labeled SOURCE to toggle between options until AUX is illuminated. Next, ensure that the volume of both the speaker and device are set to a comfortable level. Sometimes when the device volume is too low, the speaker may not detect any audio input. If these methods don't fix the issue, follow the troubleshooting steps on the Marshall Stanmore II Bluetooth Speaker Troubleshooting page for more solutions before disassembling.
crwdns2942213:0crwdne2942213:0
-
-
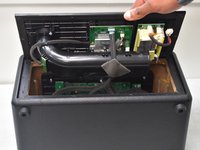
Lay the speaker with the back panel facing up on a flat, stable work surface.
-
-
-
Use a Phillips #2 screwdriver to remove the ten 20.5 mm screws that secure the rear panel to the chassis.
-
-
-
Carefully lift the rear panel and let it rest on an object, like a stack of books, to avoid straining the cables.
-
-
-
-
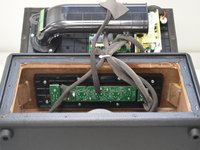
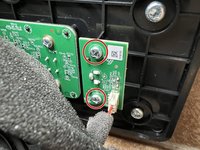
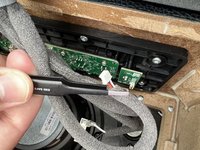
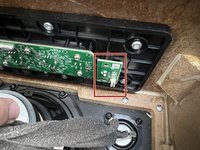
Locate the AUX board on the right-hand side, above the subwoofer.
-
-
-
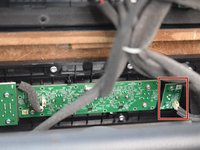
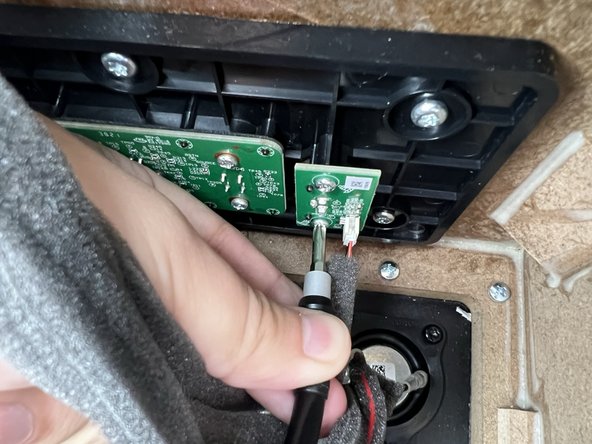
Use a Phillips screwdriver to remove the two 9.6 mm screws that secure the AUX board to the speaker frame.
-
-
-
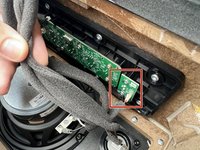
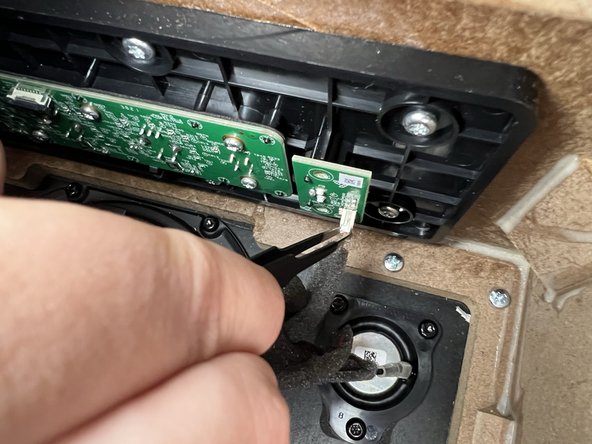
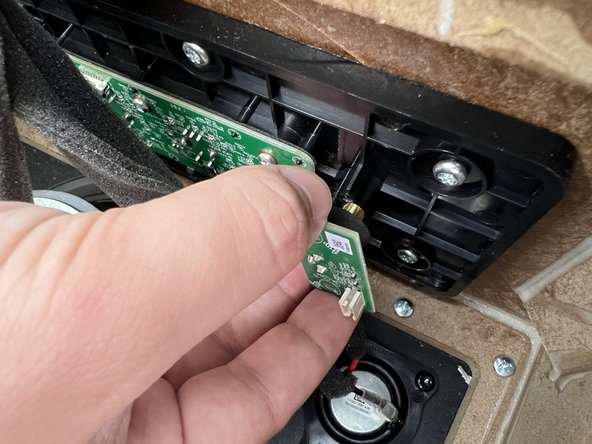
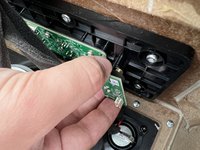
Disconnect the red and white cable connected to the AUX board by hand or with tweezers.
-
-
-
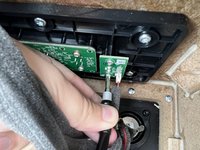
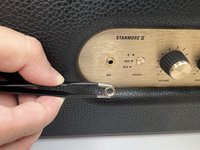
Turn the speaker around with the knobs facing you and unscrew the threaded washer that secures the AUX module to the outer plate.
-
-
-
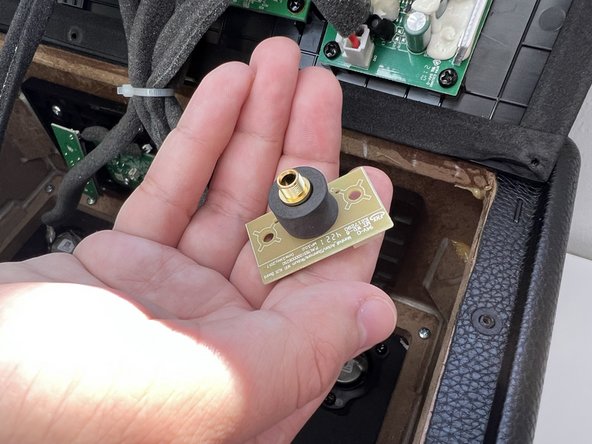
Remove the AUX board from inside the speaker.
-


To reassemble your device, follow these instructions in reverse order.
To reassemble your device, follow these instructions in reverse order.

crwdns2915084:0crwdne2915084:0

University of North Texas, Team 2-1, Kilpatrick Spring 2024 crwdns2935289:0University of North Texas, Team 2-1, Kilpatrick Spring 2024crwdne2935289:0
UNT-KILPATRICK-S24S2G1
crwdns2931471:05crwdne2931471:0
crwdns2935297:06crwdne2935297:0