crwdns2942213:0crwdne2942213:0
-
-
The additional sensor with the joint and the heat shrink tubing is available as a replacement kit on www.marco.it .
-
Kits are only available as a registered user, and can be seen for each pump in their dedicated tab on the page.
-
-
-
Free the cables by cutting the plastic tie.
-
-
-
Use the pliers to cut the red and black cables before and after the joint.
-
-
-
Use the 17mm wrench to unscrew the sensor.
-
-
-
Screw the new sensor by hand for the initial part.
-
-
-
Use the wrench to tighten it in place.
-
-
-
-
Use the joint as a reference on how much you need to remove.
-
-
-
Use the cutting plier or (if you have it) the stripping plier to remove the sheath.
-
-
-
Insert the heat shink tubing on both motor's cables.
-
-
-
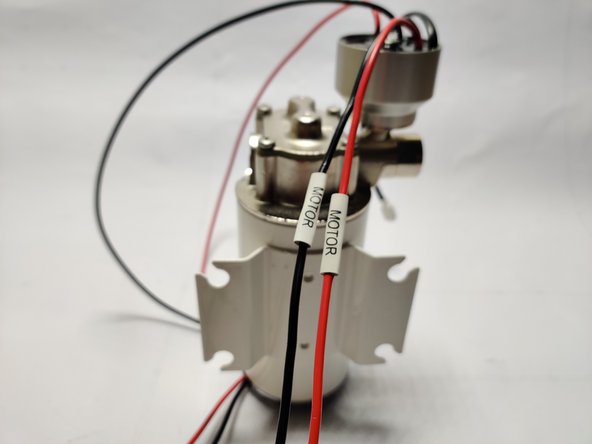
Start on the motor side, and press the metal joint on the cable.
-
Proceed with by inserting the other end, the short cable coming from the sensor.
-
Repeat the process also for the other cable.
-
-
-
Insert the heat shrink tubing.
-
-
-
Heat the tubes until they shink on the joint evenly.
-
-
-
Loop the wires as shown in the pictures.
-
-
-
Fix the cables using the plastic strap.
-
Cut the excess of the plastic strap using the cutting pliers.
-
-
-
You can now enjoy your updated sensor!
-


crwdns2935221:0crwdne2935221:0
crwdns2935229:02crwdne2935229:0

crwdns2947410:01crwdne2947410:0
Hello. Does this pumps works the same in horizontal or verItical position?
I have an horizontal installation and we always have air leaks to circuit problems.
Kind regards