crwdns2915892:0crwdne2915892:0
Use this guide to replace a misaligned or bent cutting wheel on a can opener. This procedure applies to all top-cut can openers. Top-cut can openers are a common type that attach to the top of a can, pierce the lid, and cut along the rim as you rotate them. They can leave a sharp edge where the lid was removed, so use caution when handling the can afterward
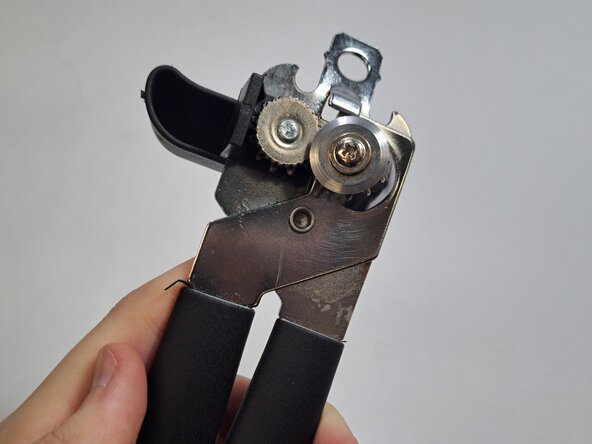
The cutting wheel is the part of the can opener that pierces the top of the can and cuts the edge to open it. If this piece gets misaligned for any reason, the entire can opener will stop working. This can happen if your can opener starts to rust under the blade, or if the metal of a can bends the blade out of place.
While the cutting blade is not sharp, it still has a thin edge. Use caution when handling it to avoid injury.
crwdns2942213:0crwdne2942213:0
-
-
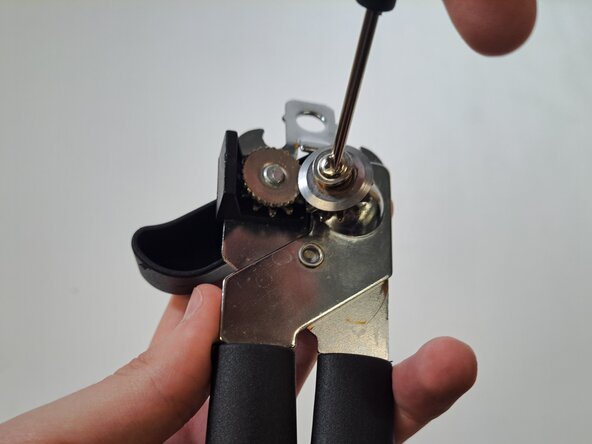
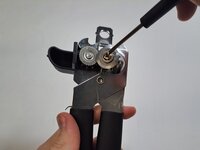
Remove the 6 mm Phillips screw that secures the cutting wheel.
-
-
-
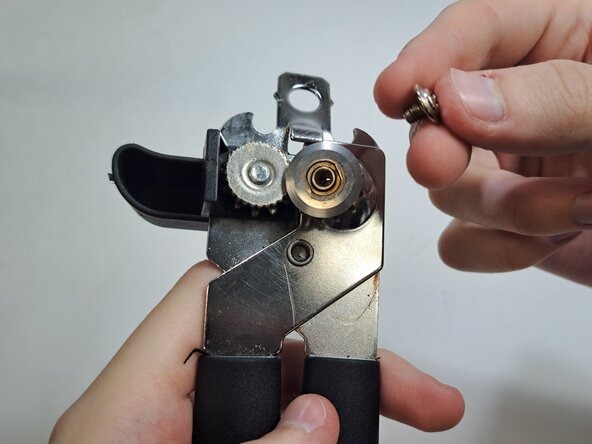
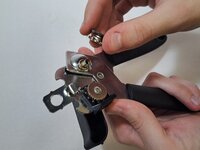
Detach the cutting wheel and gear. Place them aside.
-
-
-
-
Liberally spray the WD-40 onto the rusty areas of the shaft.
-
-
-
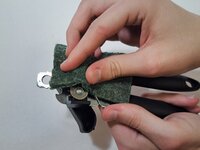
Scrub the WD-40 and any rust off the can opener using a scouring pad.
-
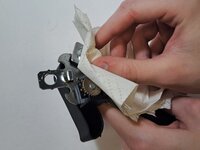
Wipe away any excess WD-40 with a paper towel.
-
-
-
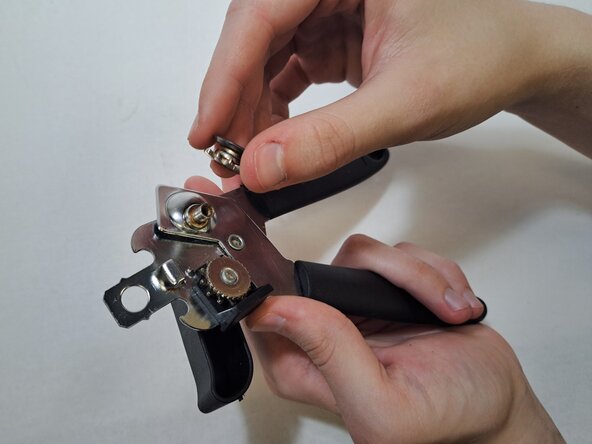
Reassemble the can opener by reversing steps 1 and 2 with a new wheel:
-
Place the gear and new cutting wheel onto the shaft.
-
Reinsert the 6 mm Phillips screw and fasten it in place.
-


Once reassembly is complete, your can opener will be as good as new!
Once reassembly is complete, your can opener will be as good as new!

crwdns2915084:0crwdne2915084:0

UC Davis, Team 3-2, Whithaus Spring 2025 crwdns2935289:0UC Davis, Team 3-2, Whithaus Spring 2025crwdne2935289:0
UCD-WHITHAUS-S25S3G2
crwdns2931471:03crwdne2931471:0
crwdns2935303:01crwdne2935303:0
crwdns2947410:01crwdne2947410:0
Onde acho uma nova roda ou novo disco para comprar?