crwdns2915892:0crwdne2915892:0
This guide will show you the necessary steps to locate and replace the LED light. It shows how to remove the battery and the outer casing in order to locate the LED light on the drill.
crwdns2942213:0crwdne2942213:0
-
-
Hold the drill upright.
-
Place your finger on the white battery-release button.
-
-
-
Press and hold the white release button located on the front of the battery.
-
-
-
Slide the battery forward while pressing down on the white battery-release button.
-
-
-
Hold the drill upright with the back panel facing you.
-
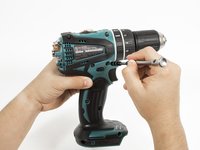
Unscrew the two 18 mm screws from the back panel using a Phillips PH2 screwdriver.
-
-
-
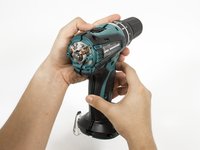
Apply slight pressure to the sides of the backplate and pull away from the drill.
-
-
-
-
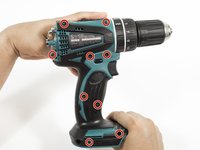
Unscrew the nine 18 mm screws from the outer casing using a Phillips PH2 screwdriver.
-
-
-
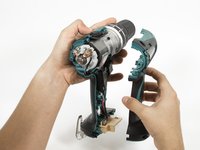
Apply slight pressure to the sides of the outer casing and pull away from the drill.
-
-
-
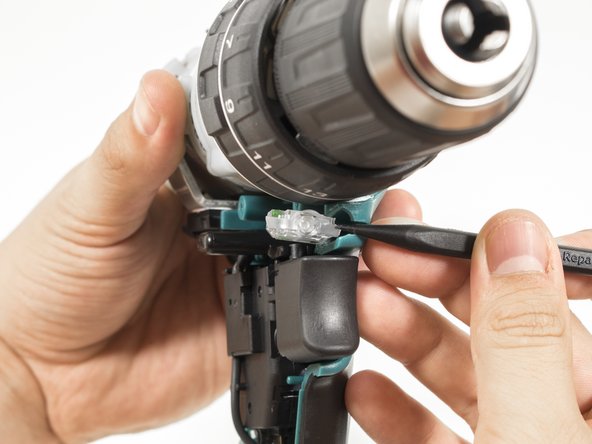
Use the pointed end of a plastic spudger to push the LED out of the drill.
-
-
-
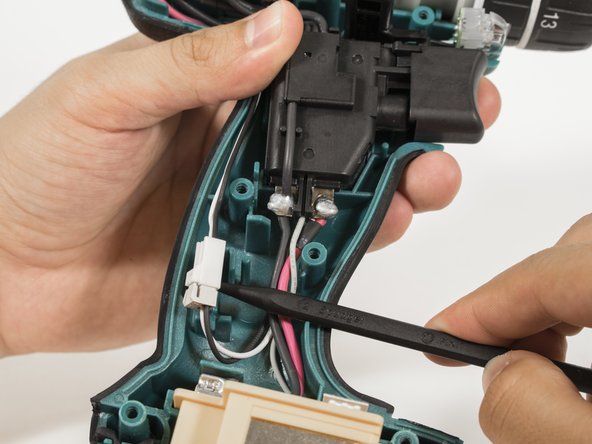
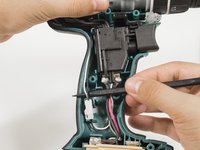
Use the pointed edge of a spudger to pull out the black and white wires located on the left hand side of the drill.
-
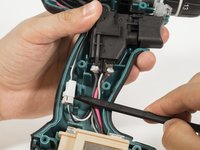
Use the pointed edge of a spudger to pull out the plastic connector.
-
-
-
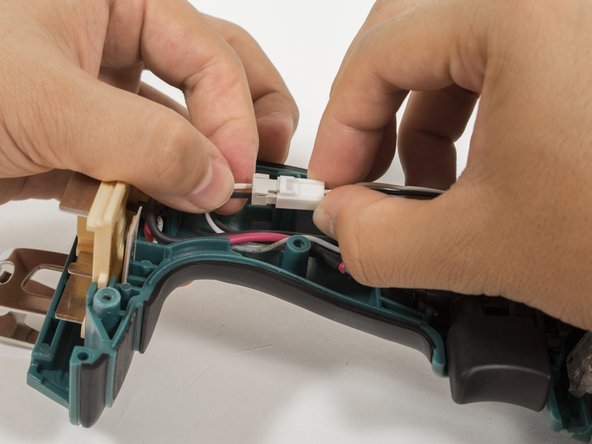
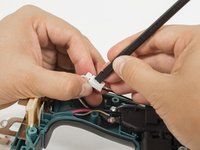
Use the flat end of the spudger to push in the clip on the plastic connector.
-
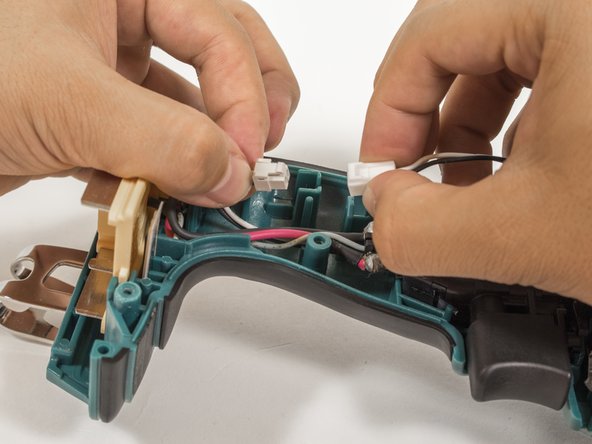
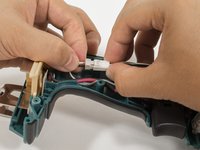
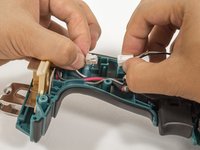
Pull both sides of the plastic connector apart.
-
-
-
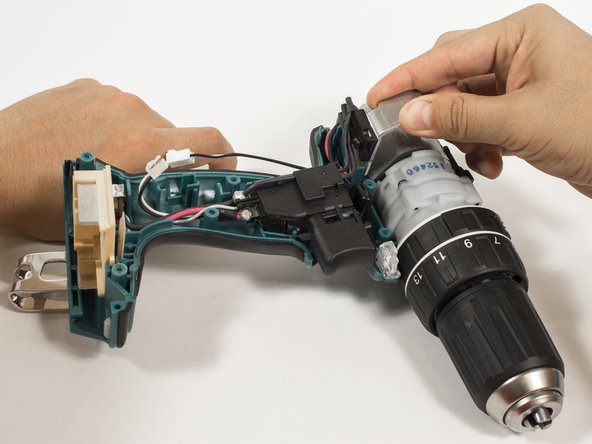
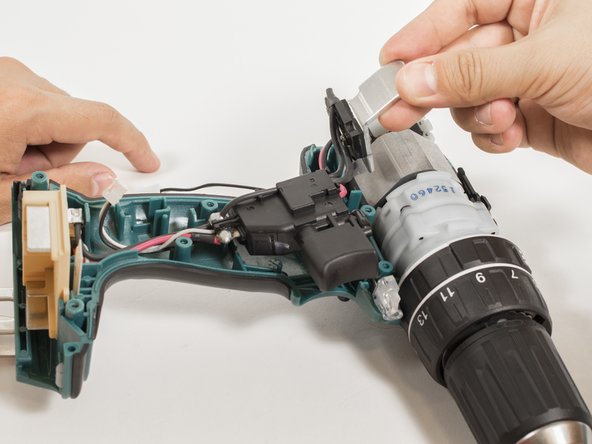
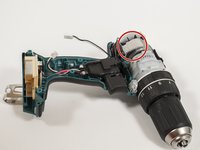
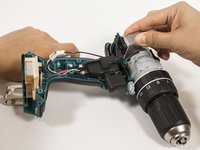
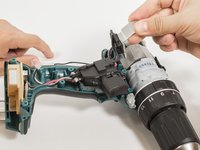
Pull the silver metal clip on the motor away from the drill.
-
-
-
Pull the black trigger assembly away from the drill.
-
-
crwdns2935267:0crwdne2935267:0Tweezers$4.99
-
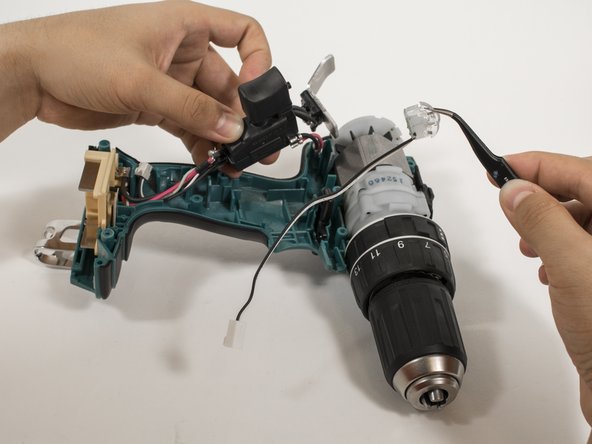
Use tweezers to pull out the LED light assembly.
-
To reassemble your device, follow these instructions in reverse order.
To reassemble your device, follow these instructions in reverse order.
crwdns2935221:0crwdne2935221:0
crwdns2935229:02crwdne2935229:0
crwdns2947410:01crwdne2947410:0
Should I do these steps if my drill is under a warranty?


