crwdns2915892:0crwdne2915892:0
This guide outlines the replacement of the internal electrical switch.
crwdns2942213:0crwdne2942213:0
-
-
Unscrew the 20 mm tapping screw using a Philips #02 screwdriver.
-
-
-
Slide the back cover down the power cable.
-
-
-
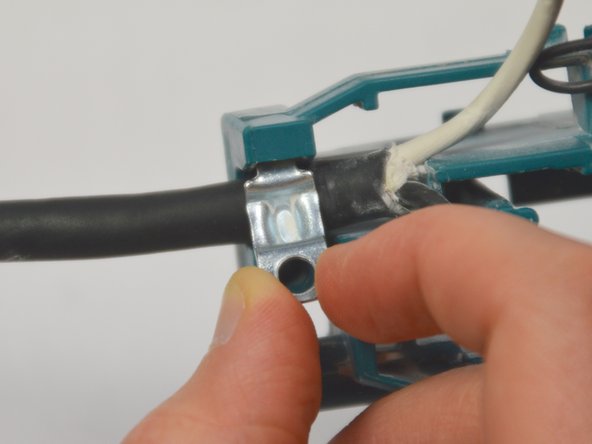
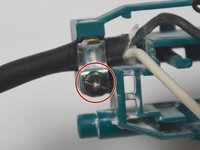
Unscrew the 20 mm tapping screw using a Phillips #02 screwdriver.
-
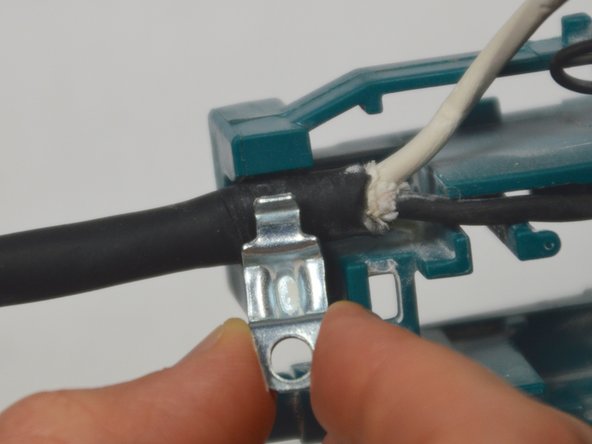
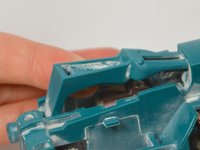
Lift the clasp up and out to remove.
-
-
-
-
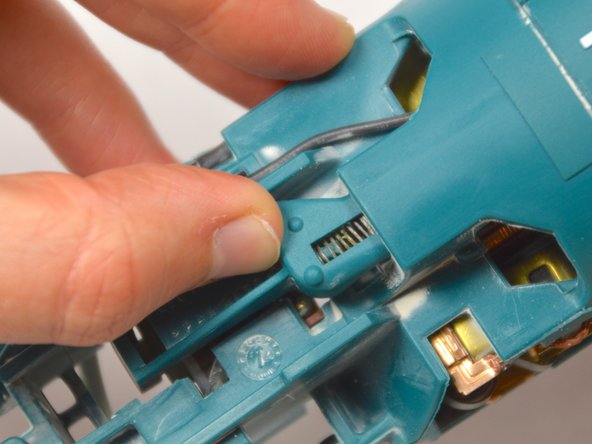
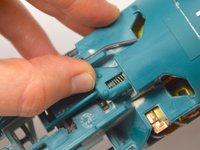
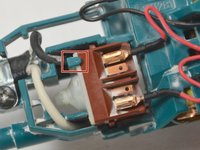
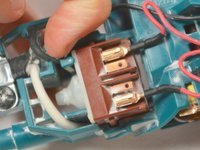
Place your finger in the gap in front of the switch. Now, at the base of the device, push the switch lever into the 'on' position.
-
-
-
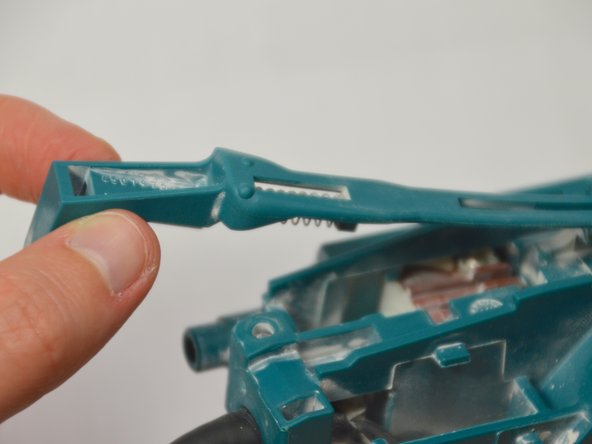
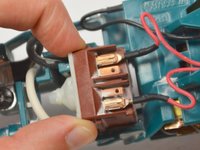
Keeping the switch lever in the 'on' position, remove the switch.
-
-
-
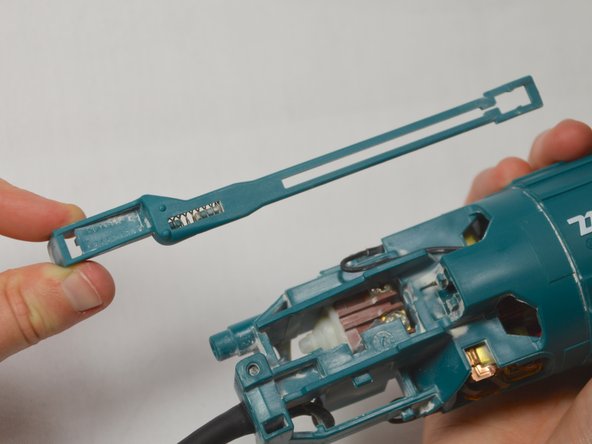
Pull the switch lever up and out of the body of the angle grinder.
-
-
-
Pull back the plastic clip and pull the internal switch up and out of the cavity.
-
-
-
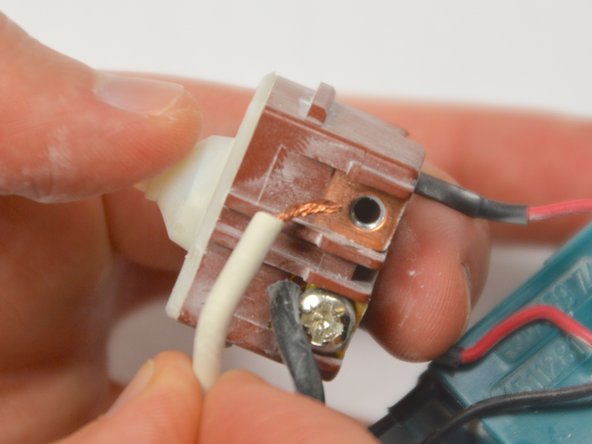
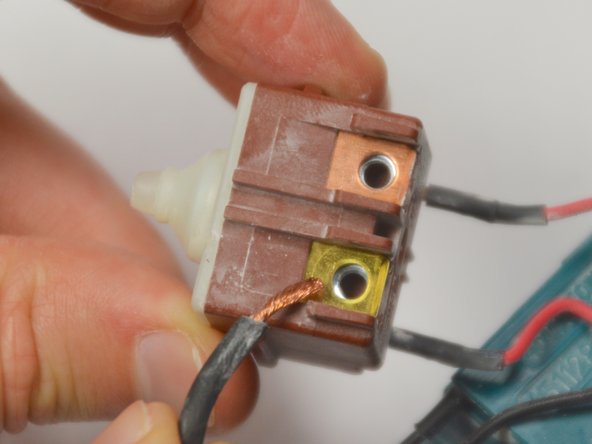
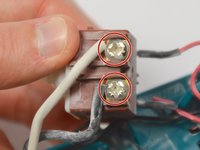
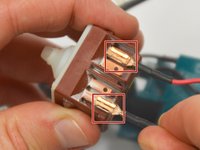
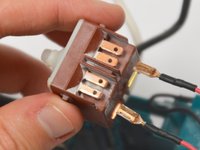
Remove the two 10 mm screws holding the power cord leads in place using a Phillips #02 screwdriver.
-
-
-
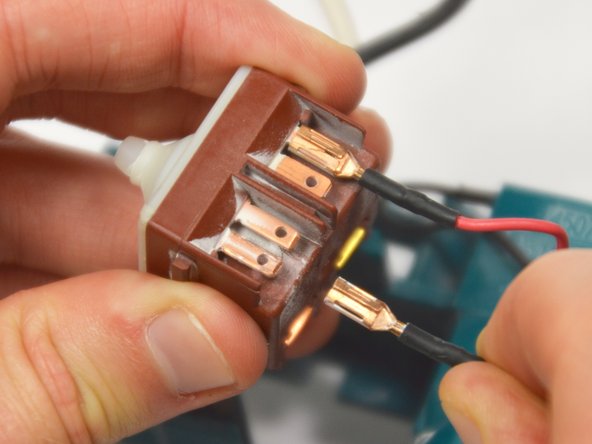
Pull the two leads leading to the motor off of the switch.
-


To reassemble your device, follow these instructions in reverse order.
crwdns2935221:0crwdne2935221:0
crwdns2935229:02crwdne2935229:0
crwdns2935287:0crwdne2935287:0

Cal Poly, Team 12-5, Lancaster Spring 2015 crwdns2935289:0Cal Poly, Team 12-5, Lancaster Spring 2015crwdne2935289:0
CPSU-LANCASTER-S15S12G5
crwdns2931471:04crwdne2931471:0
crwdns2935297:013crwdne2935297:0