crwdns2915892:0crwdne2915892:0
The electrical cord is responsible for the transfer of energy from the socket to the angle grinder. If the cord is damaged or isn't functioning properly the angle grinder will not work or will even become hazardous.
crwdns2942213:0crwdne2942213:0
-
-
Unscrew the 20 mm tapping screw using a Philips #02 screwdriver.
-
-
-
Slide the back cover down the power cable.
-
-
-
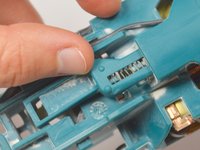
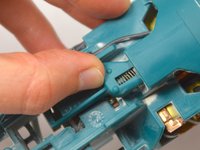
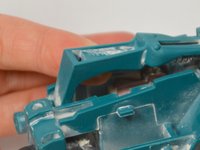
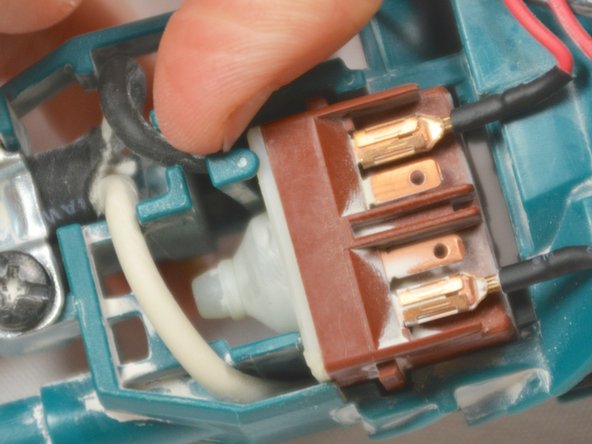
Place your finger in the gap in front of the switch.
-
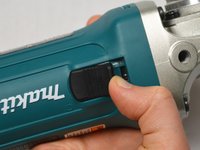
At the base of the device, push the switch lever into the 'on' position.
-
-
-
-
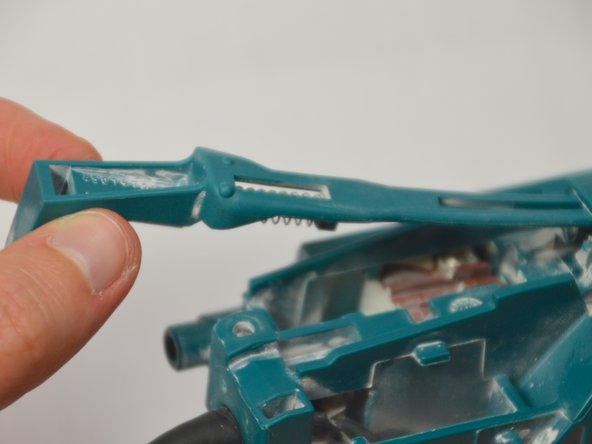
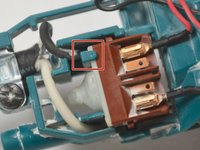
Keeping the switch lever in the 'on' position, remove the switch.
-
-
-
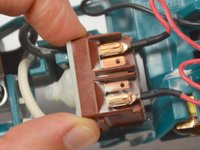
Pull the switch lever up and out of the body of the angle grinder.
-
-
-
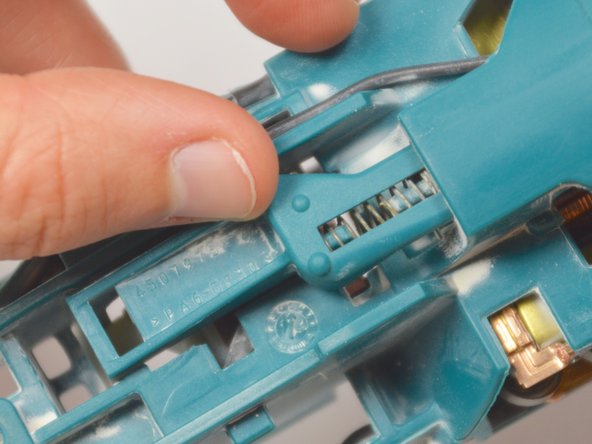
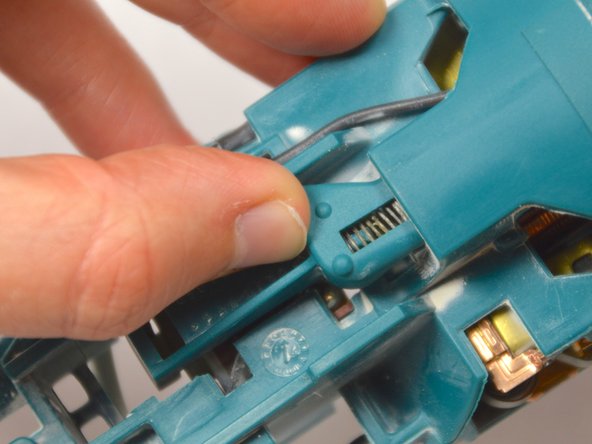
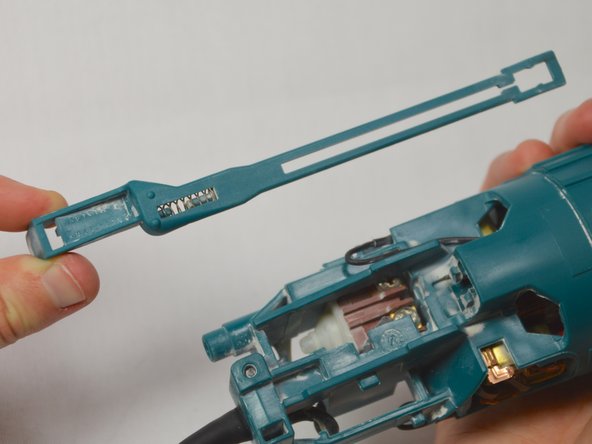
Pull back the plastic clip and pull the internal switch up and out of the cavity.
-
-
-
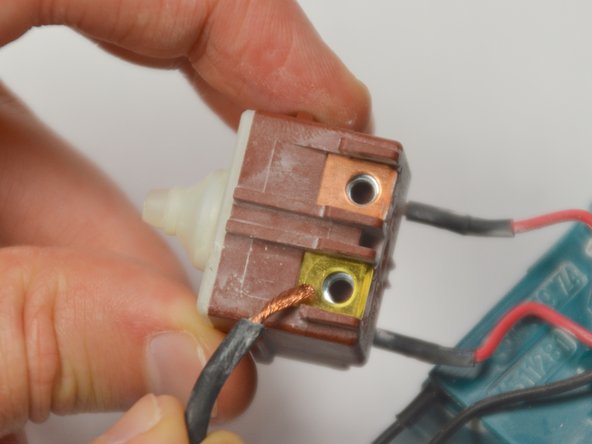
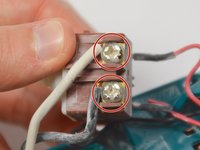
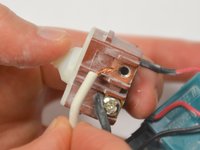
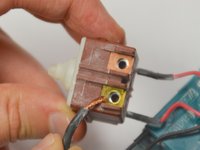
Remove the two 10 mm screws holding the power cord leads in place using a Phillips #02 screwdriver.
-
-
-
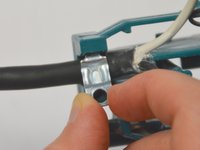
Unscrew the 2 mm tapping screw using a Phillips #02 screwdriver.
-
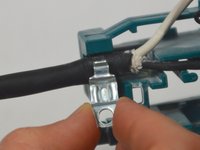
Lift the clasp up and out to remove it.
-


To reassemble your device, follow these instructions in reverse order.
crwdns2935221:0crwdne2935221:0
crwdns2935227:0crwdne2935227:0

crwdns2935287:0crwdne2935287:0

Cal Poly, Team 12-5, Lancaster Spring 2015 crwdns2935289:0Cal Poly, Team 12-5, Lancaster Spring 2015crwdne2935289:0
CPSU-LANCASTER-S15S12G5
crwdns2931471:04crwdne2931471:0
crwdns2935297:013crwdne2935297:0