
Main Click Buttons

crwdns2959932:0crwdnd2959932:0Jerico Moralescrwdnd2959932:0crwdnd2959932:0crwdnd2959932:03crwdnd2959932:0crwdne2959932:0
crwdns2959936:0Ndz 29, 2026crwdne2959936:0
crwdns2869540:0crwdne2869540:0: 2.6만
crwdns2959988:0crwdne2959988:0
- crwdns2959990:0crwdne2959990:0
- 7
- crwdns2959992:0crwdne2959992:0
- 52
- crwdns2959994:0crwdne2959994:0
- 220
- crwdns2959996:0crwdne2959996:0
- 26,183
crwdns2955950:0crwdne2955950:0: 8
crwdns2960004:02crwdne2960004:0, crwdns2960008:06crwdne2960008:0
crwdns2960000:0crwdne2960000:0crwdns2959984:0crwdne2959984:0: 18 19
crwdns2959974:018crwdne2959974:0
crwdns2959970:019crwdne2959970:0
crwdns2959986:0crwdne2959986:0: 3 4
crwdns2959982:03crwdne2959982:0
crwdns2959978:04crwdne2959978:0
crwdns2915892:0crwdne2915892:0
crwdns2959928:0crwdne2959928:0 ↓Use this guide to remove and replace the click buttons
crwdns2959930:0crwdne2959930:0
crwdns2943215:0crwdne2943215:0
-
-
-
Solder sucker bulbcrwdns2942747:0crwdne2942747:0
-
-


-
-
-
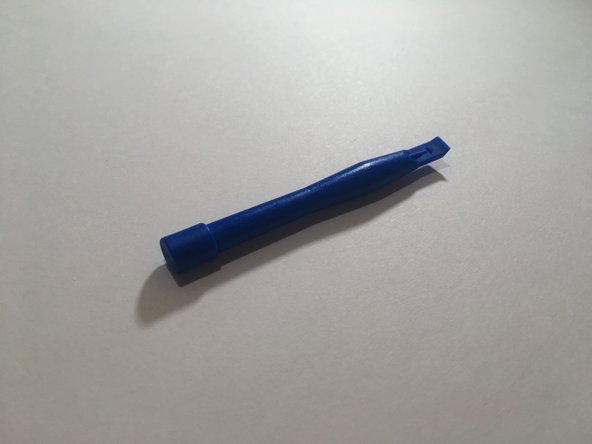
Use a blue spudger to pry all 4 mouse feet off the bottom of the mouse.
 crwdns2952109:0crwdne2952109:0
-
-
-
Use a #00 screwdriver (3x5mm) to unscrew all 6 screws from under the mouse feet.
-
-
-
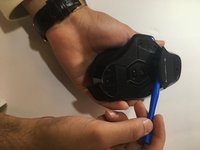
Use a blue spudger to open the bottom battery port.
-
-
-
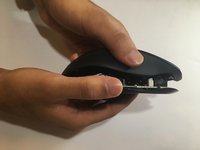
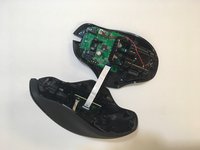
Lift the top of the mouse from the base of the mouse (separate mouse in half) to expose the internal hardware.
-
-
-
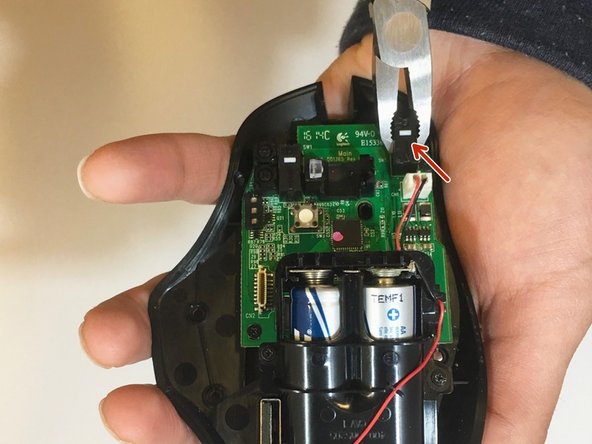
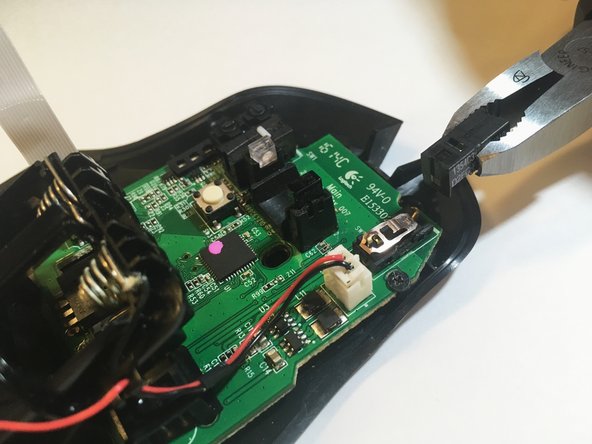
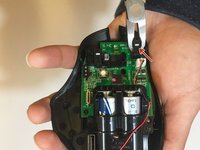
Use pliers to grip and remove the black covers over the button — the black cover and the button, a small white plastic piece, should come off).
-
-
-
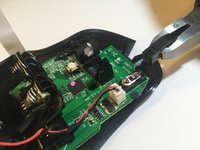
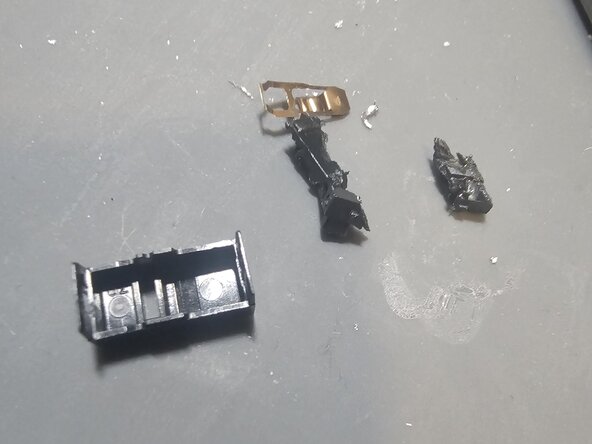
use side cutters to carefully diassasemble remaining plastic part of switch careful not to damage motherboard
-
-
-
heat metal parts of switch with soldering iron until solder fully melting adding solder as needed to melt then pull through the top of the motherboard where the switch was with pliers.
-
-
-
-
putting soldering iron on one side of the motherboard use a solder sucker on the opposite side to pull solder out of the holes
-
-
-
place new switch into the set of 3 holes careful to retain original orientation.
-
-
-
add solder to the new switch. (sorry for a lack of good photos, I didnt realize how easy it was to edit Ifixit guides and found the original lacking.)
-
-







To reassemble your device, follow these instructions in reverse order.
crwdns2935221:0crwdne2935221:0
crwdns2935229:018crwdne2935229:0

crwdns2935287:0crwdne2935287:0

Eastern Washington University, Team S1-G1, Ramos Winter 2018 crwdns2935289:0Eastern Washington University, Team S1-G1, Ramos Winter 2018crwdne2935289:0
EWU-RAMOS-W18S1G1
crwdns2931471:04crwdne2931471:0
crwdns2935297:060crwdne2935297:0
crwdns2947412:06crwdne2947412:0
how are you supposed to put the feet back?
Owen Yuen - crwdns2934203:0crwdne2934203:0 crwdns2950251:0crwdne2950251:0
you have to buy new ones… i’m more concerned of using pliers to take the switch apart, when ideally you should desolder it and replace it with a proper omron switch (not made in china)
Erick Alonso Duque - crwdns2934203:0crwdne2934203:0 crwdns2950251:0crwdne2950251:0
He is only removing the cover, not the whole button. But doing it with pliers is skipping that it has two clips, one at each end and you could damage the board just twisting and pulling
Russell Reeling - crwdns2934203:0crwdne2934203:0 crwdns2950251:0crwdne2950251:0
Are the side buttons the same?
S I - crwdns2934203:0crwdne2934203:0 crwdns2950251:0crwdne2950251:0
What do you do after step 5? And that copper spring looks wrong. It shouldn’t look like that. The correct positioning is this: https://community.pcgamingwiki.com/galle...
Nonalbert Noneinstein - crwdns2934203:0crwdne2934203:0 crwdns2950251:0crwdne2950251:0
