crwdns2933423:0crwdne2933423:0

Magellan RoadMate 5250T-LM Battery Replacement

crwdns2942213:0crwdne2942213:0

  1. Magellan RoadMate 5250T-LM Battery Replacement, Battery: crwdns2935265:01crwdnd2935265:01crwdnd2935265:02crwdne2935265:0 Magellan RoadMate 5250T-LM Battery Replacement, Battery: crwdns2935265:01crwdnd2935265:02crwdnd2935265:02crwdne2935265:0
    • Remove all four 5 mm screws from the back of the device using a Phillips Head screwdriver size 000.

  2. Magellan RoadMate 5250T-LM Battery Replacement: crwdns2935265:02crwdnd2935265:01crwdnd2935265:02crwdne2935265:0 Magellan RoadMate 5250T-LM Battery Replacement: crwdns2935265:02crwdnd2935265:02crwdnd2935265:02crwdne2935265:0
    • Open the casing of the device using a plastic opening tool.

  3. Magellan RoadMate 5250T-LM Battery Replacement: crwdns2935265:03crwdnd2935265:01crwdnd2935265:02crwdne2935265:0 Magellan RoadMate 5250T-LM Battery Replacement: crwdns2935265:03crwdnd2935265:02crwdnd2935265:02crwdne2935265:0
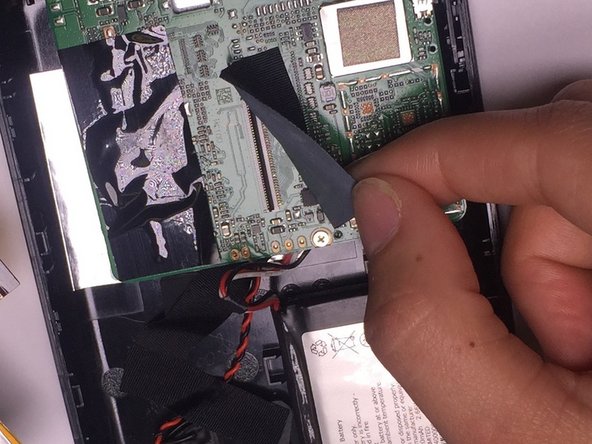
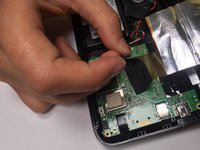
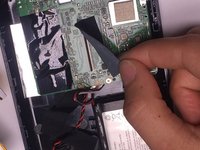
    • Remove the tape covering the display connector on top of the motherboard.

    • Use a nylon spudger to flip up the black tab on the ZIF connector.

    • Pull the ribbon cable out with tweezers.

    • The ribbon cable may fall out once the tape is removed.

  4. Magellan RoadMate 5250T-LM Battery Replacement: crwdns2935265:04crwdnd2935265:01crwdnd2935265:02crwdne2935265:0 Magellan RoadMate 5250T-LM Battery Replacement: crwdns2935265:04crwdnd2935265:02crwdnd2935265:02crwdne2935265:0
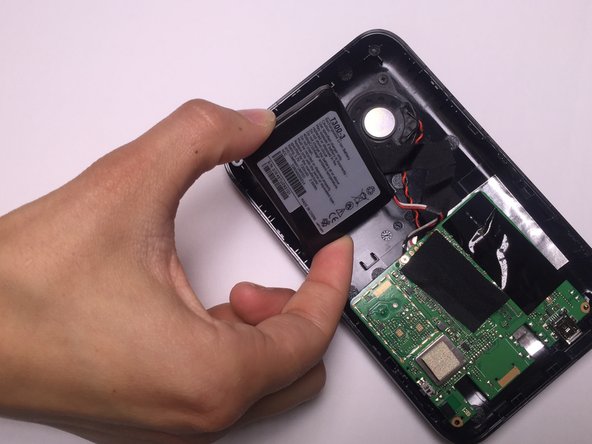
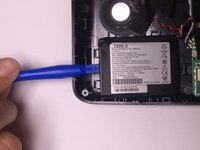
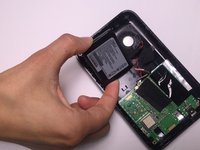
    • Pry off the original battery using a spudger to break the adhesive that connects the battery to the back casing.

  5. Magellan RoadMate 5250T-LM Battery Replacement: crwdns2935265:05crwdnd2935265:01crwdnd2935265:02crwdne2935265:0 Magellan RoadMate 5250T-LM Battery Replacement: crwdns2935265:05crwdnd2935265:02crwdnd2935265:02crwdne2935265:0
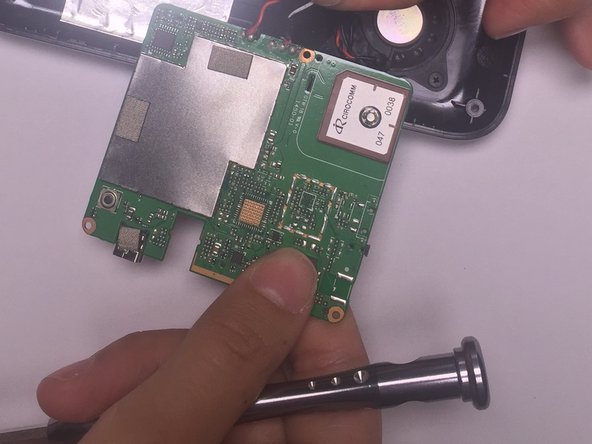
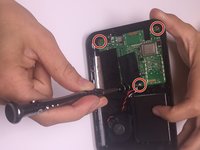
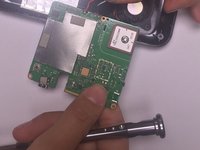
    • Remove the motherboard from the device by unscrewing all three 4 mm screws that are connecting it to the casing with a Phillips Head screwdriver size 000.

  6. Magellan RoadMate 5250T-LM Battery Replacement: crwdns2935265:06crwdnd2935265:01crwdnd2935265:01crwdne2935265:0
    • Disconnect the original battery from the motherboard by desoldering all three wires that attach it to the motherboard.

    • Click here to refer to iFixit's soldering technique guide for this step.

crwdns2915888:0crwdne2915888:0

To reassemble your device, follow these instructions in reverse order.

crwdns2935229:03crwdne2935229:0

Amanda

crwdns2935283:001/27/16crwdne2935283:0

179 crwdns2915208:0crwdne2915208:0

crwdns2935295:0crwdne2935295:0

crwdns2915084:0crwdne2915084:0

University of Alabama, Team 1-7, Sydow campbell Spring 2016 crwdns2935289:0University of Alabama, Team 1-7, Sydow campbell Spring 2016crwdne2935289:0

UA-SYDOW CAMPBELL-S16S1G7

crwdns2931471:04crwdne2931471:0

crwdns2935297:03crwdne2935297:0

crwdns2944067:00crwdne2944067:0

crwdns2917038:0crwdne2917038:0

crwdns2936625:0crwdne2936625:0:

crwdns2936751:024crwdne2936751:0 1

crwdns2936753:07crwdne2936753:0 5

crwdns2936753:030crwdne2936753:0 9

crwdns2942667:0crwdne2942667:0 980