crwdns2915892:0crwdne2915892:0
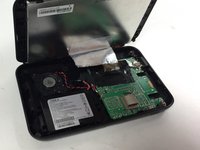
Replacing the screen of the Magellan Roadmate 5236T-LM can be helpful for solving problems such as a cracked screen or a screen that isn't sitting properly in the plastic casing. Be sure to use care when disconnecting cables from the motherboard and when applying pressure around the edge of the screen. You don't want to cause any additional damage!
crwdns2942213:0crwdne2942213:0
-
-
Place the device face down on a flat surface.
-
Remove the four 5mm screws at each corner using a #000 Phillips head screwdriver.
-
-
-
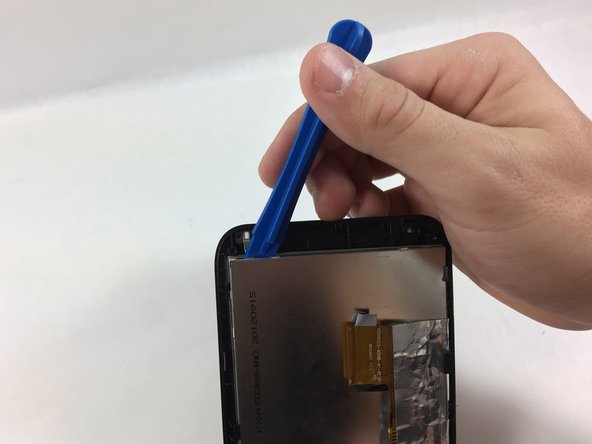
Gently wedge a plastic opening tool into the seam along the side of the device.
-
Slide the tool along the seam to pry apart the front and back covers.
-
-
-
crwdns2935267:0crwdne2935267:0Tweezers$4.99
-
A ribbon cable attaches the display screen and the motherboard via a ZIF connector. Remove the tape covering where the ZIF connector connects to the mother board.
-
Use tweezers to disconnect the ZIF connector from the motherboard.
-
-
-
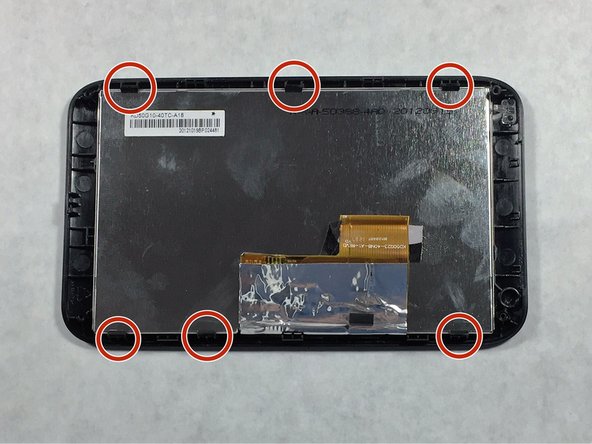
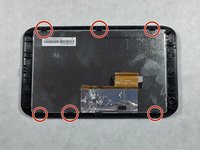
Place the front panel on a flat surface, screen side down.
-
Using a plastic opening tool, apply light lifting pressure to each of the 6 casing clips to release the screen from the plastic casing.
-


To reassemble your device, follow these instructions in reverse order.
crwdns2935221:0crwdne2935221:0
crwdns2935229:02crwdne2935229:0
crwdns2935287:0crwdne2935287:0

UMass Dartmouth, Team 4-7, Catania Fall 2016 crwdns2935289:0UMass Dartmouth, Team 4-7, Catania Fall 2016crwdne2935289:0
UMASSD-CATANIA-F16S4G7
crwdns2931471:03crwdne2931471:0
crwdns2935297:05crwdne2935297:0
crwdns2947410:01crwdne2947410:0
This would have been even a GREATER POST if, would have included the part number for the replacement screen,
But,
Just good information as to how to remove the damaged screen.
1975PINTOBOBSTER