crwdns2933423:0crwdne2933423:0

Macintosh PowerBook 165c Daughterboard Replacement

crwdns2942213:0crwdne2942213:0

  1. Macintosh PowerBook 165c Daughterboard Replacement, Battery: crwdns2935265:01crwdnd2935265:01crwdnd2935265:01crwdne2935265:0
    • Orient the computer so the battery is facing you.

    • Slide the gray plastic battery cover to the right.

  2. Macintosh PowerBook 165c Daughterboard Replacement: crwdns2935265:02crwdnd2935265:01crwdnd2935265:01crwdne2935265:0
    • Pull the battery toward yourself until it is fully detached.

  3. Macintosh PowerBook 165c Daughterboard Replacement, Input/Output Door: crwdns2935265:03crwdnd2935265:01crwdnd2935265:01crwdne2935265:0
    • Orient the computer right side up with the rear facing you.

    • Open the Input/Output (I/O) door.

  4. Macintosh PowerBook 165c Daughterboard Replacement: crwdns2935265:04crwdnd2935265:01crwdnd2935265:01crwdne2935265:0
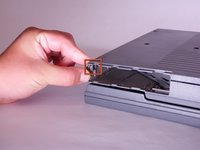
    • Carefully bend the door into an arch until one of the pins releases from its slot.

    • Once one of the pins is free, remove the I/O door from the computer.

  5. Macintosh PowerBook 165c Daughterboard Replacement, Lower Case: crwdns2935265:05crwdnd2935265:01crwdnd2935265:01crwdne2935265:0
    • Orient the computer with the bottom facing up and rear facing you. You should be able to read the Macintosh label in this position.

  6. Macintosh PowerBook 165c Daughterboard Replacement: crwdns2935265:06crwdnd2935265:01crwdnd2935265:01crwdne2935265:0
    • Use a T8 torx screwdriver to remove the 6.8mm long screw above and to the right of the modem jack.

    • Twist counter clockwise to remove the screw.

  7. Macintosh PowerBook 165c Daughterboard Replacement: crwdns2935265:07crwdnd2935265:01crwdnd2935265:01crwdne2935265:0
    • Use a T10 torx screwdriver to remove the four, 18mm long screws from the lower case.

  8. Macintosh PowerBook 165c Daughterboard Replacement: crwdns2935265:08crwdnd2935265:01crwdnd2935265:02crwdne2935265:0 Macintosh PowerBook 165c Daughterboard Replacement: crwdns2935265:08crwdnd2935265:02crwdnd2935265:02crwdne2935265:0
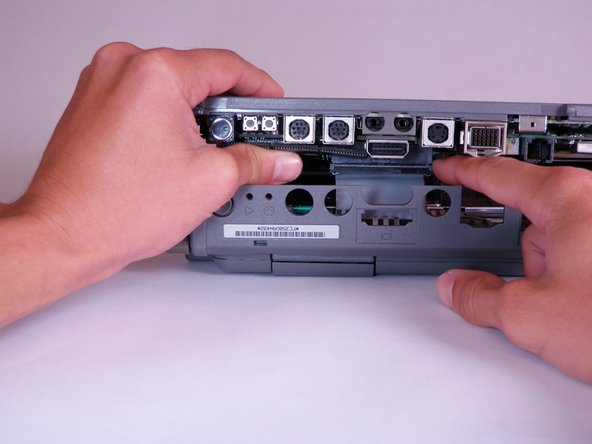
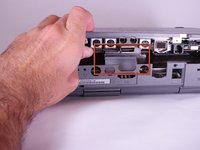
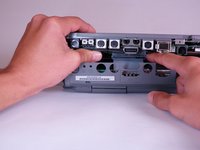
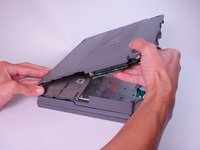
    • Place your hands on the lower case, just above the I/O panel, and slowly lift the lower case a few inches above the main body of the computer.

    • Release the large, gray interconnect ribbon cable just behind the I/O panel.

    • Caution: Lower case cannot be fully removed until two plastic clips in the front corners are released. See the following step for details.

  9. Macintosh PowerBook 165c Daughterboard Replacement: crwdns2935265:09crwdnd2935265:01crwdnd2935265:02crwdne2935265:0 Macintosh PowerBook 165c Daughterboard Replacement: crwdns2935265:09crwdnd2935265:02crwdnd2935265:02crwdne2935265:0
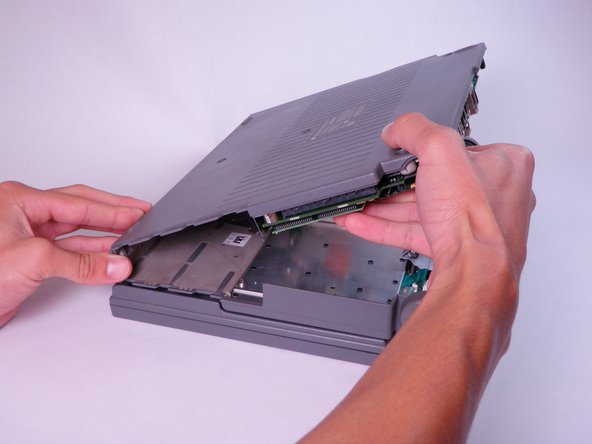
    • Place your thumb on the upper case, inside the empty battery slot, and your index finger near your thumb on the left side of the lower case.

    • Pinch your thumb and index finger towards each other to release the clip. Without releasing pressure on the pinch grip, use your index finger to push the lower case upwards.

    • Lift the lower case to remove it.

  10. Macintosh PowerBook 165c Daughterboard Replacement, RAM and PSRAM Expansion Card: crwdns2935265:010crwdnd2935265:01crwdnd2935265:02crwdne2935265:0 Macintosh PowerBook 165c Daughterboard Replacement, RAM and PSRAM Expansion Card: crwdns2935265:010crwdnd2935265:02crwdnd2935265:02crwdne2935265:0
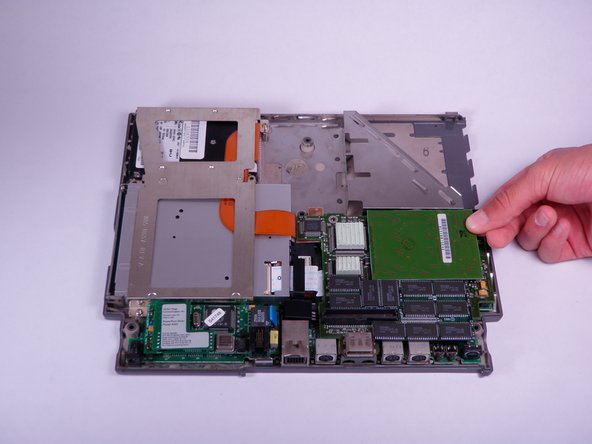
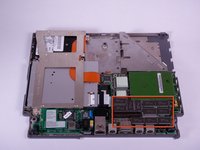
    • Locate and lift ram card directly up until connector releases.

    • Move the card back and forth gently if the connector does not release immediately.

  11. Macintosh PowerBook 165c Daughterboard Replacement: crwdns2935265:011crwdnd2935265:01crwdnd2935265:02crwdne2935265:0 Macintosh PowerBook 165c Daughterboard Replacement: crwdns2935265:011crwdnd2935265:02crwdnd2935265:02crwdne2935265:0
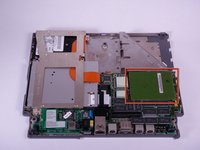
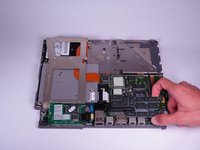
    • Locate and lift the PSRAM expansion card vertically until connector releases.

    • If the PSRAM expansion card is difficult to remove, gently jostle it back and forth as you lift up.

    • The PSRAM expansion card is an optional component, and may not be included in all devices.

  12. Macintosh PowerBook 165c Daughterboard Replacement, Daughterboard: crwdns2935265:012crwdnd2935265:01crwdnd2935265:01crwdne2935265:0
    • Use T8 torx screwdriver to remove four, 7.7mm long screws from the perimeter of the daughterboard.

  13. Macintosh PowerBook 165c Daughterboard Replacement: crwdns2935265:013crwdnd2935265:01crwdnd2935265:01crwdne2935265:0
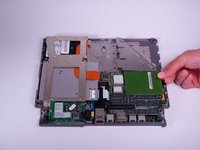
    • Life the daughterboard directly up to remove it from the connector.

    • If the daughterboard does not easily release from the connector, gently jostle it back and forth as you lift up.

crwdns2915888:0crwdne2915888:0

To reassemble your device, follow these instructions in reverse order.

Adam

crwdns2935283:010/12/11crwdne2935283:0

1 crwdns2915208:0crwdne2915208:0

crwdns2935297:04crwdne2935297:0

crwdns2915084:0crwdne2915084:0

Cal Poly, Team 6-3, Regan Fall 2011 crwdns2935289:0Cal Poly, Team 6-3, Regan Fall 2011crwdne2935289:0

CPSU-REGAN-F11S6G3

crwdns2931471:04crwdne2931471:0

crwdns2935297:012crwdne2935297:0

crwdns2944067:00crwdne2944067:0

crwdns2917038:0crwdne2917038:0

crwdns2936625:0crwdne2936625:0:

crwdns2936751:024crwdne2936751:0 0

crwdns2936753:07crwdne2936753:0 0

crwdns2936753:030crwdne2936753:0 14

crwdns2942667:0crwdne2942667:0 1,310