crwdns2915892:0crwdne2915892:0
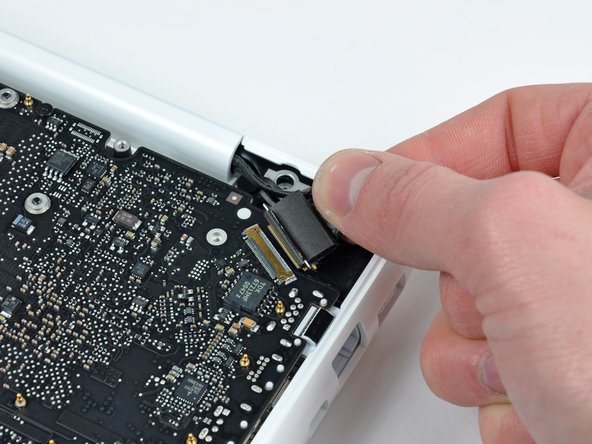
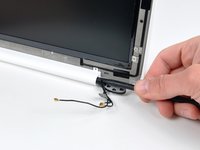
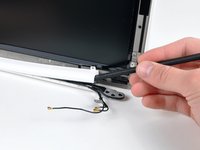
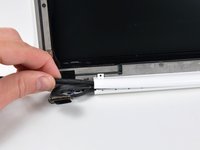
Remove the clutch cover to access cables terminating inside the display.
crwdns2942213:0crwdne2942213:0
-
-
Remove the eight 4 mm Phillips screws securing the lower case to the MacBook.
-
-
-
Slightly lift the lower case near the vent opening.
-
Continue running your fingers between the lower and upper cases until the upper case pops off its retaining clips.
-
-
-
Use the flat end of a spudger to lift the battery connector up out of its socket on the logic board.
-
-
-
Remove the following screws from the optical drive side of the rear vent:
-
Two 10 mm T8 Torx
-
Two 5.2 mm Phillips
-
-
-
Remove the following screws from the port side of rear vent:
-
Two 10 mm T8 Torx
-
Two 5.2 mm Phillips
-
-
-
Carefully lift the rear vent out of the upper case.
-
-
-
Remove the single 3 mm Phillips screw securing the AirPort/Bluetooth antenna ground strap to the rear speaker.
-
-
-
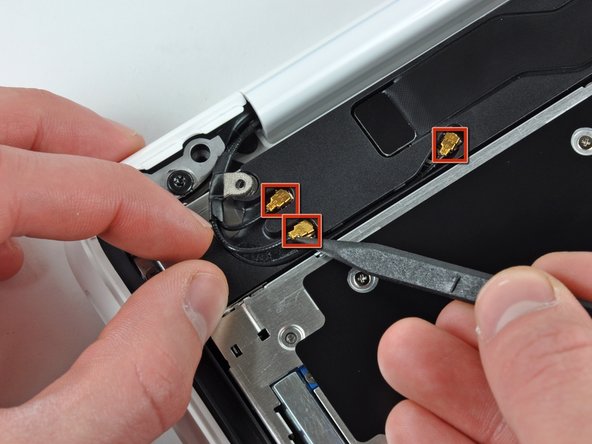
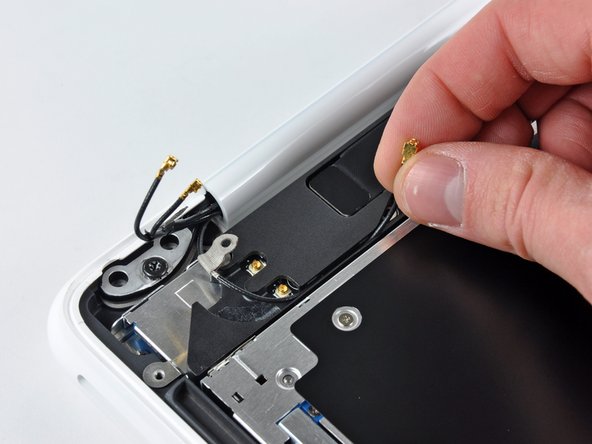
Use the tip of a spudger to pry the AirPort and Bluetooth antenna connectors (3 total) up off the AirPort/Bluetooth card.
-
De-route the long antenna from its channel in the rear speaker housing.
-
-
-
-
Grab the plastic pull tab secured to the display data cable lock and rotate it toward the DC-In side of the computer.
-
There is also a thin metal lock clip under the plastic tab that has to be released ( Use the tip of a spudger ) before you can disconnect the display data cable.
-
-
-
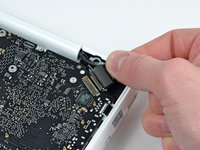
Gently pull the display data cable connector away from its socket on the logic board.
-
-
-
Open your MacBook so the display is perpendicular to the upper case.
-
Place your opened MacBook on a table as pictured.
-
While holding the display and upper case together with your left hand, remove the remaining 7.8 mm with lock washer T8 Torx screw from the lower display bracket.
-
-
-
Remove the last remaining T8 Torx screw securing the display to the upper case.
-
-
-
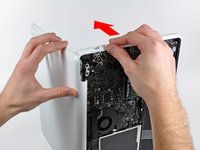
Grab the upper case with your right hand and rotate it slightly toward the top of the display so the upper display bracket clears the edge of the upper case.
-
Rotate the display slightly away from the upper case.
-
-
-
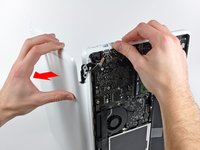
Lift the display up and away from the upper case, minding any brackets or cables that may get caught.
-
-
-
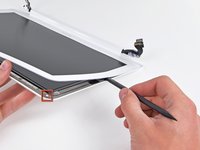
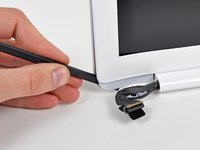
Insert the flat end of a spudger between the thin rubber strip surrounding the front display bezel and the rear display bezel.
-
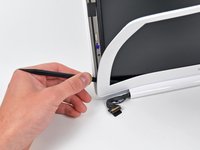
Use the flat end of your spudger to carefully pry the front display bezel away from the adhesive securing it to the rear display bezel.
-
Continue prying until the front display bezel is free along the right side of the display and behind the right clutch hinge.
-
-
-
Use the flat end of a spudger to pry the front display bezel off the top edge of the display assembly.
-
Continue separating until the top edge of the front display bezel is free from the display assembly.
-
-
-
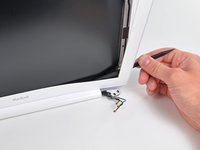
Use your spudger to pry the left side of the front display bezel away from the display assembly.
-
Carefully pry up the area behind the left clutch hinge.
-
-
-
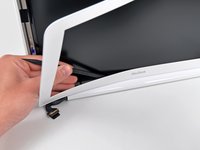
Slowly work your way across the lower edge of the front display bezel until it is free from the display assembly.
-
When you get about half way across, pry up from the other side of the front display bezel's lower edge to ease the process.
-
-
-
Remove the front display bezel from the display assembly.
-
-
-
Remove the two 3 mm Phillips screws securing the clutch cover to the rear display bezel.
-
-
-
Insert the flat end of a spudger into the open end of the clutch cover and pry up to release it from the rear display bezel.
-
-
-
Remove the clutch cover from the display assembly.
-
To reassemble your device, follow these instructions in reverse order.
crwdns2935221:0crwdne2935221:0
crwdns2935229:013crwdne2935229:0
crwdns2947412:02crwdne2947412:0
Plz plz if you explain how to fix any devices from first plz end it to close again , because some devices unable to close like apple wireless keyboard when i try to open ok good put when i try to close it not good .
and plz make to every process video because some process not Clear
" thx for understand" and very good work .
The white screen gasket (trim) on my MacBook A1342 is peeling off. How do I insert it back? It keeps peeling back off even when I insert it back. It only happens at one specific spot. I don't want to replace the trim. I just want to glue it back in. What kind of glue may I use?


