crwdns2915892:0crwdne2915892:0
Use this guide to replace the DC-in board on your MacBook Pro.
crwdns2942213:0crwdne2942213:0
-
-
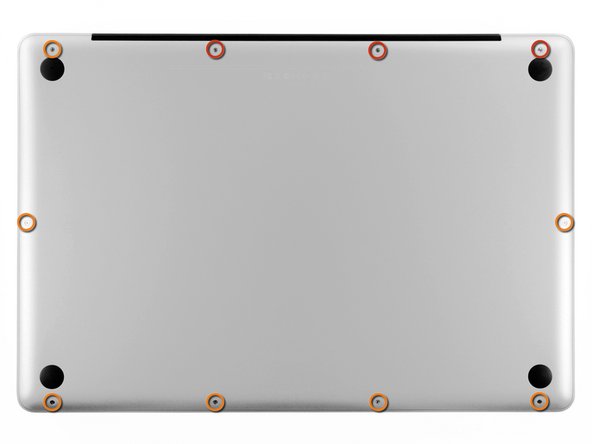
Remove the following ten screws securing the lower case to the upper case:
-
Three 13.5 mm Phillips screws.
-
Seven 3 mm Phillips screws.
-
-
-
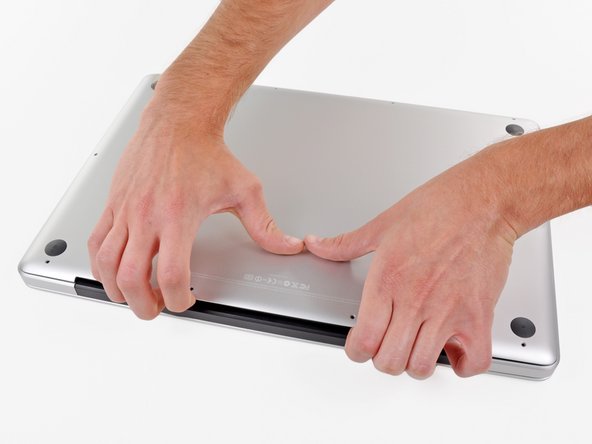
Wedge your fingers between the lower case and the vent, and lift upward to release the two clips holding the lower case to the upper case.
-
Remove the lower case.
-
-
-
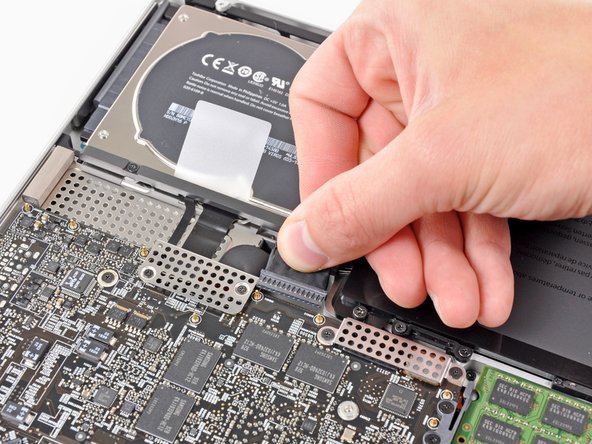
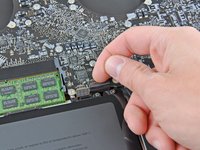
If present, grab the plastic tab attached to the battery connector and pull it toward the front edge of the device. For Late-2011 models the battery connector will not have a tab and is simply a plug that inserts straight down into the motherboard--to remove pry the plug straight up.
-
-
-
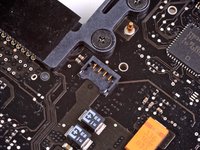
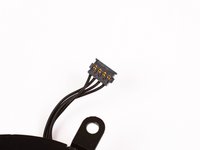
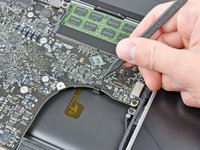
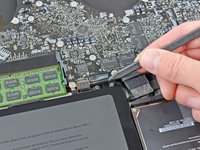
Use the flat end of a spudger to lift the right fan connector out of its socket on the logic board.
-
-
-
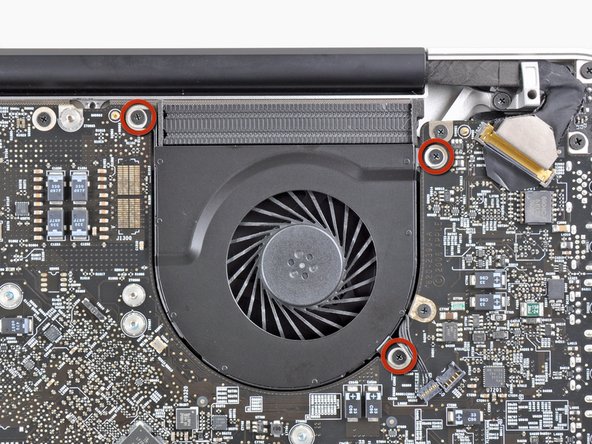
Remove the three 3.1 mm Phillips screws securing the right fan to the logic board.
-
-
-
Remove the right fan from the upper case, minding its cable that may get caught.
-
-
-
Use the flat end of a spudger to lift the left fan connector out of its socket on the logic board.
-
-
-
Remove the three 3.1 mm Phillips screws securing the left fan to the logic board.
-
Remove the left fan from the upper case, minding its cable that may get caught.
-
-
-
-
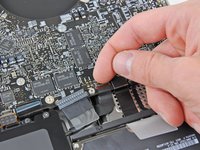
Use the tip of a spudger or your fingernail to flip up the retaining flap on the keyboard backlight ribbon cable.
-
Pull the keyboard backlight ribbon cable out of its socket.
-
-
-
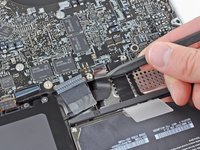
Use the tip of a spudger to push the small plastic cable retainer away from the camera cable socket for enough clearance to remove the camera cable.
-
-
-
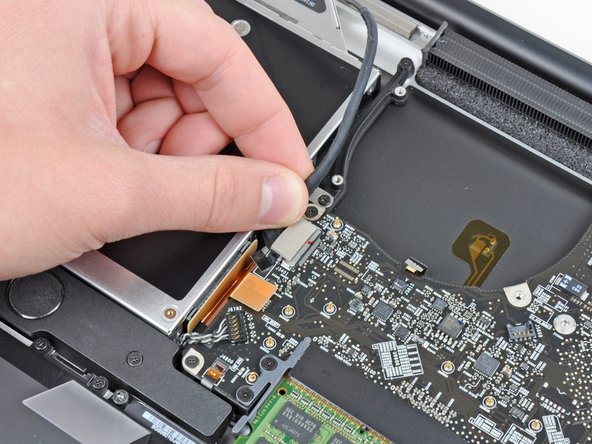
Pull the camera cable toward the optical drive opening to disconnect it from the logic board.
-
-
-
Use the flat end of a spudger to pry the optical drive connector up and out of its socket on the logic board.
-
-
-
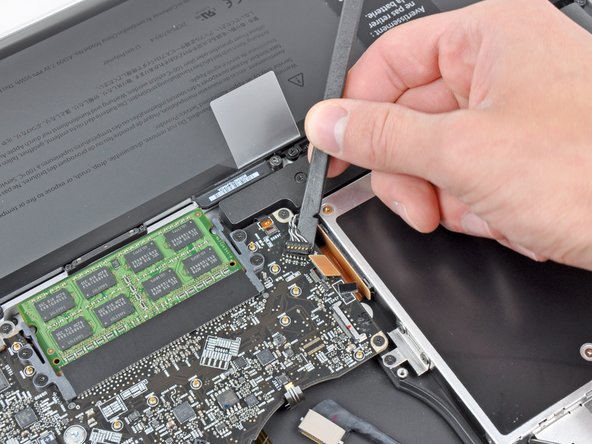
Use the flat end of a spudger to lift the subwoofer & right speaker connector out of its socket on the logic board.
-
-
-
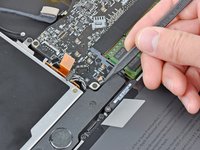
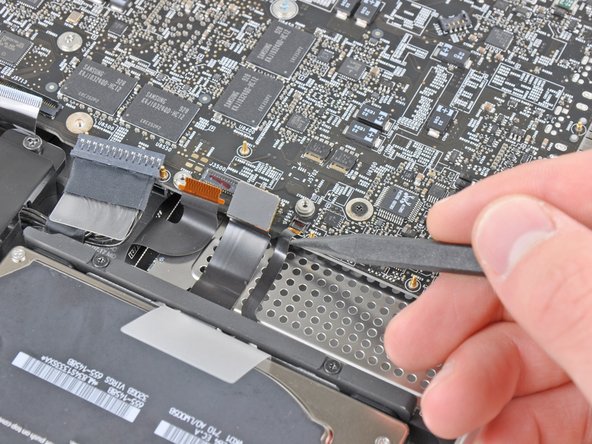
Use the tip of a spudger or your fingernail to flip up the retaining flap on the IR sensor ribbon cable socket.
-
Pull the IR sensor ribbon cable out of its socket.
-
-
-
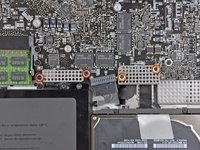
Remove the following four screws:
-
Two 3.5 mm Phillips screws
-
Two 1.6 mm Phillips screws
-
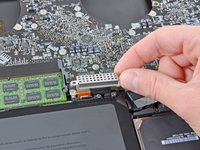
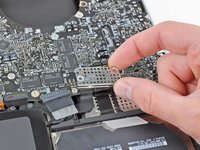
Remove both connector shields from the logic board.
-
-
-
Use the flat end of a spudger to pry the trackpad connector up and out of its socket on the logic board.
-
-
-
Use your fingernail to flip up the retaining flap on the keyboard ribbon cable socket.
-
Pull the keyboard ribbon cable out of its socket.
-
-
-
Use your fingernail to flip up the retaining flap on the express card cage ribbon cable socket.
-
Pull the express card cage ribbon cable out of its socket.
-
-
-
Use the flat end of a spudger to lift the hard drive cable connector up and out of its socket on the logic board.
-
-
-
Use the tip of a spudger or your fingernail to flip up the retaining flap on the battery indicator cable socket.
-
Pull the battery indicator ribbon cable out of its socket.
-
-
-
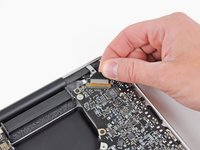
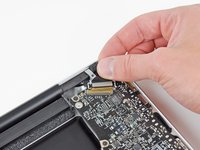
Lift the black plastic flap attached to the display data cable retainer and rotate it toward the DC-In side of the MacBook.
-
Pull the display data cable out of its socket.
-
-
-
Remove the following eight screws securing the logic board and DC-In board to the upper case:
-
Six 3.2 mm Phillips screws
-
Two 7.6 mm Phillips screws
-
-
-
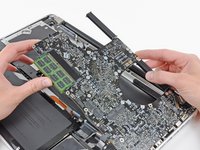
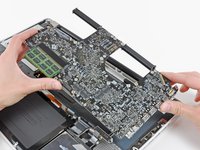
Lift the logic board assembly from the side nearest the optical drive and lift it away from the upper case.
-
Carefully pull the ports and DC-In board away from the side of the upper case and remove the logic board assembly, minding any cables that may get caught.
-
-
-
Pull the DC-In board connector away from its socket on the logic board.
-
To reassemble your device, follow these instructions in reverse order.
To reassemble your device, follow these instructions in reverse order.
crwdns2935221:0crwdne2935221:0
crwdns2935229:030crwdne2935229:0
crwdns2947412:010crwdne2947412:0
I am very much NOT technical. But thanks to this great tutorial I have been able to carry out this operation myself. So thank you very much for putting in the effort of making such great pictures of each step. It is greatly appreciated.
I have a late 2011 Macbook Pro. Any changes to this procedure before I take it apart? Thanks.
Hello, I have a macbook pro 17 " late 2017. Can the 820-2565-A flex cable be used as a replacement for the flex cable 820-2361-A? Thank you
Hi, I got a macbook pro unibody early 2009, A1297. The DC in board should be a 820-2361-A but it don´t deliver to sweden. Got a 820-2565-A, which is for MacBook Pro 17" Unibody (Mid 2010/Late 2011). Size same and looks same. Can I chuck it in ? anyone with experience ?
Have a sweet day !
Is there a symptom checklist for diagnosis anywhere?
