crwdns2915892:0crwdne2915892:0
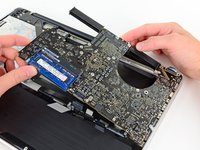
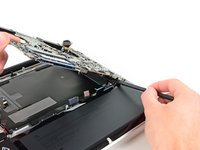
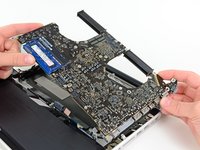
Use this guide to replace the heat sink. This repair requires removal of the logic board and application of new thermal paste.
crwdns2942213:0crwdne2942213:0
-
-
Remove the following ten screws securing the lower case to the upper case:
-
Three 13.5 mm (14.1 mm) Phillips screws.
-
Seven 3 mm Phillips screws.
-
-
-
Using both hands, lift the lower case near the vent to pop it off two clips securing it to the upper case.
-
Remove the lower case and set it aside.
-
-
-
Use the edge of a spudger to pry the battery connector upwards from its socket on the logic board.
-
-
-
Bend the battery cable slightly away from its socket on the logic board so it does not accidentally connect itself while you work.
-
-
-
Remove the following three screws securing the left fan to the logic board:
-
Two 3.5 mm T6 Torx screws.
-
One 4.2 mm T6 Torx screw.
-
-
-
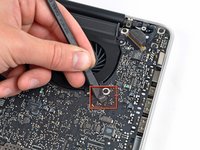
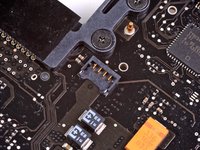
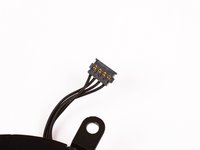
Use the flat end of a spudger to disconnect the left fan connector from the logic board.
-
-
-
Lift the left fan out of the upper case.
-
-
-
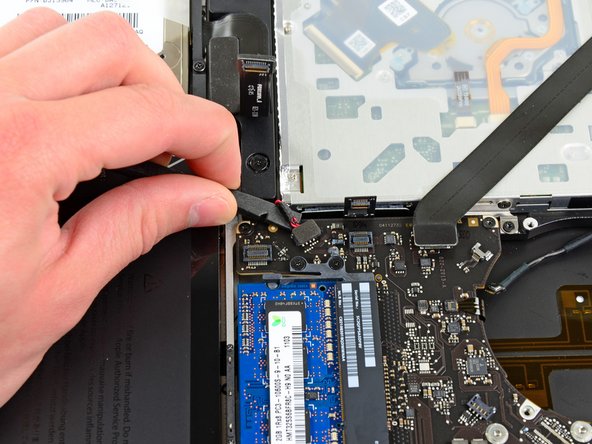
Use the flat end of a spudger to lift the right fan connector out of its socket on the logic board.
-
-
-
-
Remove the three 3.4 mm (3.1 mm) T6 Torx screws securing the right fan to the logic board.
-
Lift the right fan out of its opening in the logic board.
-
-
-
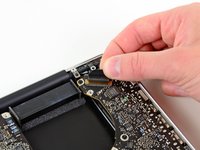
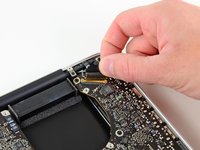
Pull the camera cable out of its socket on the logic board.
-
-
-
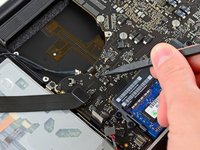
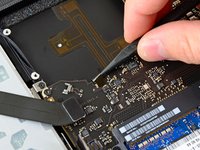
Use the flat end of a spudger to pry the AirPort/Bluetooth connector up from its socket on the logic board.
-
-
-
Use the flat end of a spudger to lift the optical drive connector out of its socket on the logic board.
-
-
-
Disconnect the hard drive/IR sensor cable from its socket on the logic board by lifting up from beneath its connector.
-
-
-
Use the flat end of a spudger to lift the subwoofer/right speaker connector out of its socket on the logic board.
-
-
-
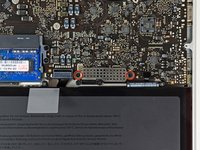
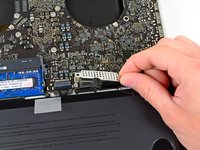
Remove the two 1.5 mm ( 1.2 mm ) Phillips screws securing the keyboard/trackpad cable cover to the logic board.
-
Lift the cover off the logic board and set it aside.
-
-
-
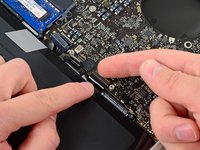
Use the flat end of a spudger to pry the trackpad connector up and out of its socket on the logic board.
-
-
-
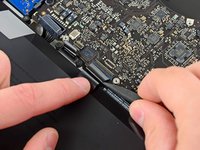
Use your fingernail to flip up the retaining flap on the keyboard ribbon cable ZIF socket.
-
Use the tip of a spudger to pull the keyboard ribbon cable out of its socket.
-
-
-
Use the flat end of a spudger to lift the battery indicator connector up and out of its socket on the logic board.
-
-
-
Grab the plastic pull tab secured to the display data cable lock and rotate it toward the DC-In side of the computer.
-
Pull the display data cable straight out of its socket on the logic board.
-
-
-
Use the tip of a spudger to flip up the retaining flap on the keyboard backlight ribbon cable ZIF socket.
-
Pull the keyboard backlight ribbon cable out of its socket.
-
-
-
Remove the following nine screws:
-
Seven 3.4 mm ( 3.1 mm) T6 Torx screws on the logic board
-
Two 8 mm T6 Torx screws on the DC-In board
-
-
-
Carefully lift the logic board assembly from its left side and work it out of the upper case, minding the optical drive cable and the I/O ports that may get caught during removal.
-
If necessary, use the flat end of a spudger to separate the microphone from the upper case.
-
Pull the I/O port side of the logic board away from the side of the upper case and remove the logic board assembly.
-
-
-
Remove the six #1 Phillips screws securing the heat sink to the logic board.
-
-
-
Remove the heat sink from the logic board.
-
To reassemble your device, follow these instructions in reverse order.
To reassemble your device, follow these instructions in reverse order.
crwdns2935221:0crwdne2935221:0
crwdns2935229:045crwdne2935229:0
crwdns2947412:03crwdne2947412:0
There is a wire under the logicboard that seems impossible due too short to reconnect to the logicboard. This wire comes from the keyboard side case. Is anyone with my sane problem? How dis you resolve it? Tks in advance for your help! https://s29.postimg.org/qakuiofxj/IMG_16...
I have upgraded Mac Pros a few times doing the CPU upgrade on 2009 5,1 and 2010 dual CPUs but this looks really tough. My mid 2012 macbook pro runs hot like 98c when under full load. I would like to replace the thermal paste but this looks like its just too risky. NIce job though on the Fixit post.
Why do you think it’s too risky to change the thermal paste? You actually don’t need to do all those steps to just change the paste, and it’s as easy as wiping the old clean with an alcohol wipe and applying a pee-size amount on the side of the heatsink covering your CPU and voilà. It’s actually much easier to do than removing the entirety of the heatsink, as shown here, which you only need to do to replace the heatsink itself (which difficulty is such that I highly doubt it’s worthing it; just changing the paste will make a big difference). This video will shot you how to only replace the paste without having to remove the entire heatsink, nor remove the motherboard from the aluminium casing itself : https://www.youtube.com/watch?v=sOkmmpba...


