crwdns2915892:0crwdne2915892:0
Use this guide to replace the hard drive cable, which also contains the IR sensor and sleep indicator.
crwdns2942213:0crwdne2942213:0
-
-
Remove the following ten screws securing the lower case to the upper case:
-
Three 13.5 mm (14.1 mm) Phillips screws.
-
Seven 3 mm Phillips screws.
-
-
-
Using both hands, lift the lower case near the vent to pop it off two clips securing it to the upper case.
-
Remove the lower case and set it aside.
-
-
-
Use the edge of a spudger to pry the battery connector upwards from its socket on the logic board.
-
-
-
Bend the battery cable slightly away from its socket on the logic board so it does not accidentally connect itself while you work.
-
-
-
-
Remove two Phillips screws securing the hard drive bracket to the upper case.
-
-
-
Lift the retaining bracket out of the upper case.
-
-
-
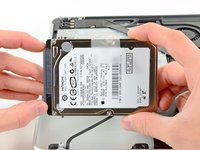
Lift the hard drive by its pull tab and pull it out of the chassis, minding the cable attaching it to the computer.
-
-
-
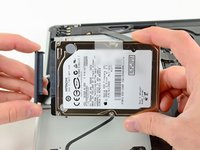
Remove the hard drive cable by pulling its connector straight away from the hard drive.
-
-
-
Use the flat end of a spudger to pry the hard drive cable connector up off the logic board.
-
-
-
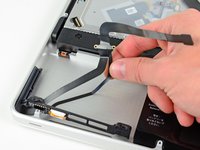
Remove the following four screws securing the hard drive and IR sensor cable to the upper case:
-
Two 1.5 mm Phillips screws.
-
Two 4 mm Phillips screws.
-
-
-
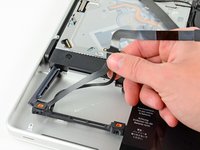
Slide the hard drive and IR sensor bracket away from the edge of the upper case.
-
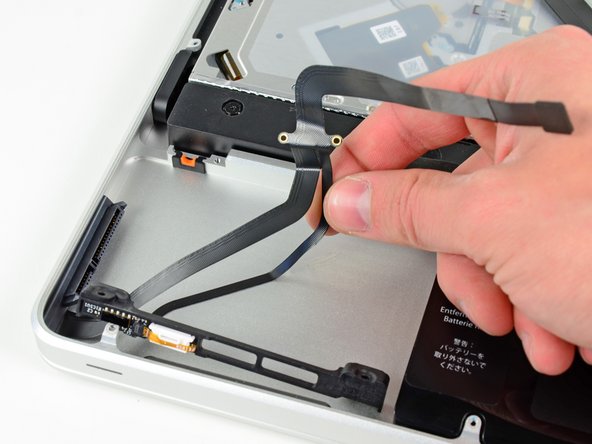
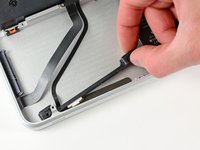
Carefully peel the hard drive and IR sensor cable from the upper case.
-
Lift the hard drive and IR sensor assembly out of the upper case.
-
-
-
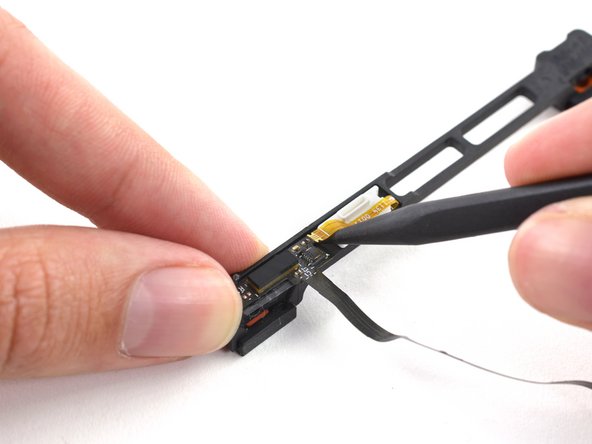
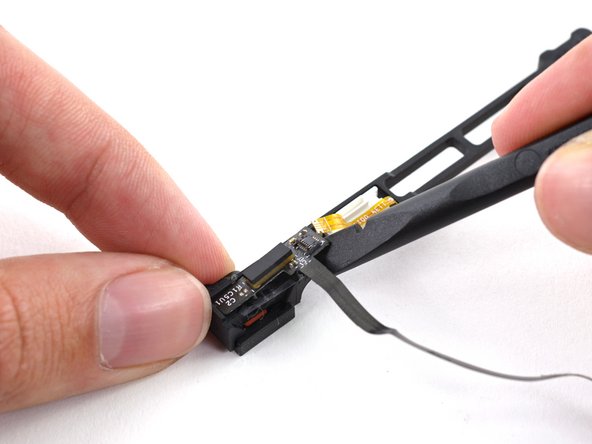
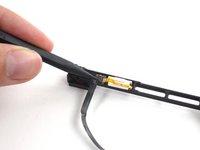
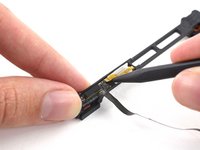
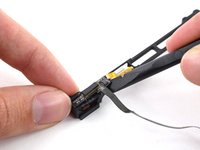
Use the tip of a spudger to flip the ZIF connector on the hard drive cable.
-
Gently pull the sensor bracket cable out of the ZIF connector.
-
Use the flat end of a spudger to pry the hard drive cable up off the sensor bracket.
-
To reassemble your device, follow these instructions in reverse order.
crwdns2935221:0crwdne2935221:0
crwdns2935229:025crwdne2935229:0
crwdns2947412:04crwdne2947412:0
The cable is too long for my Samsung 8500 PRO SSD, and it blends under it. Also the CRC Error count is really high. Any help?
Great this is how I take it out. It would be great if there were some help putting it back in, as I am an idiot.
Hm, what step of reassembly is causing trouble, Phillip?
My understanding is that the original Apple cable tends to fail, slowing the speed of hard drive access, but not stopping it outright. I replaced the cable, and changed to a SSD hard drive, and now my machine is SCARY FAST!! Happy, happy. :)


