crwdns2915892:0crwdne2915892:0
Replacing a broken display assembly gives you a new LCD, front glass, display enclosure, iSight camera, and new AirPort antennas.
crwdns2942213:0crwdne2942213:0
-
-
Remove the following ten screws securing the lower case to the upper case:
-
Three 13.5 mm (14.1 mm) Phillips screws.
-
Seven 3 mm Phillips screws.
-
-
-
Using both hands, lift the lower case near the vent to pop it off two clips securing it to the upper case.
-
Remove the lower case and set it aside.
-
-
-
Use the edge of a spudger to pry the battery connector upwards from its socket on the logic board.
-
-
-
Bend the battery cable slightly away from its socket on the logic board so it does not accidentally connect itself while you work.
-
-
-
Pull the camera cable connector straight out of its socket on the logic board.
-
-
-
Use the flat end of a spudger to carefully pry the AirPort/Bluetooth ribbon cable up off its socket on the logic board.
-
-
-
-
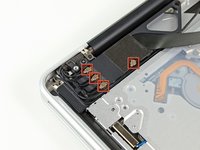
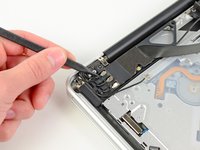
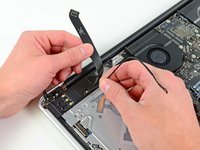
Use the tip of a spudger to pry the four antenna connectors up from their sockets on the AirPort/Bluetooth board.
-
-
-
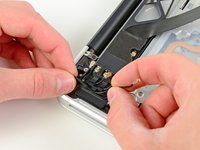
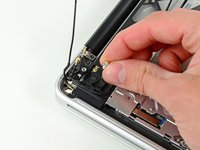
De-route all four antenna cables from their channels in the AirPort/Bluetooth housing.
-
De-route the camera cable from its channel in the AirPort/Bluetooth housing.
-
-
-
Remove the following two screws securing the AirPort/Bluetooth assembly to the upper case:
-
One 8.6 mm Phillips screw
-
One 3.9 mm Phillips screw
-
-
-
Remove the AirPort/Bluetooth assembly from the upper case, minding any cables that may get caught.
-
-
-
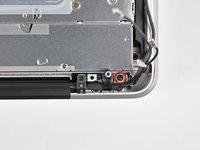
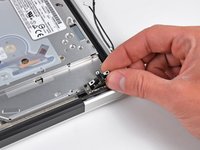
Remove the 8.6 mm Phillips screw securing the antenna/camera cable retainer to the upper case.
-
Remove the antenna/camera cable retainer from the upper case.
-
-
-
Remove two of the three 6 mm T6 Torx screws securing the right side of the display to the upper case.
-
-
-
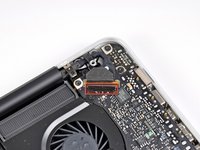
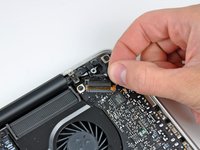
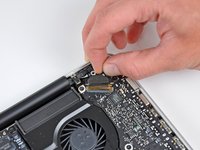
Grab the plastic pull tab secured to the display data cable lock and rotate it up and over the connector, toward the DC-In side of the computer.
-
Pull the display data cable straight back (not up) out of its socket on the logic board.
-
-
-
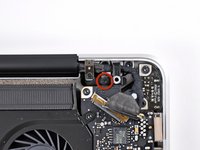
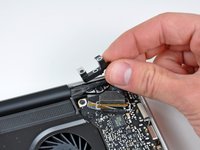
Remove the 8.6 mm Phillips screw securing the display data cable retainer to the upper case.
-
Remove the display data cable retainer from the upper case.
-
-
-
Remove two of the three 6 mm T6 Torx screws securing the left side of the display to the upper case.
-
-
-
Open your MacBook Pro so the display is perpendicular to the upper case.
-
Place your opened MacBook Pro on a table as pictured.
-
While holding the display and upper case together with your left hand, remove the remaining T6 Torx screw from the upper display bracket.
-
-
-
Remove the last remaining T6 Torx screw securing the display to the upper case.
-
-
-
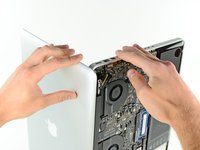
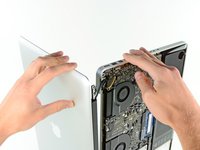
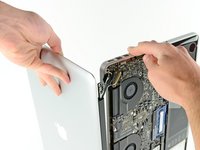
Grab the upper case with your right hand and rotate it slightly toward the top of the display so the upper display bracket clears the edge of the upper case.
-
Rotate the display slightly away from the upper case.
-
Lift the display up and away from the upper case, minding any brackets or cables that may get caught.
-
To reassemble your device, follow these instructions in reverse order.
crwdns2935221:0crwdne2935221:0
crwdns2935229:038crwdne2935229:0
crwdns2947412:02crwdne2947412:0
Hello there
Half a cup of water fell on my MacBook Pro and I tried to quickly dry it out of the water, and I turned on the laptop after more than four hours, but the screen did not work. There are graphics on the screen, but the lighting does not work. Today I changed the screen, but the problem still persists. The lighting of the keys is on, but the lighting of the screen does not work. So please could you help me?
Just Perfect, Thanks for your Help !!


