crwdns2915892:0crwdne2915892:0
Prerequisite-only guide to disconnecting the battery before making repairs.
crwdns2942213:0crwdne2942213:0
-
-
Power on your Mac and launch Terminal.
-
Copy and paste the following command (or type it exactly) into Terminal:
-
sudo nvram AutoBoot=%00
-
Press [return]. If prompted, enter your administrator password and press [return] again. Note: Your return key may also be labeled ⏎ or "enter."
-
sudo nvram AutoBoot=%03
-
-
crwdns2935267:0crwdne2935267:0Magnetic Project Mat$19.95
-
Use a P5 Pentalobe driver to remove six screws securing the lower case, of the following lengths:
-
Four 4.7 mm screws
-
Two 6.6 mm screws
-
-
-
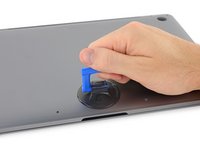
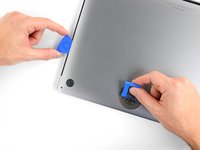
Press a suction handle into place near the front edge of the lower case, between the screw holes.
-
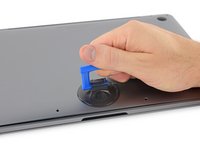
Pull up on the suction handle just enough to open a small gap under the lower case.
-
-
-
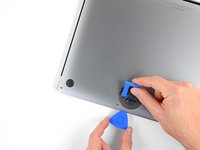
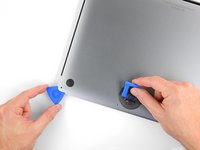
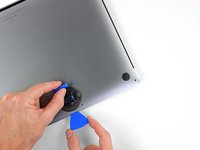
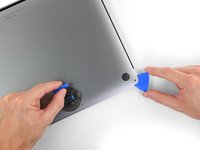
Slide the corner of an opening pick into the gap you just created underneath the lower case.
-
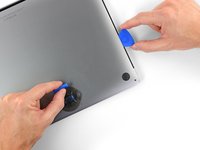
Slide the opening pick around the nearest corner and then halfway up the side of the MacBook Pro.
-
-
-
Repeat the previous step on the other side, using an opening pick to to release the second clip.
-
-
-
-
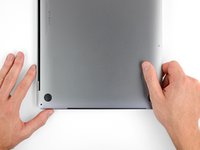
Lift the front edge of the lower case (the side opposite the display hinge) enough to slide your fingertips underneath and get a good grip on it.
-
-
-
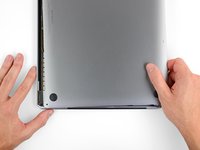
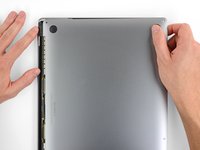
Pull firmly to slide the lower case towards the front edge of the MacBook (away from the hinge area) to separate the last of the clips securing the lower case.
-
Pull first at one corner, then the other.
-
-
-
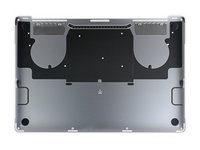
Remove the lower case.
-
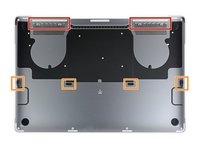
Set it in place and align the sliding clips near the display hinge. Press down and slide the cover toward the hinge. It should stop sliding as the clips engage.
-
When the sliding clips are fully engaged and the lower case looks correctly aligned, press down firmly on the lower case to engage the four hidden clips underneath. You should feel and hear them snap into place.
-
-
-
Peel up and remove the insulating sticker covering the battery board, on the edge of the logic board nearest the battery.
-
If the cover doesn't peel up easily, apply mild heat with an iOpener, hair dryer, or heat gun to soften the adhesive underneath, and try again.
-
-
-
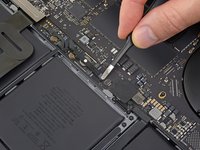
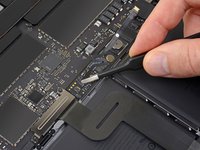
Peel back any tape covering the battery board data cable connector.
-
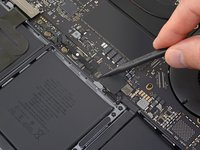
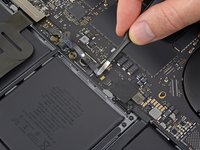
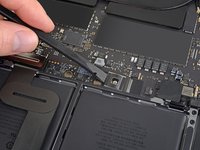
Use a spudger to gently pry up the locking flap on the ZIF connector for the battery board data cable.
-
-
-
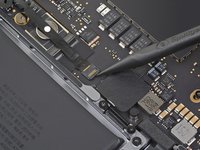
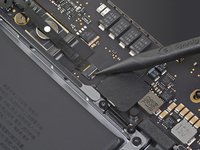
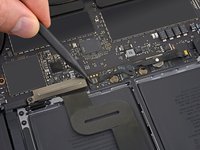
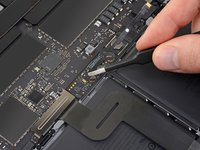
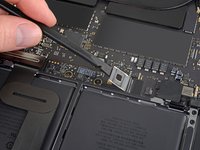
Disconnect the battery board data cable by sliding it out from its socket on the logic board.
-
Slide parallel to the logic board, in the direction of the cable.
-
-
-
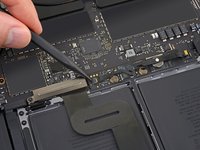
Pry up and disconnect the locking flap on the connector at the opposite end of the battery board data cable.
-
-
-
Slide the battery board data cable out of its socket on the battery board, and remove it completely.
-
-
-
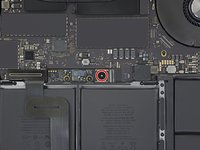
Use a T5 Torx driver to remove the 3.7 mm pancake screw securing the battery power connector.
-
-
-
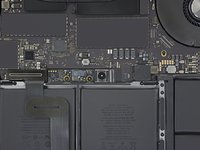
Use a spudger to lift the battery power connector, disconnecting the battery.
-
To reassemble your device, follow these instructions in reverse order.
To reassemble your device, follow these instructions in reverse order.


