crwdns2915892:0crwdne2915892:0
Have your MacBook Pro feet seen better days? Use this guide to give your Mid 2014 MacBook Pro a fresh set of feet.
crwdns2942213:0crwdne2942213:0
-
crwdns2935267:0crwdne2935267:0Magnetic Project Mat$19.95
-
Remove the following ten screws securing the lower case to the upper case:
-
Two 2.3 mm P5 Pentalobe screws
-
Eight 3.0 mm P5 Pentalobe screws
-
-
-
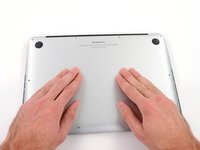
Wedge your fingers between the upper case and the lower case.
-
Gently pull the lower case away from the upper case.
-
Remove the lower case and set it aside.
-
-
-
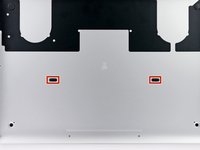
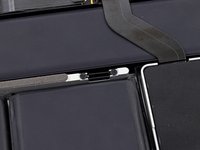
The lower case is connected to the upper case at the center, with two plastic clips.
-
-
-
Peel away any stickers from the backside of the rear case covering the feet you have chosen to replace.
-
-
-
crwdns2935267:0crwdne2935267:0Tweezers$4.99
-
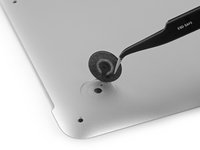
Remove any broken or damaged feet.
-
If the old foot is difficult to remove, use a hair dryer or a heat gun to apply some heat to the area and loosen the adhesive.
-
-
-
Scrub the foot cavity with adhesive remover to remove any remaining adhesive.
-
-
-
Wipe the foot cavity with an isopropyl alcohol prep pad to remove any cleaner residue and prep the area for the adhesive on the new foot.
-
-
-
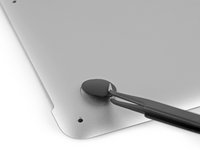
Peel a replacement foot from the plastic backing.
-
-
-
Align the new foot inside the cavity.
-
Lay the foot down while keeping it properly aligned.
-
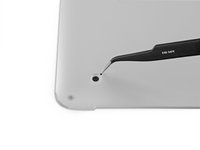
Check for proper alignment from the inside of the case. The alignment nub should be slightly visible through the alignment hole.
-
-
-
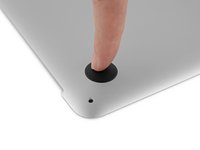
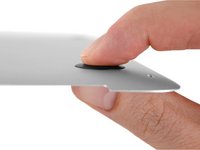
Press the new foot into place firmly with your finger, then apply pressure by pinching the foot from either side of the case with your finger and your thumb.
-
Maintain pressure for 30 seconds to set the pressure-sensitive adhesive.
-
Repeat the last seven steps for any remaining broken or worn feet.
-
To reassemble your device, follow these instructions in reverse order.
To reassemble your device, follow these instructions in reverse order.
crwdns2935221:0crwdne2935221:0
crwdns2935229:029crwdne2935229:0


