crwdns2915892:0crwdne2915892:0
This guide contains instructions for using the old-style iFixit adhesive remover with separate bottle and syringe, which is no longer sold. For the updated version, click here.
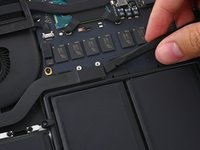
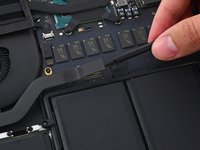
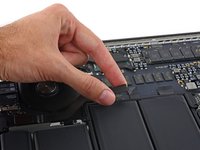
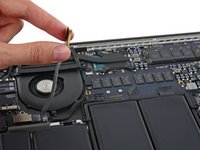
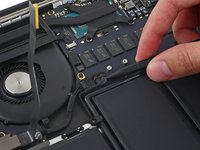
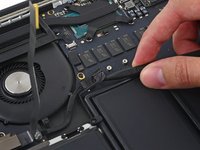
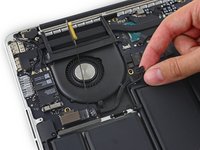
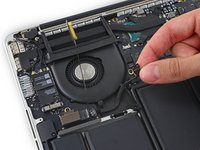
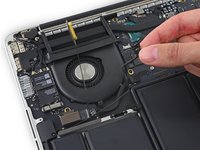
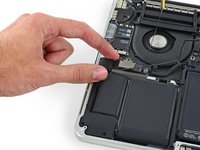
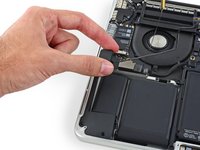
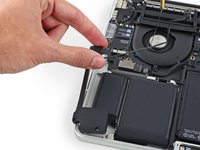
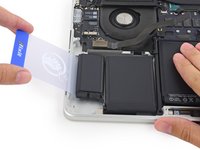
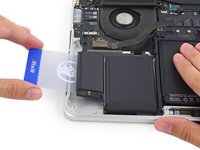
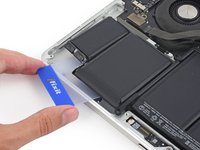
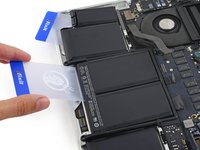
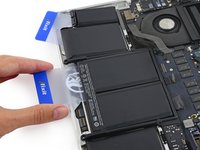
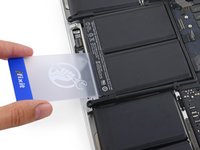
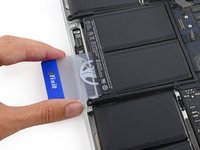
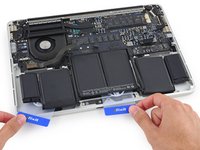
Use this guide to remove the glued-in battery from your MacBook Pro. This is best done with the help of an iFixit battery replacement kit; the liquid adhesive remover in your kit will dissolve the adhesive securing the battery, allowing you to remove it with ease. Alternatively, you can use an iOpener to apply a modest amount of heat in order to soften the adhesive before prying out the battery.
iFixit adhesive remover is highly flammable. Perform this procedure in a well-ventilated area. Do not smoke or work near an open flame during this procedure.
For your safety, drain your MacBook Pro's battery before you begin this procedure. A charged lithium-ion battery can create a dangerous and uncontrollable fire if accidentally punctured.
Note: The solvent used to dissolve the battery adhesive can damage certain plastics, such as the MacBook Pro's plastic speaker enclosures. Take care when applying the solvent.
crwdns2942213:0crwdne2942213:0
-
crwdns2935267:0crwdne2935267:0Magnetic Project Mat$16.96
-
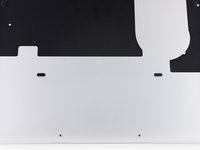
Remove the following ten screws securing the lower case to the upper case:
-
Two 2.3 mm P5 Pentalobe screws
-
Eight 3.0 mm P5 Pentalobe screws
-
-
-
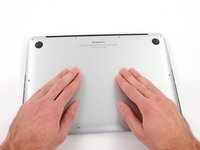
Wedge your fingers between the upper case and the lower case.
-
Gently pull the lower case away from the upper case to remove it.
-
-
-
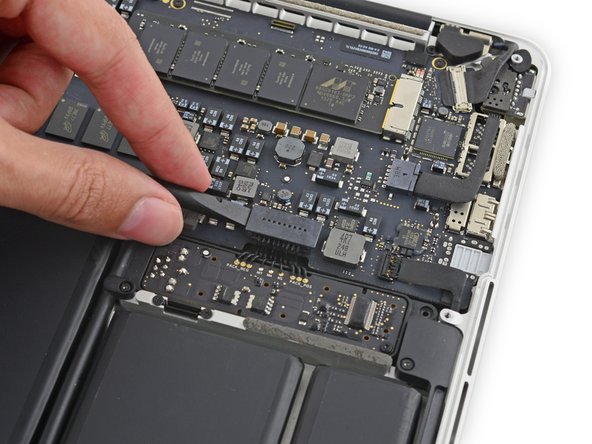
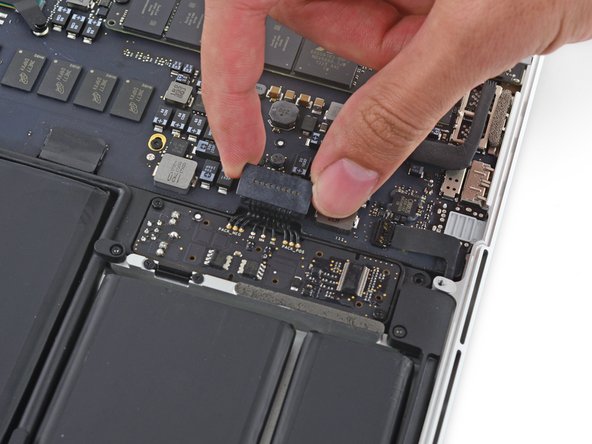
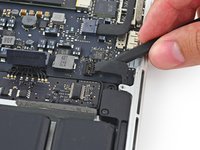
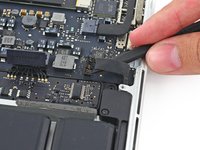
Use the flat end of a spudger to lift the battery connector straight up out of its socket on the logic board.
-
-
-
Remove the two 2.1 mm T5 Torx screws securing the logic board end of the I/O board cable bracket.
-
-
crwdns2935267:0crwdne2935267:0Tweezers$4.99
-
Grasp the I/O board cable bracket with a pair of tweezers and remove it from the MacBook.
-
-
-
Use the flat end of a spudger to pop the I/O board connector straight up off its socket on the logic board.
-
-
-
Lift the logic board end of the I/O board cable straight up to bend it out of the way.
-
-
-
Carefully tuck the tip of a spudger under the right speaker cable near the connector and lift it up out of its socket on the logic board.
-
-
-
-
Carefully peel the right speaker cable off the upper case.
-
-
-
Remove the following screws securing the right speaker to the upper case:
-
One 5.7 mm T5 Torx screw
-
One 6.5 mm T5 Torx screw
-
One 3.8 mm T5 Torx screw
-
-
-
Lift the right speaker from the cable end and pull it free from the case.
-
-
-
Insert the tip of a spudger under the left speaker cable near the connector and lift it up out of its socket on the logic board.
-
-
-
Remove the following screws securing the left speaker to the upper case:
-
One 5.7 mm T5 Torx screw
-
One 6.5 mm T5 Torx screw
-
One 3.8 mm T5 Torx screw
-
-
-
Lift the corner of the left speaker up and slide it out around the battery to remove it from the upper case.
-
-
-
Remove the five 3.7 mm T5 Torx screws securing the battery to the upper case.
-
-
-
To protect your display, place a sheet of aluminum foil between the display and keyboard and leave it there while you work.
-
-
-
Alternatively, if you are using the hot iOpener method, skip the following three steps.
-
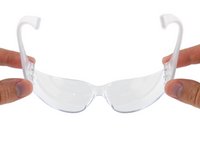
Wear eye protection when handling and applying the adhesive remover. (Eye protection is included in your kit.)
-
Do not wear contact lenses without eye protection.
-
Protective gloves are also included in your kit. If you are concerned about skin irritation, put your gloves on now.
-
-
-
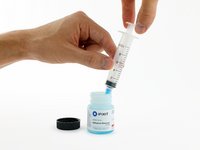
Open your container of adhesive remover.
-
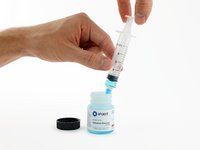
Fill the syringe included in your kit with a small amount (approximately 1-2 milliliters) of adhesive remover.
-
Refill your syringe as needed throughout the rest of this procedure.
-
-
-
Apply a small amount of adhesive remover (approximately 1 ml) evenly under the edge of the rightmost battery cell.
-
Wait 2-3 minutes for the liquid adhesive remover to penetrate underneath the battery cell before you proceed to the next step.
-
-
-
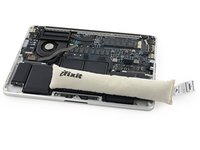
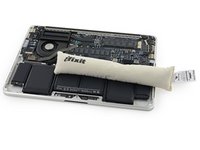
Use the hot iOpener to cover half of the two right-most battery cells.
-
After about a minute, reheat the iOpener and move it to cover the other half of the right-most battery cells.
-
-
crwdns2935267:0crwdne2935267:0Plastic Cards$2.99
-
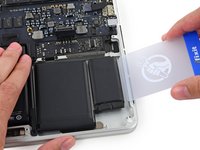
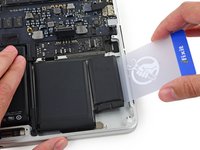
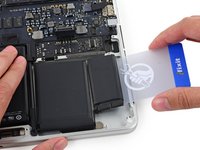
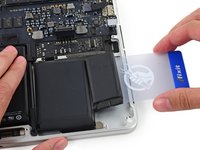
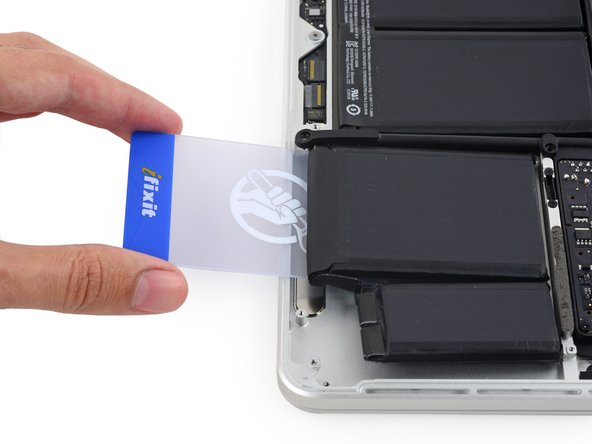
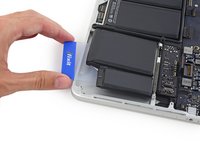
Push a plastic card between the right-most battery cell and the upper case, cutting the adhesive between the two.
-
When using the hot iOpener method, if you encounter significant resistance to prying, stop and use the iOpener to reheat the section you're working on.
-
-
-
Use the plastic card to pry the right-most battery cell up from the rear case.
-
-
-
Repeat this procedure with the adjacent battery cell:
-
Apply a small amount (about 1 ml) of liquid adhesive remover under the battery cell, and wait 2-3 minutes for it to penetrate and soften the adhesive.
-
Alternatively, re-heat this section with your iOpener if needed.
-
Push a plastic card about an inch between the battery cell and the upper case, and slowly pry the cell up to separate all of the adhesive.
-
-
-
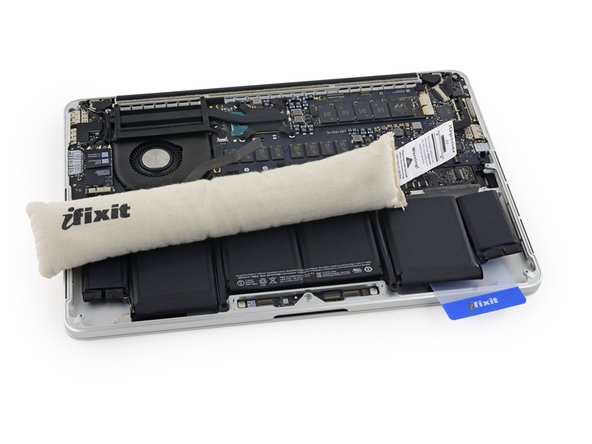
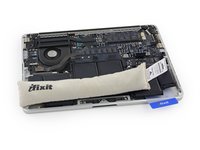
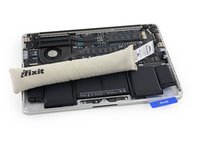
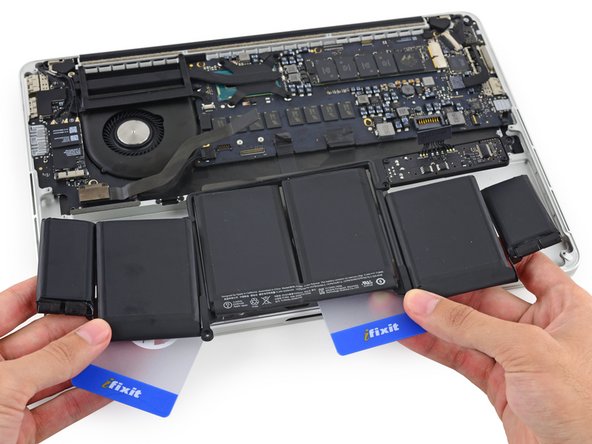
Temporarily leave your plastic card underneath the two rightmost battery cells to prevent them from re-adhering to the upper case.
-
If using an iOpener, reheat it and reapply it, this time to the left-most battery cells.
-
-
-
Repeat the above procedure to separate the two leftmost battery cells from the upper case.
-
Remember to apply a small amount (about 1 ml) of adhesive remover to each battery cell, and wait 2-3 minutes for it to penetrate and soften the adhesive.
-
Use a second plastic card to separate the two leftmost battery cells from the upper case.
-
-
-
Leave the second card in the corner between the two left cells.
-
-
-
To separate the adhesive securing the final two, middle battery cells, apply another 1 milliliter or so of liquid adhesive remover (or your iOpener) to each cell.
-
It may help to elevate one side of your MacBook Pro a few inches so that the adhesive remover flows in the correct direction, underneath the battery cells. You can use a sturdy book or foam block to prop up one side of your MacBook Pro while you work.
-
Insert the card about an inch between the left-center battery cell and the upper case, separating the adhesive between the cell and the case.
-
-
-
Pull the card back out and insert it about an inch between the right-center battery cell and the upper case, separating the adhesive between the cell and case.
-
-
-
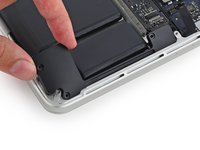
Pry up on the two center cells to separate the last of the adhesive and lift the battery from the device.
-
-
-
Remove the battery.
-
With a little luck, you can slowly pull out each strip of adhesive with your fingers.
-
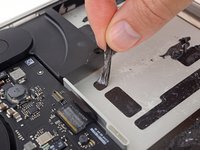
Otherwise, soak each section of adhesive with a bit of adhesive remover for 2-3 minutes, and then scrape it out with an opening pick or one of the other tools in your kit. This can take quite a bit of work, so be patient.
-
Mop up any remaining adhesive remover and give your MacBook Pro a few minutes to air dry.
-
Calibrate your battery before using it: allow it to drain overnight, then charge it to 100% and drain it again until your MacBook Pro shuts down automatically. Charge it again and use it normally.
-
To reassemble your device, follow these instructions in reverse order.
crwdns2935221:0crwdne2935221:0
crwdns2935229:02crwdne2935229:0


